Maple Butter Salt Bread is a soft, fluffy, pillowy-soft sweet variation on classic shio pan with a self-saucing maple butter center. Tear it open and warm salted maple butter flows out—the ultimate dinner roll recipe for your next bake night, dinner party, or holiday gathering!
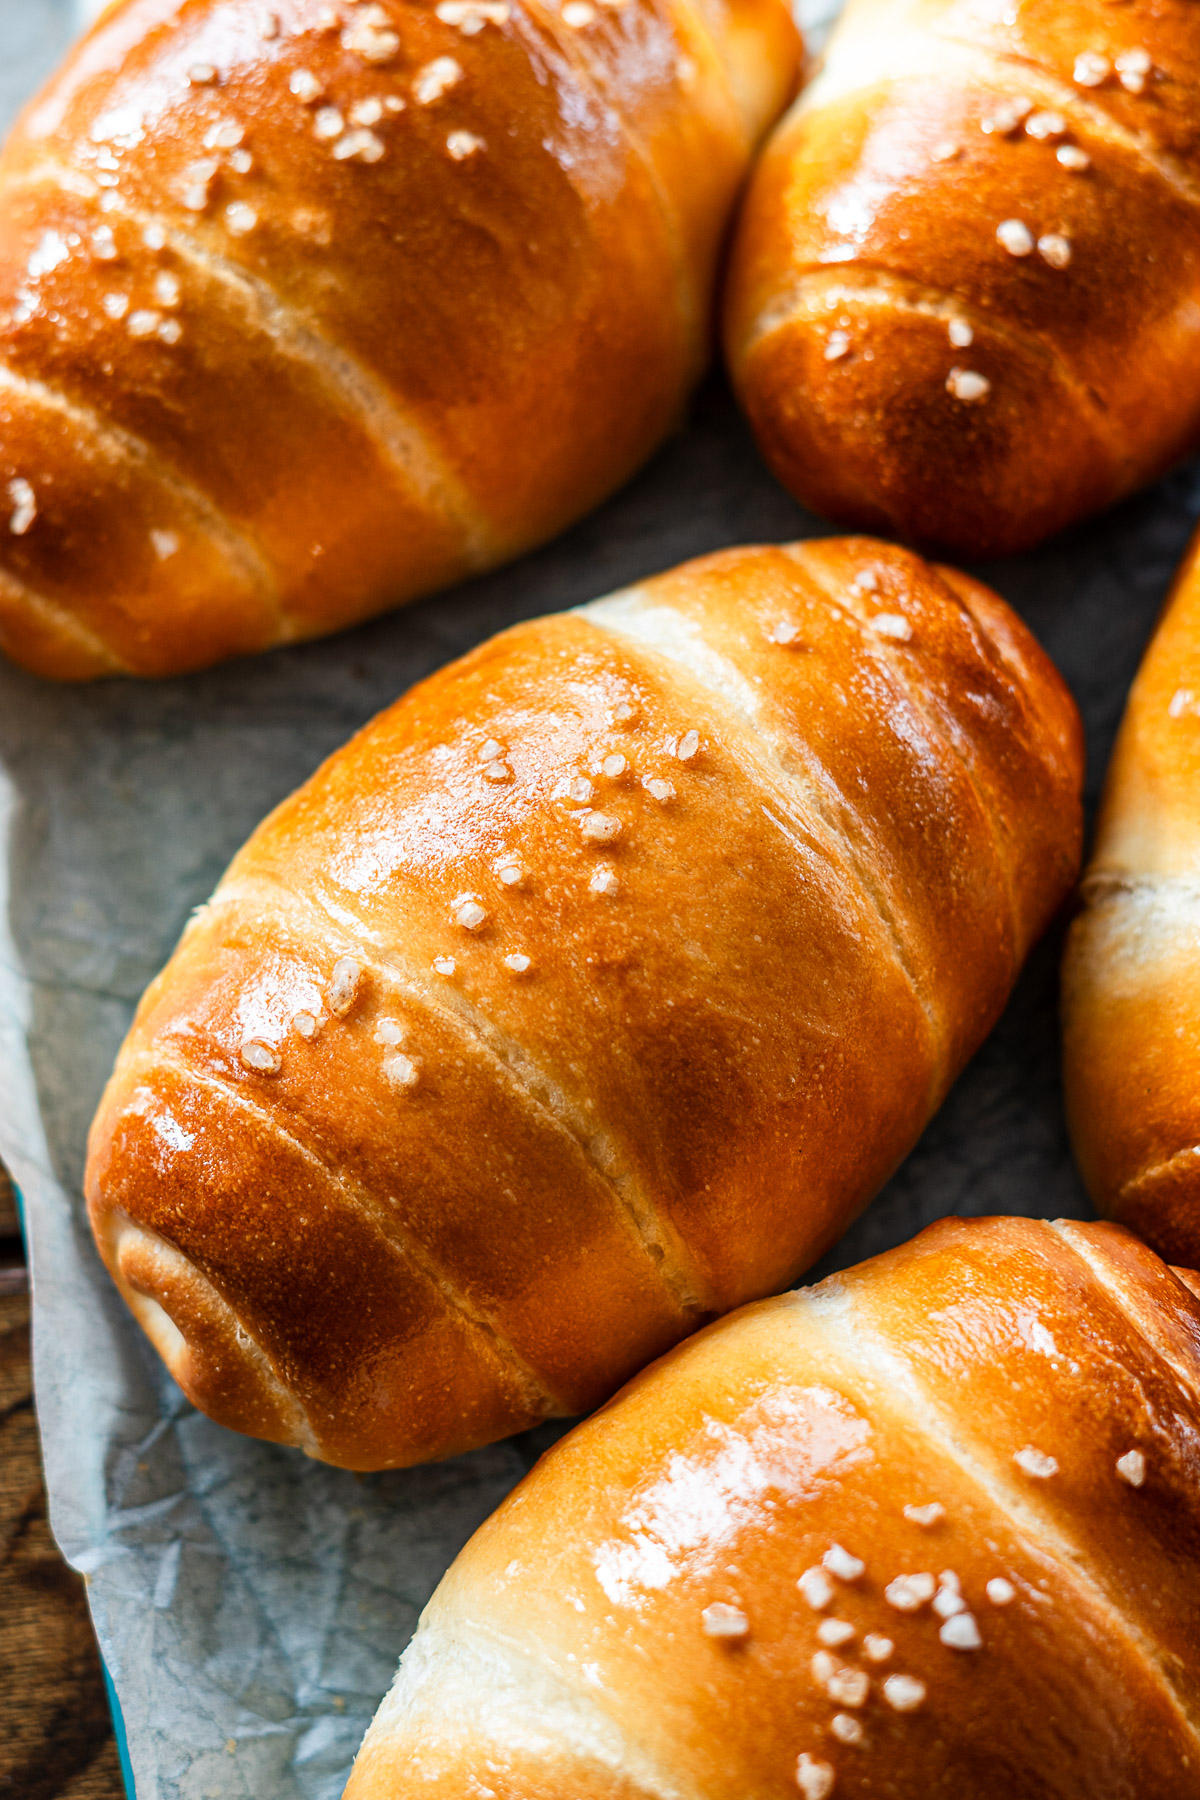
Table of Contents
Salted Maple Butter Rolls
I’ve tried and made several different variations of salt bread over the years, but this salted maple butter version might be one of my favorites. Salt bread is traditionally very simple, and adding a touch of maple syrup doesn’t distract from that simplicity. Instead, it brings a delicious sweet-and-savory flavor that everyone will enjoy.
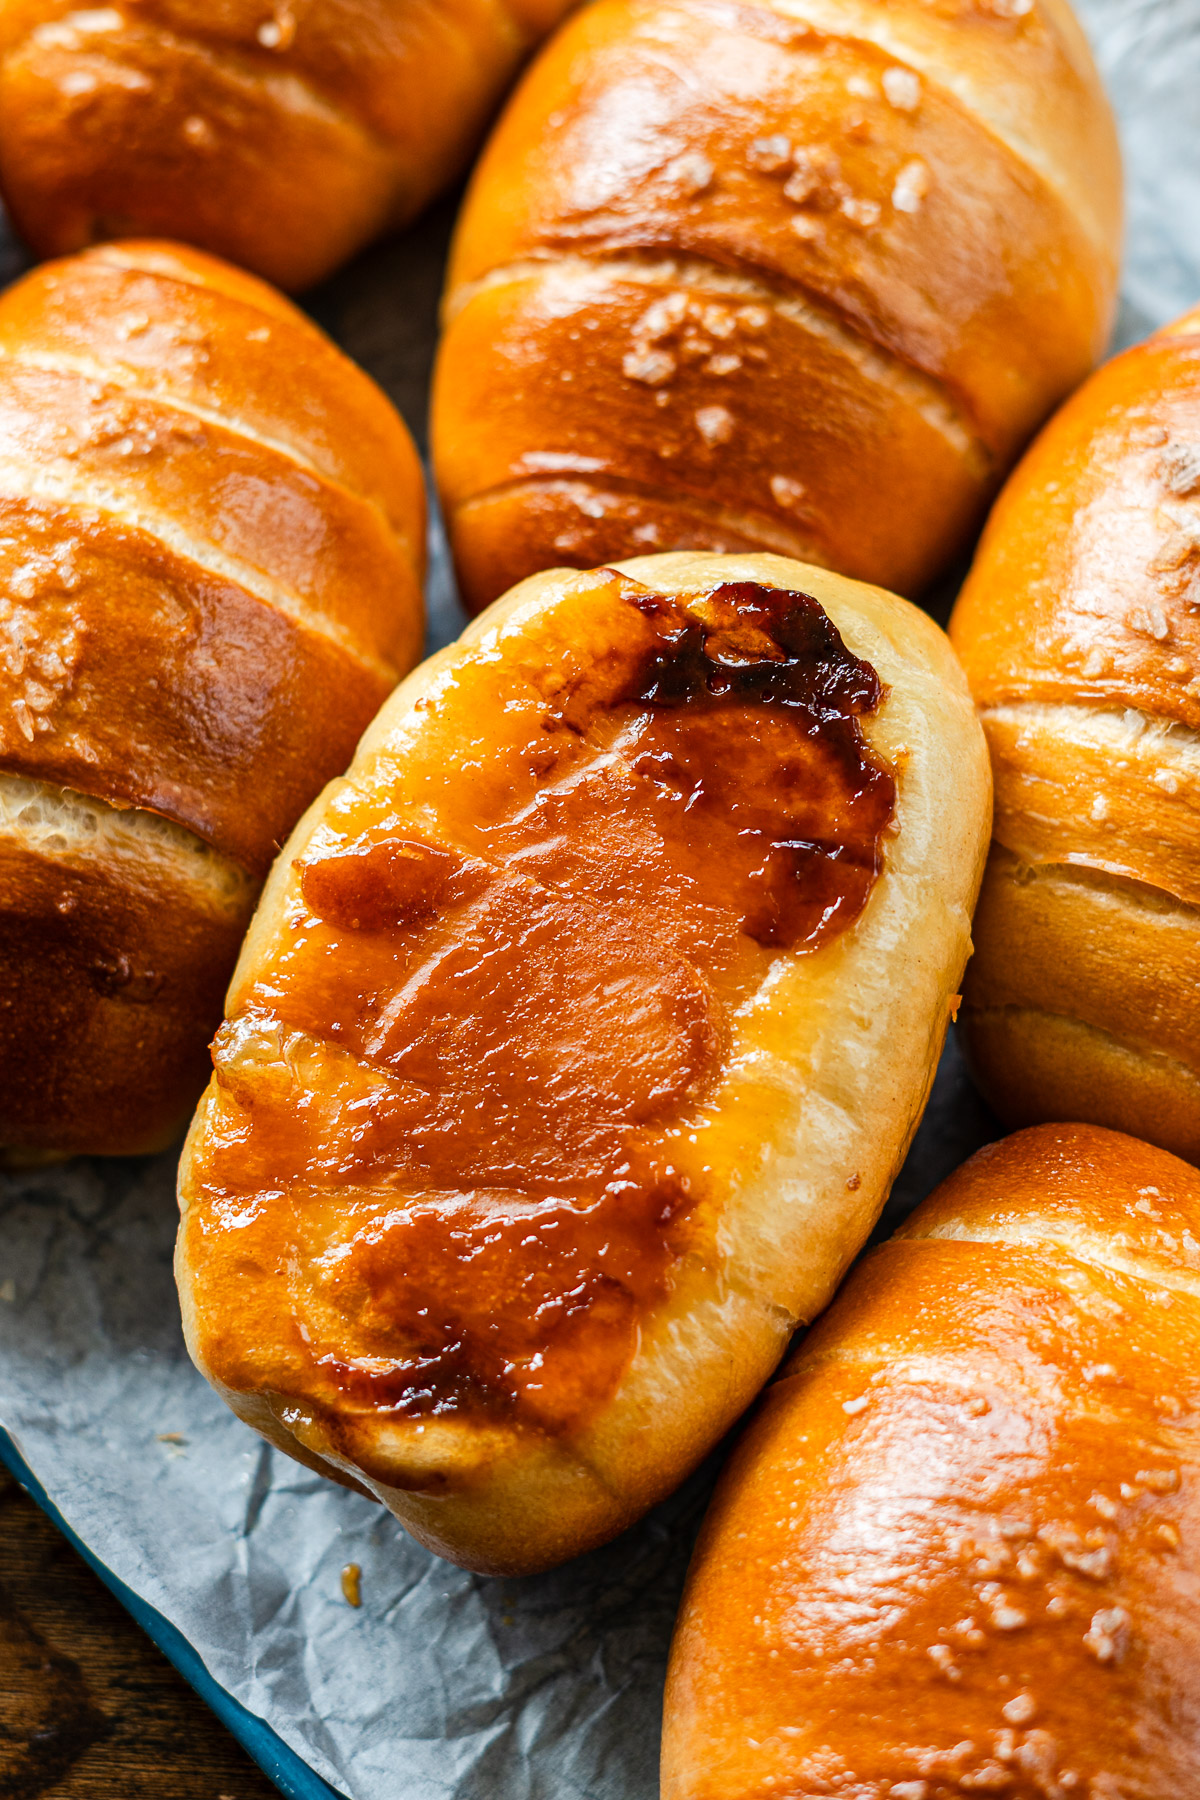
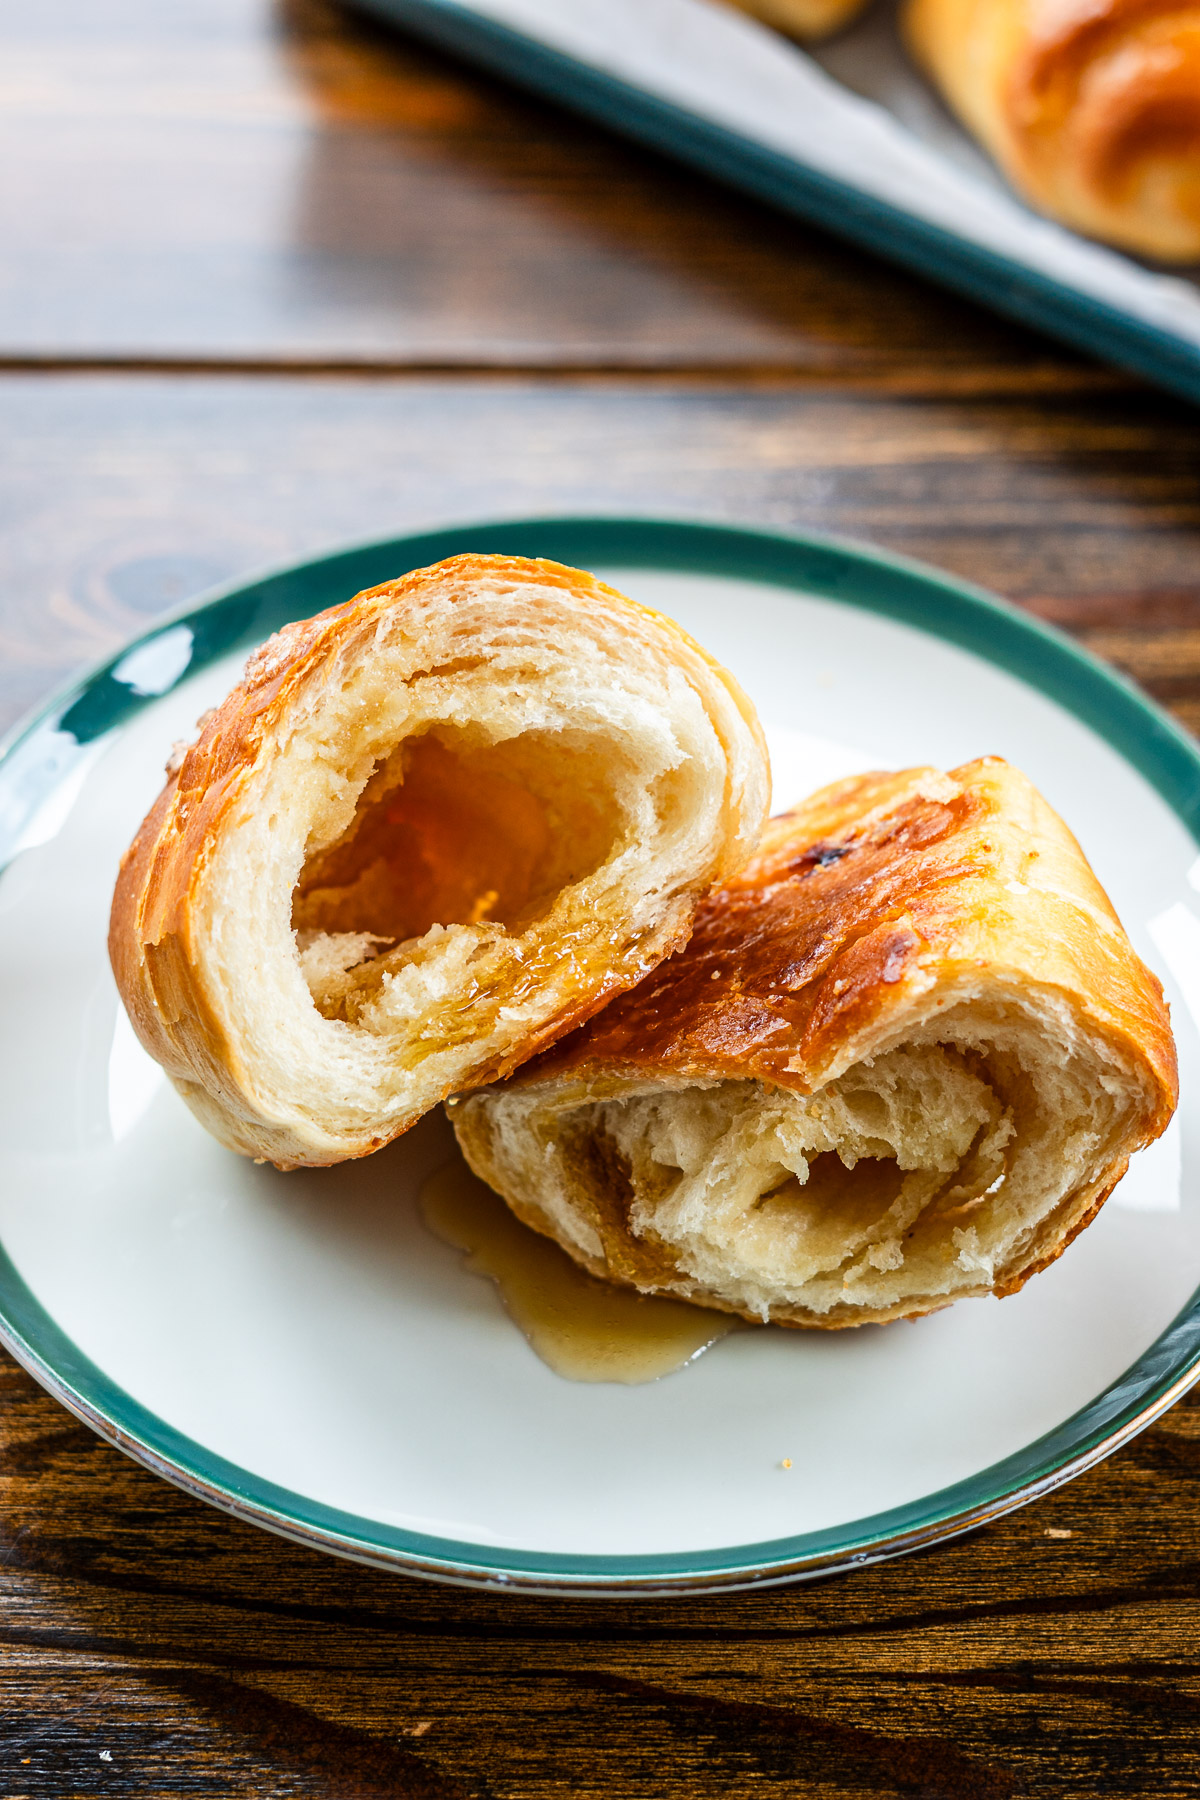
What I love most is that these rolls are self-saucing. When you tear them open, hot maple butter drips down the sides, making each bite juicy and indulgent. It might sound unusual to describe bread this way, but it works beautifully with the soft salt bread dough. The base develops a lightly crispy, caramelized maple crust if some butter leaks during baking, adding extra flavor.
And don’t worry, honey lovers—there’s also a honey butter salt bread variation if you want to switch it up!!
Ingredients and Substitutions
Here’s everything you need to make maple butter shio pan:
- Salt bread dough: I used my soft crust soft bread dough but you can use the semi hard crust, hard crust or no knead salt bread version! I think the soft reminds me more of classic dinner rolls which I love with the salted maple butter. The consists of basic pantry staples of flour, yeast, salt, sugar and butter,
- Maple syrup: Use PURE real maple syrup please!!
- Butter: Salted or unsalted. Just be sure to add some salt if using unsalted!
How to Make Maple Butter Salt Bread
This recipe follows the classic Japanese shio pan method, so if you want detailed dough kneading and shaping tips, check out my classic shio pan recipe. Here’s an overview of the steps:
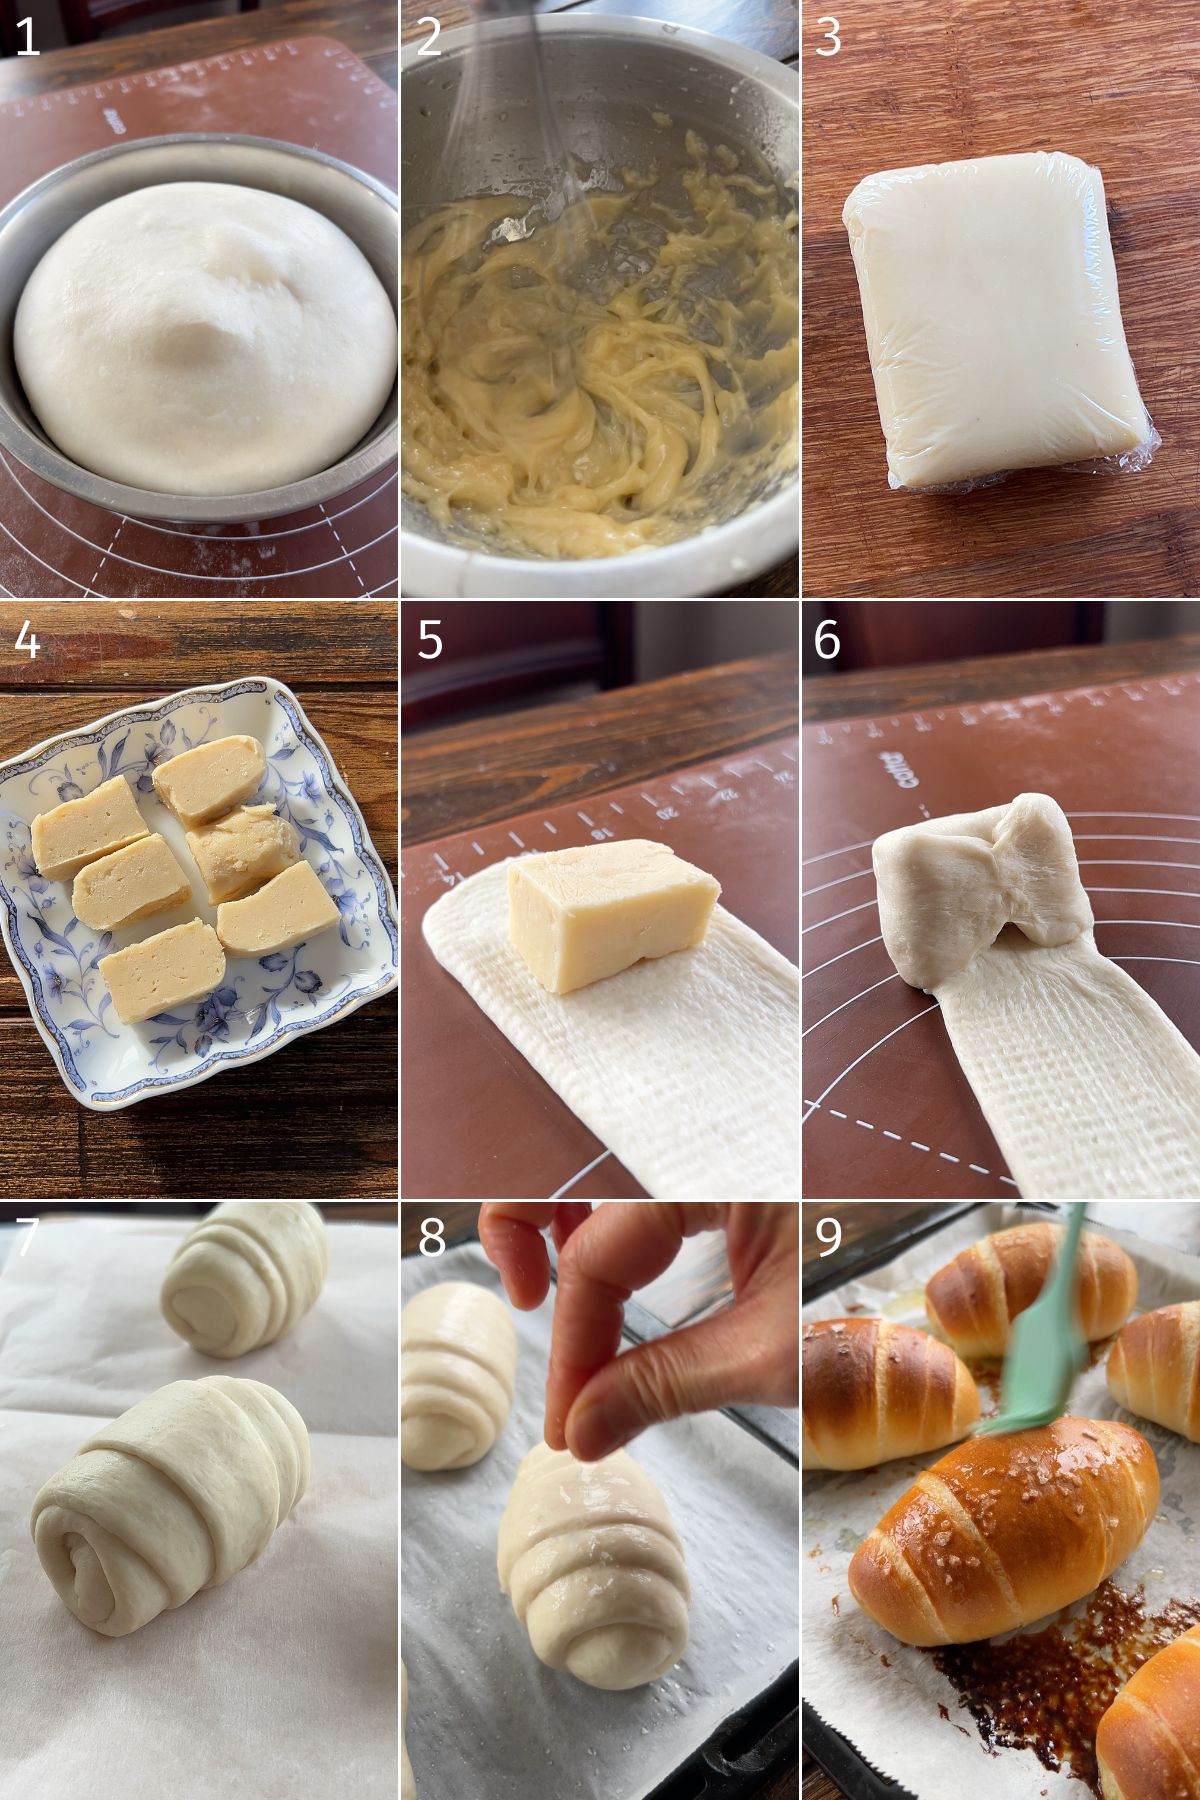
- Make one batch of salt bread: Follow the recipe up until ready to roll the butter.
- Prepare Maple Butter (2-4): Whisk softened butter with maple syrup, shape into rectangle, freeze, then cut into pieces.
- Shape the Rolls (5-7): Roll out dough into icicle shape, enclose a piece of salted maple butter, seal, and place tip-side down on the pan.
- Proof (8): Let rolls double in size until puffy and slightly jiggle, then mist with water for steam and sprinkle with salt.
- Bake (9): Bake until golden brown and crispy and brush with extra maple butter.

VIDEO: Watch How to Make It
Lisa’s Recipe Tips
- Seal the maple butter well: Unlike classic flavour salt bread where the butter pocket isn’t completely secured when rolling, this version works best when most of the maple butter stays sealed inside the roll. If some butter leaks out, that’s totally fine—it creates a delicious caramelized bottom. Sealing it tightly helps the butter release later in baking so it doesn’t burn.
- Proof sufficiently: Proper proofing allows the dough to relax and helps close seams and small openings, which reduces butter leakage during baking.
- Line your baking tray: Maple syrup can sometimes leak out, so lining the tray makes cleanup much easier. You’ll still get a light, crisp bottom on the rolls.
- Change the shape if needed: This rolled shape is how my mom often made salt bread, but if you find it time-consuming, you can shape these like classic round dinner rolls instead. Flatten each portion, add the maple butter, seal securely, and bake as usual.
- Add some spice: I love swapping the salt for miso in the maple butter. Cinnamon, black pepper, or garlic are great options too if you want to change up the flavor.
Serving Suggestions
These maple butter dinner rolls pair well with just about anything!
- A classic sweet-and-savory breakfast with eggs and bacon
- Any holiday dinner sides and entrees
- As an appetizer or snack… really any day any time
How to Store and Reheat Leftovers
- Room temperature: up to 2 days in an airtight container.
- Avoid the fridge: the cold and dry environment makes them dry out quicker.
- Freeze: if storing longer, wrap tightly and freeze.
Reheating Methods:
Before reheating, spray with water and then:
- Oven: Preheat to 180°C / 350°F, warm for 5–8 minutes.
- Air Fryer: 3–5 minutes at 160–170°C / 320–340°F until crispy again.
- Toaster: Slice and toast until warm and lightly golden.
- Microwave (quick): Wrap in a damp paper towel, heat 20–30 seconds, check, repeat if needed.
Recipe FAQ
Yes, swap the butter for non dairy butter and for the dough, omit the milk powder and use soy milk.
Yes! I’ve tried two toaster ovens and they turned out really well. Toaster ovens vary a lot in temperature so I recommend starting with 190°C / 375°F but keep an eye on it and adjust the temperature as needed depending on how fast its browning. The finishing time should be anywhere from 14-18 minutes.
More Salt Bread Recipes
Enjoy! If you make this Maple Butter Salt Bread recipe, I’d love to hear what you think! Leave a comment and rating below, and if you share it on social media, tag me on Instagram @Okonomikitchen. I can’t wait to see your creations!
Print
Maple Butter Salt Bread
- Total Time: 45 minutes
- Yield: 6 servings
- Diet: Vegetarian
Description
Maple Butter Salt Bread is a soft, fluffy, pillowy-soft sweet variation on classic shio pan with a self-saucing maple butter center. Tear it open and warm salted maple butter flows out—the ultimate dinner roll recipe for your next bake night, dinner party, or holiday gathering!
Ingredients
- 1 batch salt bread (semi hard or soft)
- for a little more maple flavour substitute the sugar with maple syrup
Salted Maple Butter
- 1/4 cup (60 g) salted butter, softened
- 1.5 tbsp (30 g) pure maple syrup
Instructions
- Make the Salted Maple Butter: In a small bowl, whisk the softened butter until smooth. Add the maple syrup in three additions, whisking well after each. Transfer the mixture onto a piece of plastic wrap and shape into a 6 × 8 cm rectangle. Freeze until firm, then cut into 6 pieces (2 × 4 cm or 1 × 8 cm). Keep frozen until ready to use.
- Prepare the Pan: Line a baking sheet with parchment paper for easy cleanup, or lightly butter a non-stick pan for a crispier bottom.
- Shape the Rolls: Take the first piece of rested dough and roll it into a long icicle shape. Place one piece of maple butter at the wide end. Fold the edge over the butter, then fold the sides in to completely enclose it. Roll downward, lifting the dough slightly to create surface tension. Pinch the tip to seal and place tip-side down on the pan. Cover and repeat with remaining dough. For maple butter salt bread, keep the butter sealed in so it doesn’t leak out too much while baking.
- Final Proof: Proof until doubled in size — the rolls should look puffy and gently jiggle when you shake the pan.
- Preheat the oven to 230°C / 450°F 20-30 minutes before estimated completed proof time.
- Bake: Uncover the rolls, lightly mist the tops with water, and sprinkle with salt. Place into the oven and quickly spray 20 times into the oven walls. Immediately lower the temperature to 200°C convection or 210°C conventional oven. Bake for 14-17 minutes, or until the tops are golden.
- If you have a steam oven, bake with steam for 3-4 minutes then reduce the temperature to 200°C and bake for another 10-12 minutes or until golden on top.
- Finish: Brush the rolls with melted butter right out of the oven. Serve warm and enjoy!!
- Prep Time: 30 minutes
- Cook Time: 15 minutes
- Category: Appetizer, Bread, Side Dish
- Method: Baking
- Cuisine: Japanese
Nutrition
- Serving Size: 1 serving
- Calories: 230
- Sugar: 5
- Sodium: 180
- Fat: 11
- Saturated Fat: 6
- Unsaturated Fat: 5
- Trans Fat: 0
- Carbohydrates: 28
- Fiber: 1
- Protein: 5
- Cholesterol: 20


This is quite a detailed recipe for those who want to explore different versions of of the salt bread, however it was very helpful and fun to learn new things!!!🥳
I made this with the honey version and it’s delicious! Everyone had their preferences so you can’t go with making the honey or maple version. Some of them did leak as they baked but the bottom soaked it all up and caramelized them so the were still tasty