This Honey Butter Salt Bread recipe makes the softest, fluffiest Japanese shio pan with a golden crispy bottom and a rich honey-butter center. When you tear into one, the warm honey butter melts out like a self-saucing dinner roll! Made with simple pantry staples, these salted honey butter rolls are perfect for weeknight dinners, holidays, and cozy baking days.
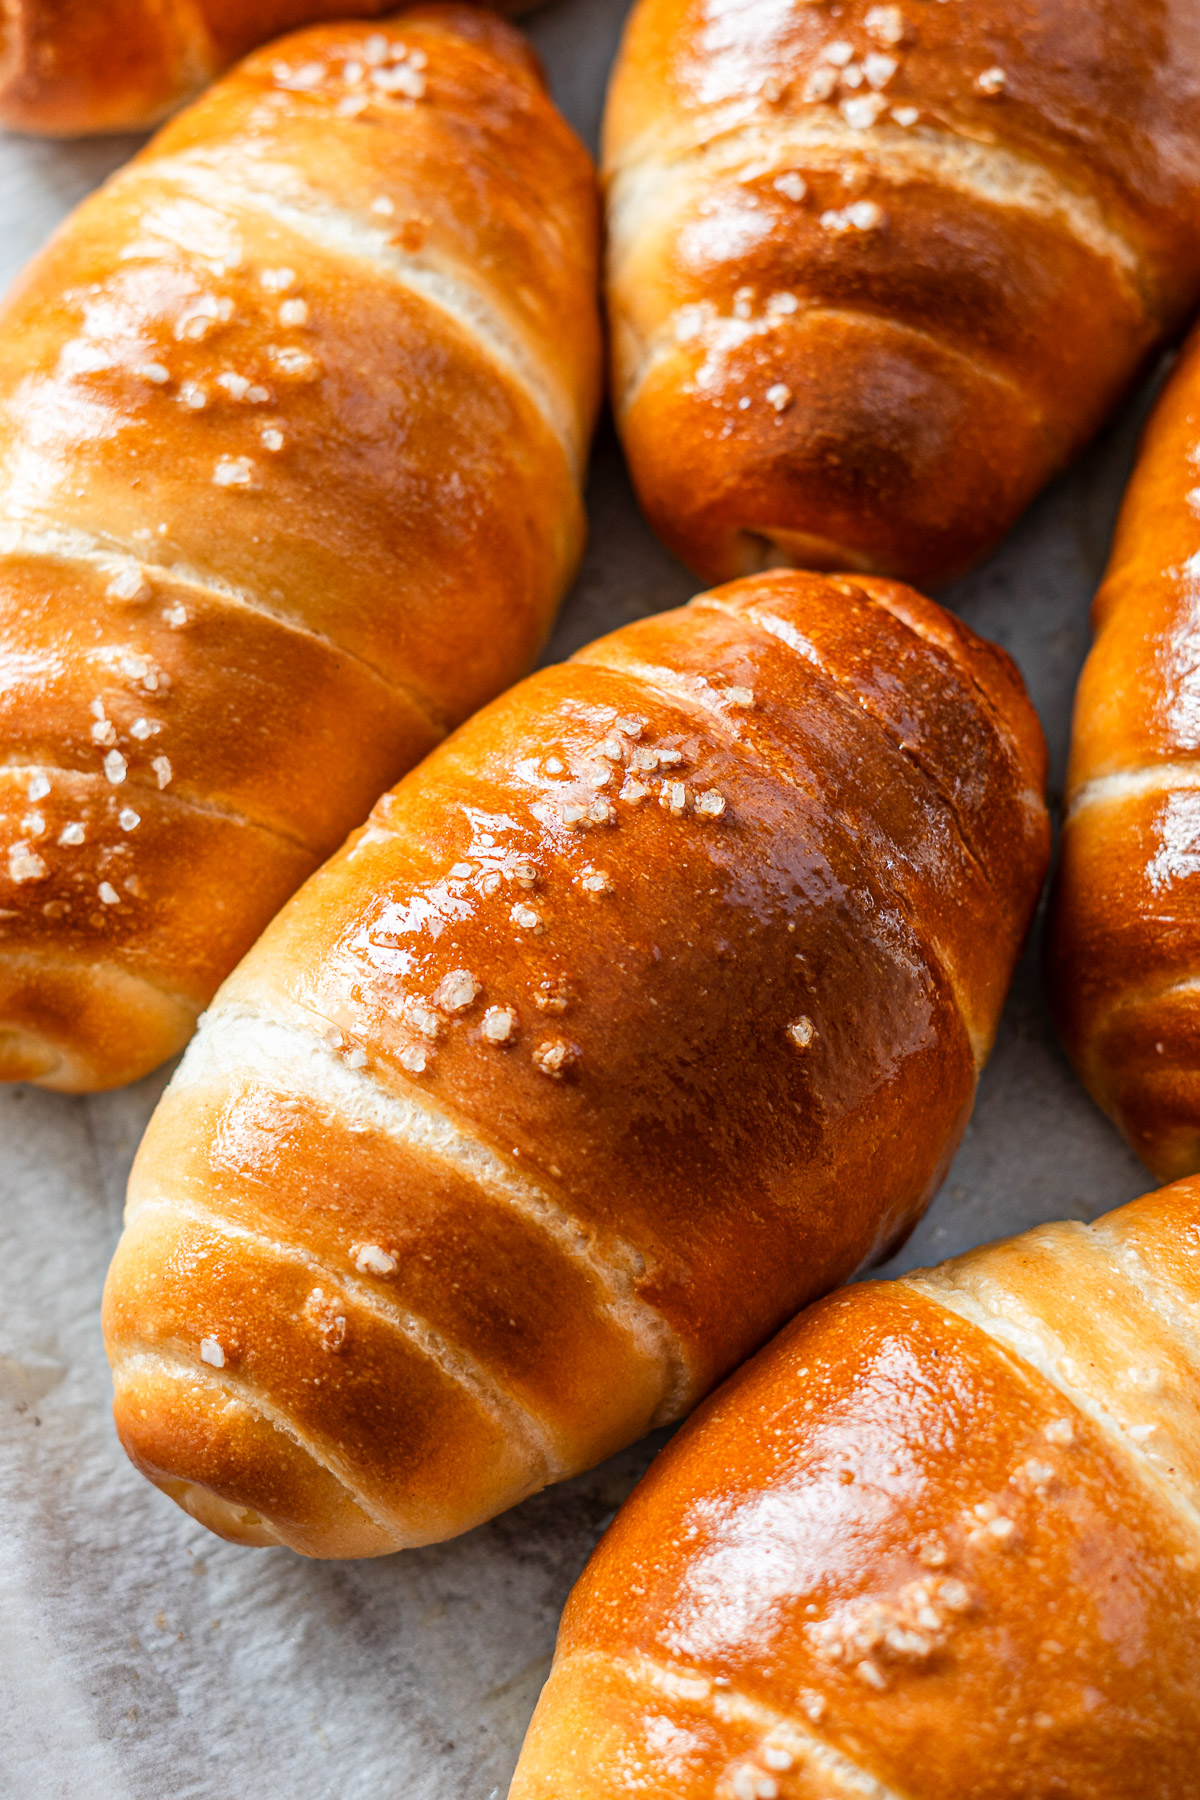
Table of Contents
I wanted to share a salt bread recipe that would make a great addition to your Christmas and holiday dinner table, but I couldn’t decide between maple and honey—so why not both? Maple butter salt bread and honey butter salt bread are both incredibly delicious and worth making, especially if you love soft, sweet-and-salty dinner rolls that feel a little extra special!
Salted Honey Butter Rolls
If you love classic honey butter dinner rolls, you’re going to LOVE these honey butter salt bread rolls. Each roll is soft, pillowy, and light, with a golden, caramelized base that adds a subtle crunch. Inside, the rich honey butter filling melts as the bread bakes, creating a self-saucing center that’s sweet, salty, and utterly irresistible.
These Japanese-style butter rolls are perfect for holiday gatherings, cozy baking days, or as a special treat for brunch or dinner. Because they combine the soft, fluffy texture of milk bread with the sweet-savory flavor of honey butter, they stand out from ordinary rolls and are a crowd-pleaser every time.
Ingredients and Substitutions
Before we get into the step-by-step, here’s a look at the ingredients used in this recipe. You can swap or adjust as noted:
- Egg based salt bread dough: you can also use soft crust, semi-hard, hard crust, or no-knead variations.
- Salted butter: for the honey butter filling; can substitute with unsalted butter + pinch of sea salt
- Honey: for sweetening the filling; can swap for maple syrup for a different variation
- Topping salt: Flaky salt, rock salt, pearl salt or even just regular salt.
- Pantry staples – flour, yeast, milk, sugar, salt
How to Make Honey Butter Salt Bread
Here’s a brief overview of how to make these rolls before diving into the full instructions:
- Prepare the dough: Follow your preferred salt bread dough recipe up until rolling the butter inside.
- Make the honey butter filling: Whisk butter and honey together, then freeze into small rectangles.
- Shape the rolls: Enclose each piece of honey butter securely inside a portion of dough.
- Proof and bake: Let the rolls double in size, then bake at a high temperature with steam for a crisp, golden bottom.
- Finish with melted butter: Brush the tops after baking for an extra glossy, rich finish.
VIDEO: Watch How to Make It
Lisa’s Recipe Tips
- Develop enough gluten in the dough: A well-developed dough is key for soft, fluffy salt bread. A weak dough can affect the texture and cause the honey butter to leak out too early and potentially burn.
- Seal the honey butter securely: Unlike classic salt bread, we want to keep as much of the honey butter inside the roll as possible so it melts into the bread instead of leaking out right away. If some honey butter does escape, that’s totally fine—it creates a delicious caramelized bottom. Sealing it well helps the butter seep out later in baking so it doesn’t burn.
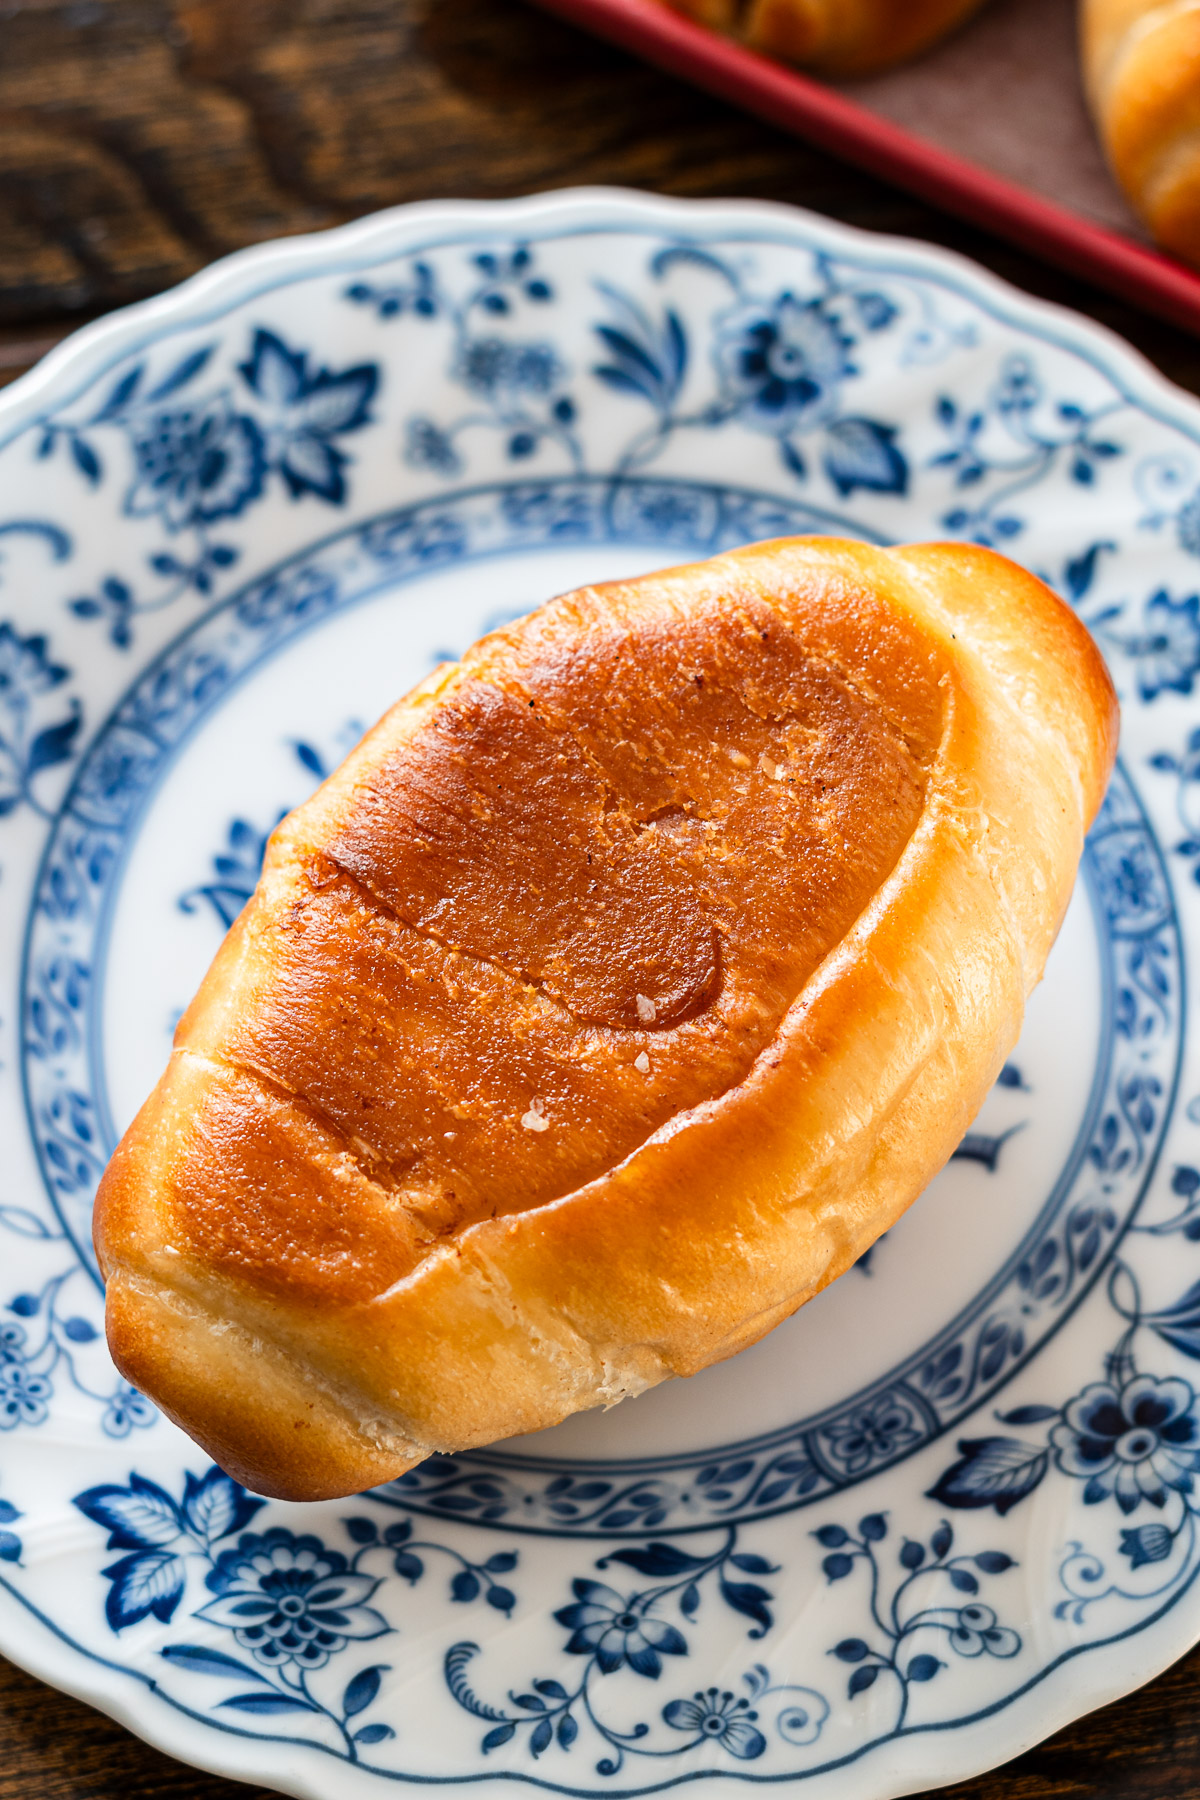
- Add butter underneath the rolls: Placing a small amount of butter under each roll helps create that lightly crisp, almost fried bottom that salt bread is known for.
- Use parchment or a lightly greased pan: Parchment makes cleanup easy, while a buttered non-stick pan encourages a crisp, golden, caramelized base.
- Add some spice if you want to switch it up: You can customize the flavor by adding miso, black pepper, cinnamon, or other spices to the honey butter. I’ve done a miso and garlic version before and it’s so good!!
Serving Suggestions
These salted honey butter rolls are best enjoyed warm, when the honey butter center is soft and melty. They’re great on their own, but they also pair really well with both savory and lightly sweet dishes, making them especially perfect for holiday dinners and dinner parties.
Some of my favorite ways to serve them:
- With savory mains: Roast chicken, glazed ham, turkey, or grilled vegetables—the sweet-salty flavor works well with richer, savory dishes.
- Alongside veggie sides: Essentials for holiday dinners and dinner parties and you can’t go wrong with any sort of vegetable side dish.
- For breakfast or brunch: Enjoy warm with extra butter or honey, or serve alongside eggs, fruit, and coffee for an easy brunch spread.
Because these honey butter salt bread dinner rolls are lightly sweet with a crisp bottom, they’re versatile enough to work across courses—from the main meal to the bread basket to the breakfast table the next day.
How to Store and Reheat Leftovers
These salted honey butter rolls are best enjoyed fresh out of the oven, but they store well if you have leftovers.
- Store: Keep leftover rolls in an airtight container at room temperature for up to 2 days. For longer storage, freeze them in a sealed container or freezer bag for up to 3 months. Thaw at room temperature before reheating.
Avoid storing them in the fridge, as they dry out and stale quickly. - Reheat: Warm the rolls in a 175°C (350°F) oven for 5–8 minutes until heated through. You can also microwave them briefly to bring back the soft, melty center. For best results, wrap the roll in a damp paper towel before microwaving.
Make-Ahead Option
If you want to make these rolls ahead of time but serve them fresh, follow the recipe up to the final proof. Cover the shaped rolls tightly and refrigerate for up to 24 hours. When ready to bake, take them out of the fridge as you preheat the oven—they should be ready to bake once the oven is hot.
Recipe FAQ
Freezing keeps the butter from melting out too quickly, ensuring a self-saucing center after baking.
Make sure to seal the sides securely. The final proof will often close off any seams but this will help maintain some of the honey butter inside.

More Salt Bread Recipes
Enjoy! If you make this Honey Butter Salt Bread recipe, I’d love to hear what you think! Leave a comment and rating below, and if you share it on social media, tag me on Instagram @Okonomikitchen. I can’t wait to see your creations!
Print
Honey Butter Salt Bread
- Total Time: 45 minutes
- Diet: Vegetarian
Description
This Honey Butter Salt Bread recipe makes the softest, fluffiest Japanese shio pan with a golden crispy bottom and a rich honey-butter center. When you tear into one, the warm honey butter melts out like a self-saucing dinner roll! Made with simple pantry staples, these salted honey butter rolls are perfect for weeknight dinners, holidays, and cozy baking days.
Ingredients
Dough
- Prepare 1 batch Soft Crust Salt Bread dough (follow that recipe up to pre-shaping and bench rest).
- Substitute the sugar with honey is desired
- You can also use the semi-hard, hard crust, or no-knead version.
Honey Butter Filling
- 1/4 cup (60 g) salted butter, softened
- 2 tbsp + 1 tsp (45 g) honey
Instructions
- Make the Honey Butter Filling: In a small bowl, whisk the softened butter until smooth. Add the honey in three increments, whisking well after each addition until fully combined. Transfer the mixture onto a sheet of cling wrap and shape into a 6×8 cm rectangle. Freeze until firm. Once solid, cut into 6 pieces (either 2×4 cm or 1×8 cm). Keep the pieces in the freezer until ready to use.
- Prepare the Pan: Line a baking tray with parchment paper or lightly grease a non-stick pan with butter.
- Parchment = easy cleanup; non-stick pan = crispier fried bottom.
- Shape the Rolls: Take the first piece of dough from the bench rest. Roll it into a long teardrop shape. Place one frozen honey butter piece at the wide base. Fold the edge over the butter, then fold the sides inward to fully enclose it. Roll downward, lifting the dough occasionally to build surface tension. Pinch the tip to seal, then place tip-side down on the prepared pan. Cover and repeat with remaining dough.
- For honey butter salt bread, we want to seal most of it inside instead of letting it all seep out.
- Optional: add a thin slice of butter underneath the rolls for an extra light and crisp fried bottom.
- Final Proof: Proof until the rolls double in size, look puffy, and gently jiggle when you shake the pan.
- Preheat oven to highest temperature (mine is 230°C / 450°F).
- Bake: When preheated remove the cover and lightly spray the tops with water and sprinkle with salt. Right before baking, mist the rolls 15 times with water. Place the pan in the oven and spray the oven walls 15 times for steam. Close the door, immediately reduce heat to 200°C convection or 210°C conventional, and bake for 15–18 minutes, or until the tops are golden.
- Finish: Brush the rolls with melted butter as soon as they come out of the oven. Serve warm and enjoy!
- Prep Time: 30 minutes
- Cook Time: 15 minutes
- Category: Bread
- Method: Baking
- Cuisine: Japanese
Nutrition
- Serving Size: 1 serving
- Calories: 320
- Sugar: 9 g
- Sodium: 420 mg
- Fat: 14 g
- Saturated Fat: 8 g
- Unsaturated Fat: 5 g
- Trans Fat: 0.3 g
- Carbohydrates: 40 g
- Fiber: 1.5 g
- Protein: 7 g
- Cholesterol: 40 mg


Prepped the dough last night and baked the fresh this morning DELICIOUS!! Can’t wait to make these for our family holiday dinner next week