
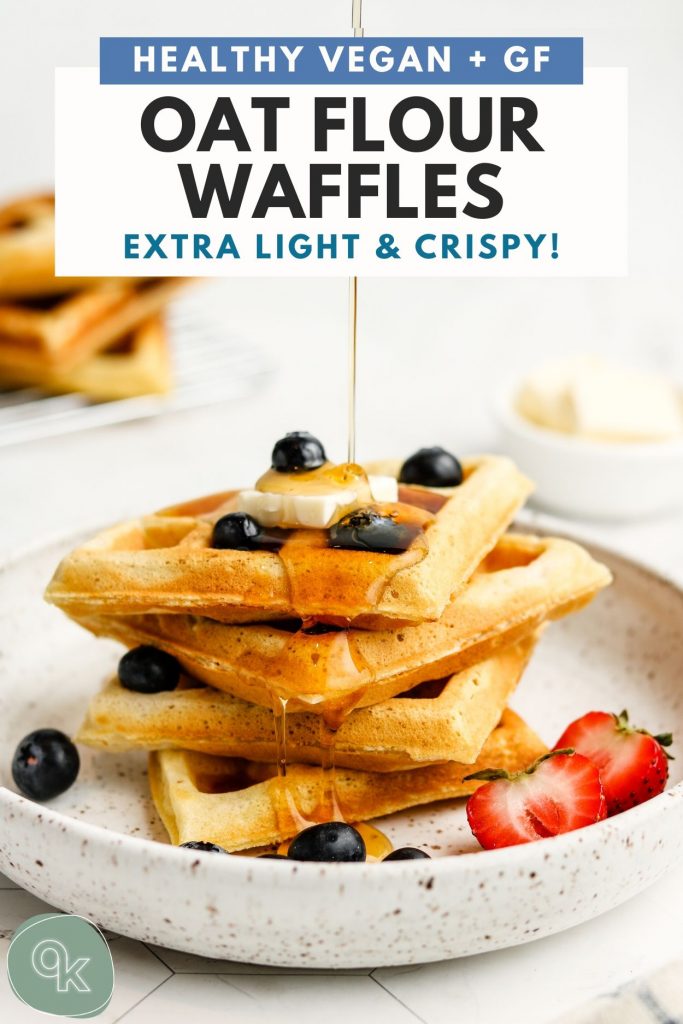
Learn how to make the BEST Vegan Gluten Free Oat Flour Waffles that are perfectly light and crispy! Easy to make in just 1-bowl with 7 pantry staple ingredients. (Oil Free, Refined Sugar Free + Nut Free)

Say hello to the lightest, crispiest, most delicious vegan waffles!
After testing this waffle recipe for about a month, I’ve finally found a ratio of ingredients that produces the most perfect golden waffles using oat flour (aka my favourite gluten free flour)!! I adapted an old recipe I came up with in uni and made it 10x better.
These are super easy, quick and full proof! I promise, if you follow these steps and tips, you’ll have perfect waffles every. single. time. Let’s get straight into it, shall we?

Ingredients for Vegan Waffles
This recipe for vegan waffles calls for just 7-simple pantry staple ingredients:
- Oat Flour: My favourite flour for these waffles! It’s cheap, hearty, nutritious and satisfying.
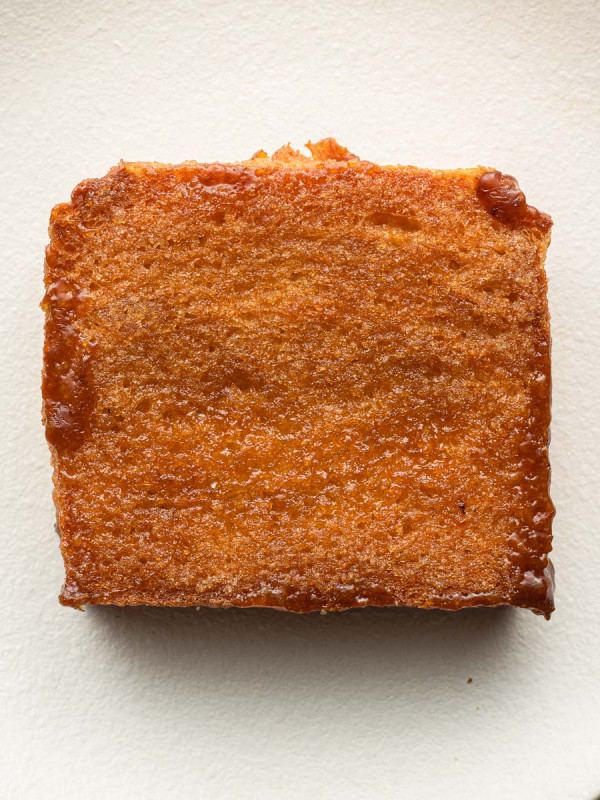
- Corn Starch: This is the secret ingredient to make the crispiest waffles! Starches are known for helping with browning and crisping up baked goods and it does just that in these waffles too.
- Maple Syrup: Gives these waffles a touch of sweetness and helps with the browning + crispy exterior. You can add more if you like sweeter waffles or you could omit it but it will make pale waffles.
- Non Dairy Milk + Apple Cider Vinegar: Helps activate the baking powder.
- Baking Powder: Helps with the lightness of these waffles.
- Tahini: It gives these waffles a bit more of a bite but you can make it without it or with another runny nut/seed butter of choice.
Now for flavour, I love adding vanilla, almond extract and cinnamon! The almond extract just takes these waffles to the next level– I highly HIGHLY (!!) recommend adding it in!
How to Make Vegan Waffles
Making light and crispy vegan waffles is a super easy process! Here’s the process to making perfect waffles, every time:
- Turn on your waffle iron to let it pre-heat. As well, the oven if making more than 2.
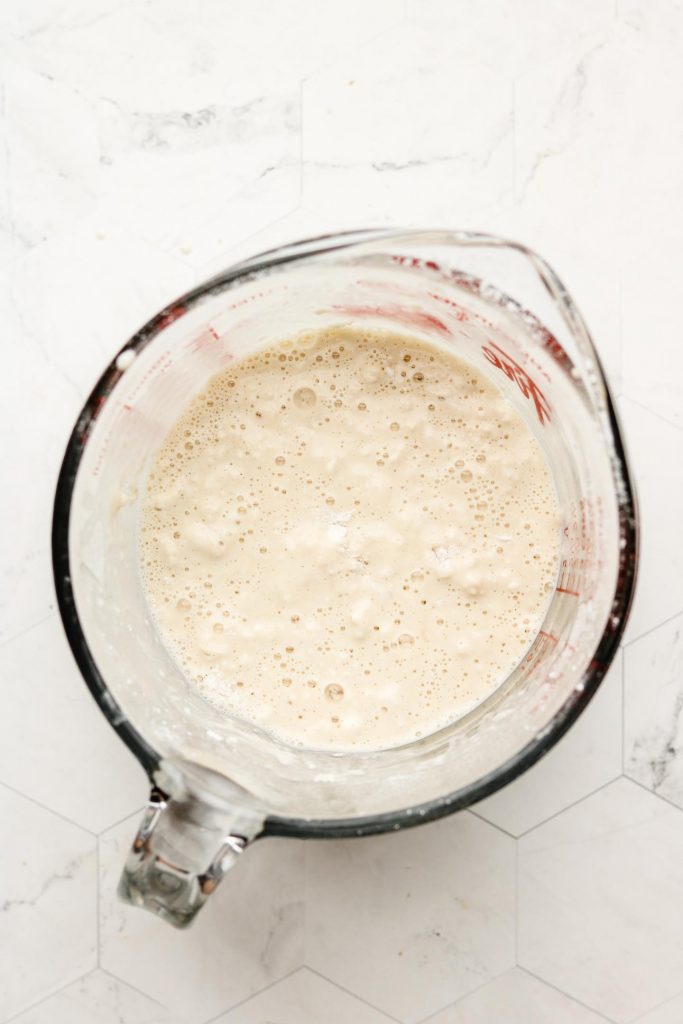
- Add all the wet ingredients to a bowl and whisk until combined.
- Add in the dry ingredients and stir until JUST combined. Small lumps is okay. I usually let the batter sit for at least 3-5 minutes and during this time I’ll prep the toppings.
- Pour half the batter to the waffle iron. If making double or triple the recipe, it’s about 1/2-3/4 cup per waffle (for my waffle iron which is this one).
- Once there is no more steam coming out of the waffle iron, lift the top and transfer to a wire rack or pre-heated oven. Repeat for remaining batter.
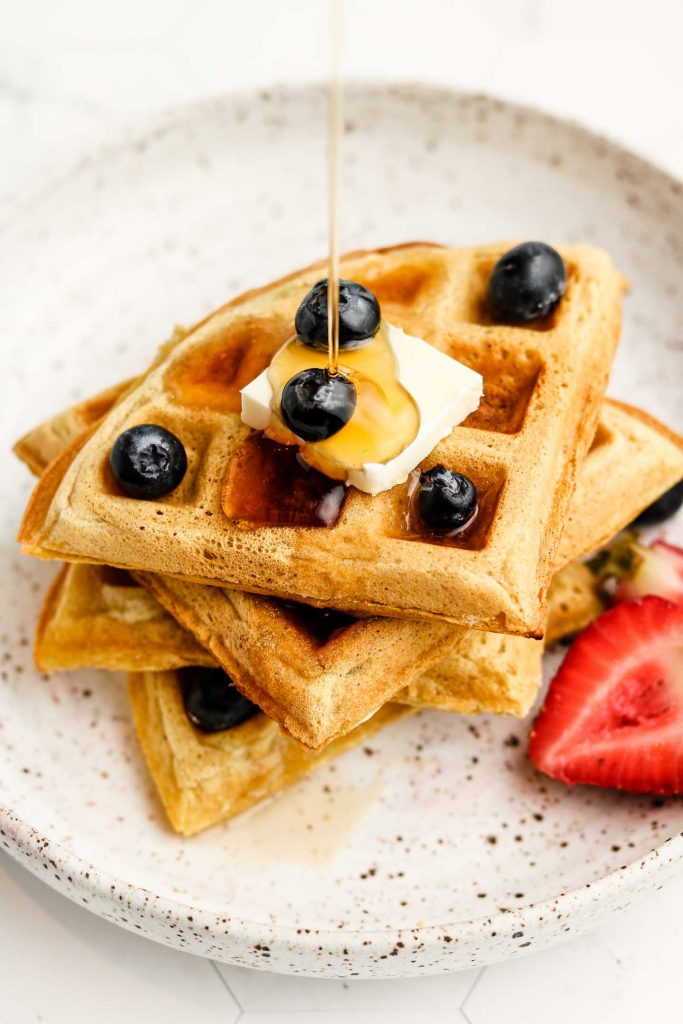
How easy is that! I find making waffles so much easier than pancakes and way less fails. Just look at how golden 😍

Tips & Tricks to Making Extra Light & Crispy Waffles
- Toast the oat flour: I recently started doing this and this makes the waffles extra flavourful and adds a beautiful golden colour. Since I make my own oat flour, I first toast the oats over medium high heat moving it around every couple of seconds so it doesn’t burn. It should start to smell slightly nutty and takes about 3 minutes. Then I transfer the oats to a high speed blender and grind it until super fine.
- For thicker waffles: Let the batter rest for 5-8 minutes to let the oats absorb some of the liquid and for the baking powder to activate. A thicker batter will make for a thicker waffle.
- Preheat the waffle iron: This is key for crispy waffles. To test if your waffle iron is ready, splash a bit of water– it should sizzle right away. If not, close it and let it heat for a few minutes longer. The moment you pour the batter, it should sizzle. This is a good indicator that your waffles will come out crispy.
- Observe the steam (how to tell when your waffles are ready): Many waffle irons have a timer/light that ‘tells you when the waffles are ready’ but often times, it’s inaccurate. The best way to tell if your waffles are cooked through is when you no longer see any steam coming out of the waffle iron.
- Preheat oven to 200 F: If making more than 2 waffles, I highly suggest keeping your waffles in the oven on a wire rack to maintain their crispiness.
- Use a cooling rack: If making a batch to freeze, be sure to keep your waffles on a cooling rack so they don’t get soggy. If you place them on a plate, the steam coming from underneath has no where to go and gets trapped underneath the waffles.

And that’s it for this one, friends! I hope you try this vegan waffle recipe out and find the tips & tricks helpful!
More Delicious Vegan Breakfasts to Try:
- Gluten Free Cornmeal Waffles
- Matcha Mochi Waffles
- Fluffy Japanese Pancakes
- Zucchini Bread Baked Oatmeal

If you recreate this Light & Crispy Vegan Oat Flour Waffles recipe let me know how you liked it by leaving a comment and rating below or by tagging me on Instagram @Okonomikitchen, I love seeing all of your tasty recreations!
Hungry for more? Be sure to subscribe to my newsletter and follow along on Instagram, Youtube and Pinterest for more deliciousness!

light & crispy oat flour waffles
- Total Time: 15 minutes
- Yield: 2 waffles 1x
Description
Super light and crispy vegan oat flour waffles made with just 7 pantry staple ingredients! Perfect for breakfast or brunch, this recipe is also gluten free, oil free and refined sugar free.
Ingredients
- 2/3 cup non dairy milk (160ml)
- 1/2 tsp apple cider vinegar (7g)
- 1 tbsp maple syrup (20g)
- 2 tsp tahini (10g), optional
- 1 tbsp vanilla extract (15g)
- 3/4 cup + 1 tbsp oat flour (100g)
- 2 tbsp corn starch (14g)
- 2 tsp baking powder (10g)
- 1/8 tsp of salt
Optional Add-Ins:
- 1 tsp almond extract (5g // highly recommend)
- 1 tsp cinnamon (5g)
- 1 heaping tbsp chocolate chips (20g)
- 1/4 cup blueberries
Instructions
- Pre-heat waffle iron on medium high.
- Add non dairy milk, apple cider vinegar, maple syrup, tahini and vanilla into a bowl and whisk to combine. Add in the oat flour, corn starch, baking powder and salt and stir until just combined.
- Splash your waffle iron with water or place a small amount of batter onto the waffle iron, it should sizzle immediately. If it doesn’t, let the waffle iron heat for a few minutes longer- this is the key to crispy waffles! Pour half the batter onto the waffle iron and close the top. You should instantly see steam releasing out of the iron. Once there is no more steam coming out of the waffle iron the waffle should be fully cooked. Lift the top up and remove from the waffle iron and repeat.
- If making more than 2 waffles, place the waffles in a 200 F pre-heated oven to keep them warm and crispy. If freezing, place on a wire rack and let them cool completely before placing in the freezer.
- Serve with maple syrup and your favourite toppings!
Notes
- Helpful Equipment: waffle iron, mixing bowl, spatula, whisk
- Nutritional Information Disclaimer: Nutrition information is a rough estimate calculated on an online tool (Cronometer).
- Prep Time: 5 minutes
- Cook Time: 10 minutes
- Category: breakfast
- Method: waffle iron
- Cuisine: vegan, gluten free, north american
Nutrition
- Serving Size: 1 waffle
- Calories: 290
- Sugar: 1.6g
- Sodium: 557mg
- Fat: 8.1g
- Saturated Fat: 1.1g
- Unsaturated Fat: 6.1g
- Trans Fat: 0
- Carbohydrates: 44.5g
- Fiber: 5.8g
- Protein: 8.3g
- Cholesterol: 0
SAVE IT FOR LATER! ↓
Okonomi Kitchen is a participant in the Amazon Services LLC Associates Program. When you purchase something through my amazon affiliate links, I earn a small commission that helps me produce consistent content at no cost to you. Thank you for supporting my plant based kitchen!


I made these without the tahini, and WOW, they are phenomenal!!! I kept some in the freezer and they held up perfectly. Now I’m making a giant batch to store in the freezer like my very own wfpb oil free vegan Eggo’s! 10 out of 10z Thank you!!!
The batter was too soupy as I added 3/4 cup of flax seed and another tbsp of maple syrup along with half a spoonful of granulated sugar. It was tasty and fresh
These were great! I substituted peanut butter for the tahini, and it came out perfect! Thank you!