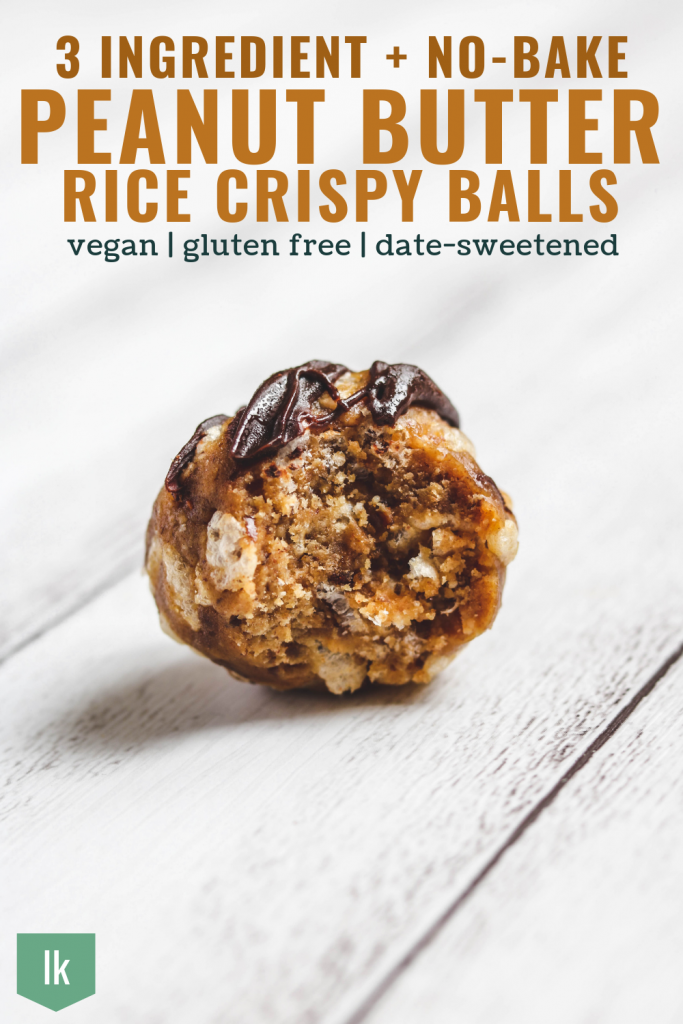
These Healthy Peanut Butter Rice Crispy Balls are sweet, salty and made with 3 simple ingredients. They’re easy to make, no-bake, vegan, gluten free, sugar free & the perfect treat for any time of day!
I love peanut butter and anything crispy, so these peanut butter balls made with rice krispies are right up my alley. Even better, they’re super easy to make, no bake and require only 3 simple healthy ingredients!
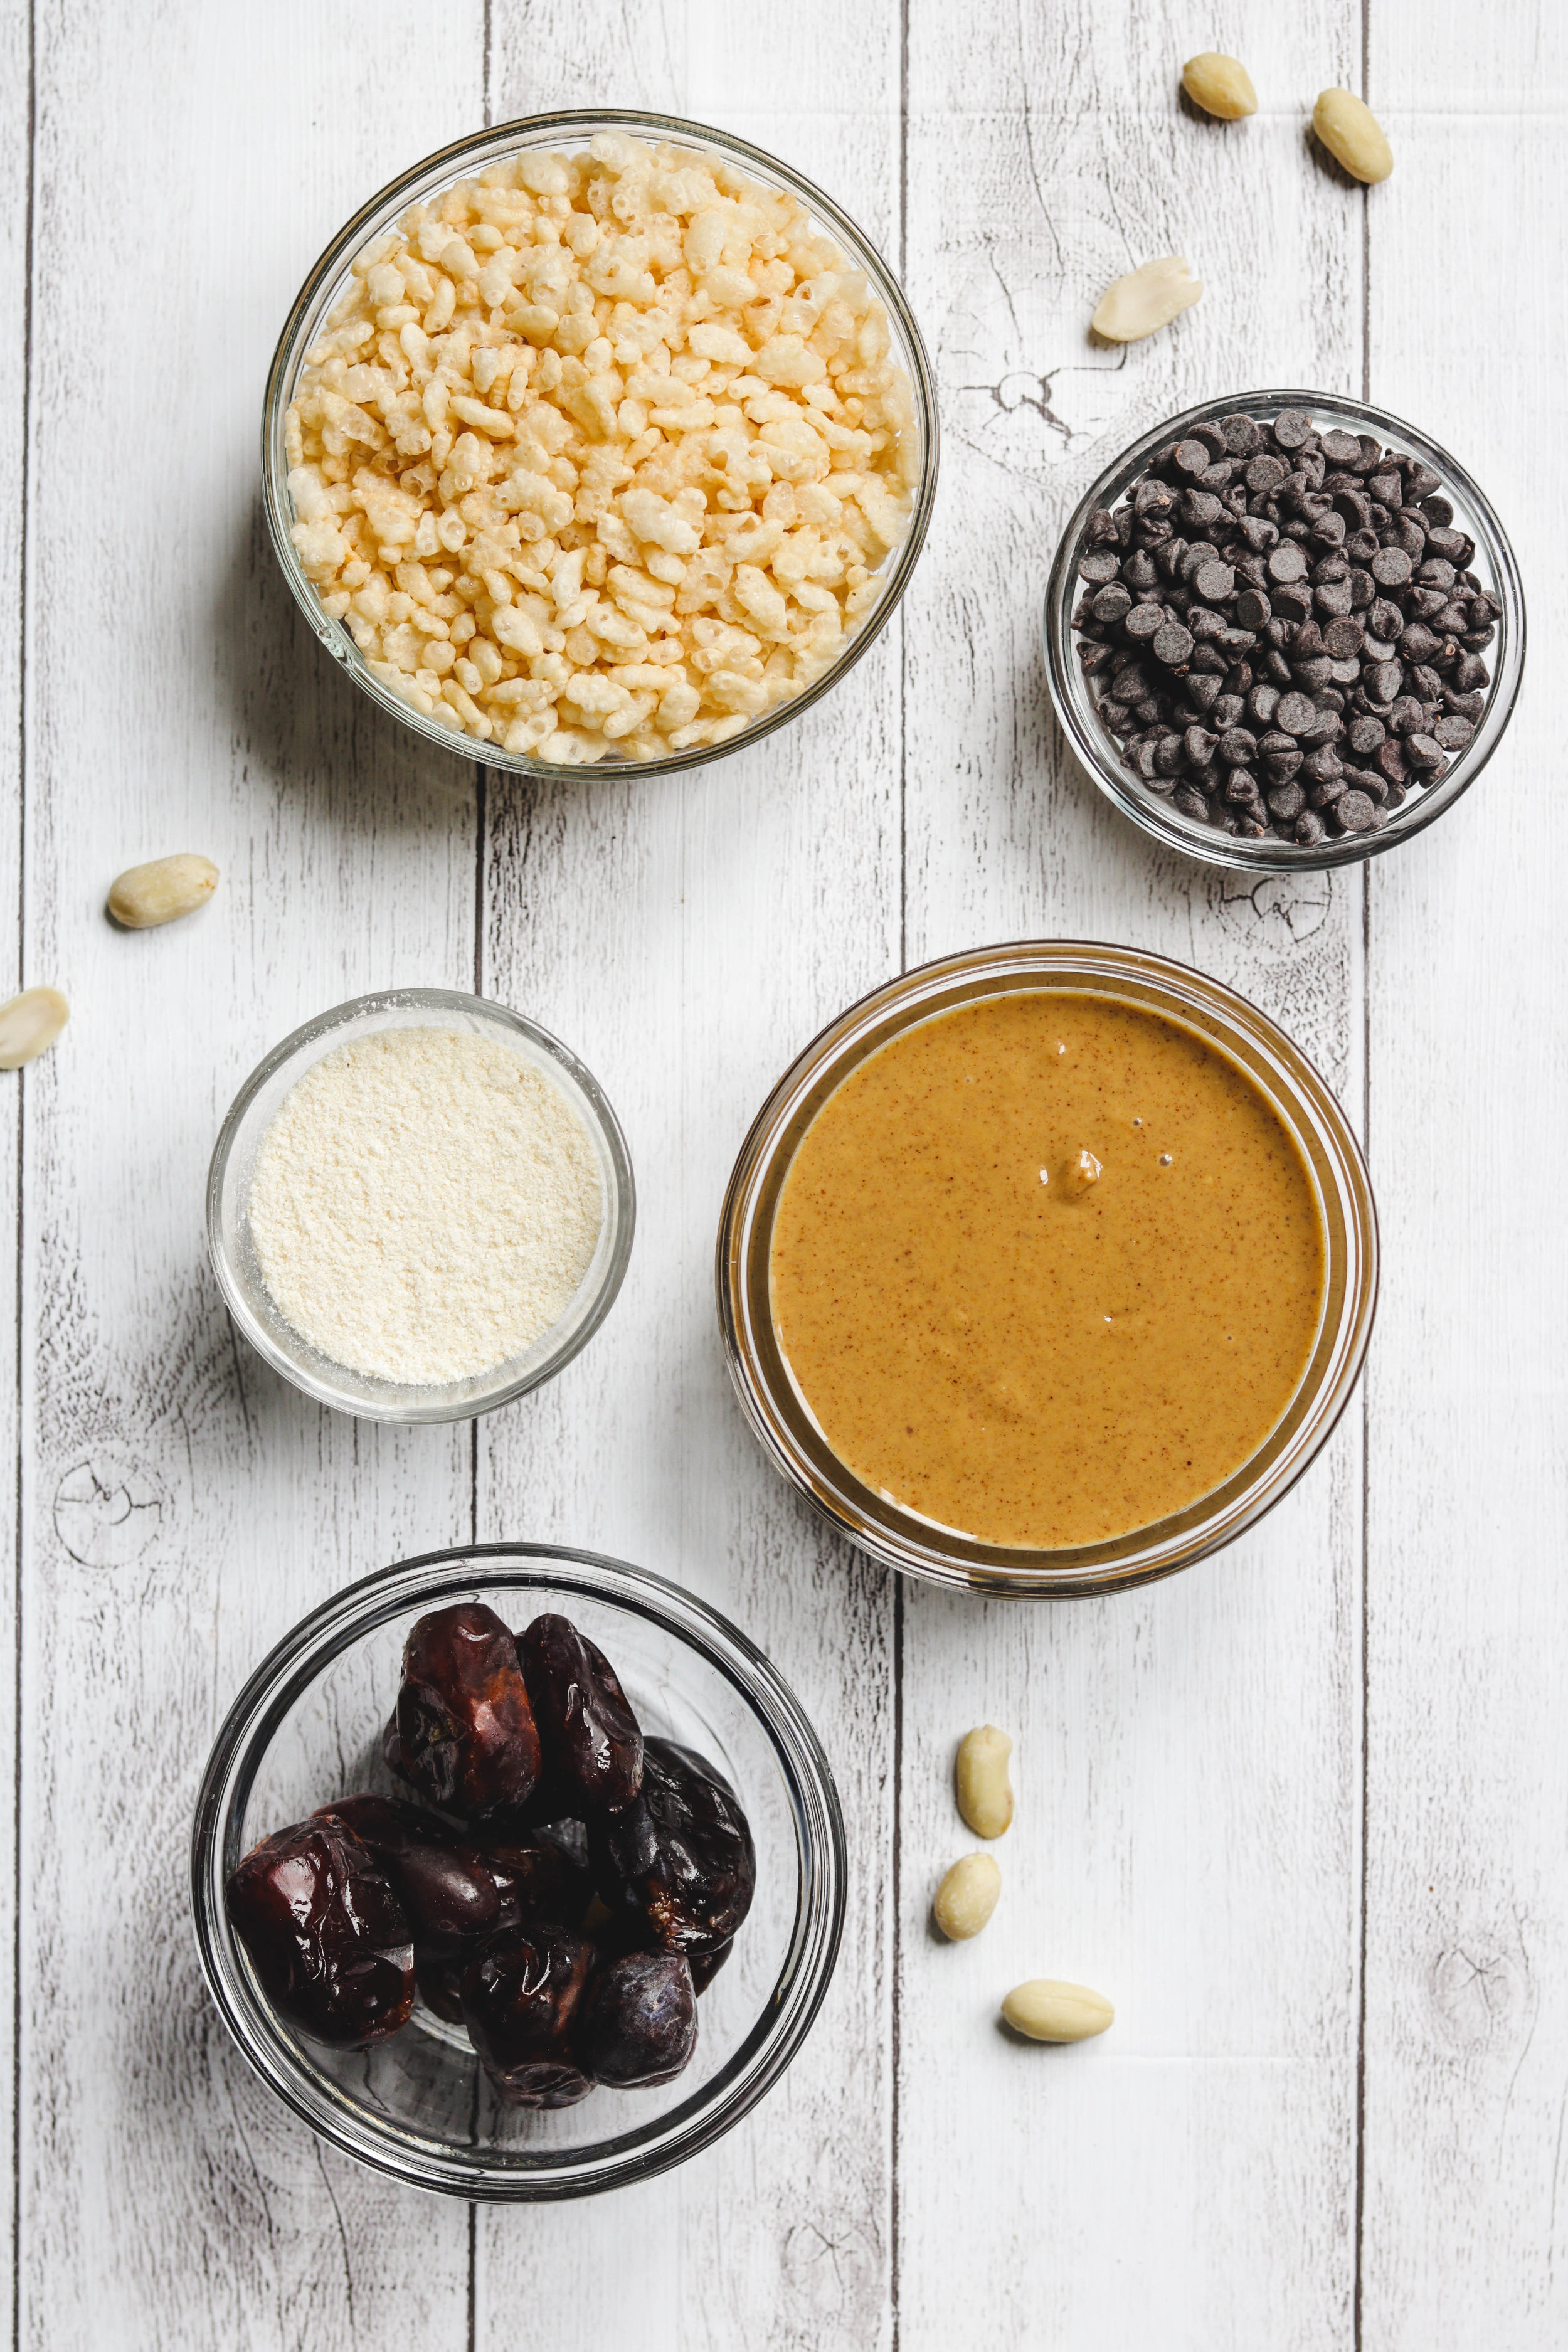
What goes into these Healthy Peanut Butter Rice Crispy Balls?
-
Crispy rice cereal (or any gluten-free rice krispe cereal)
-
Dates
-
and to make them more indulgent, you can coat or drizzle them with a your choice of chocolate
How to make these Healthy Peanut Butter Rice Crispy Balls?
These are probably one of the easiest snacks you can make when you’re in a pinch.
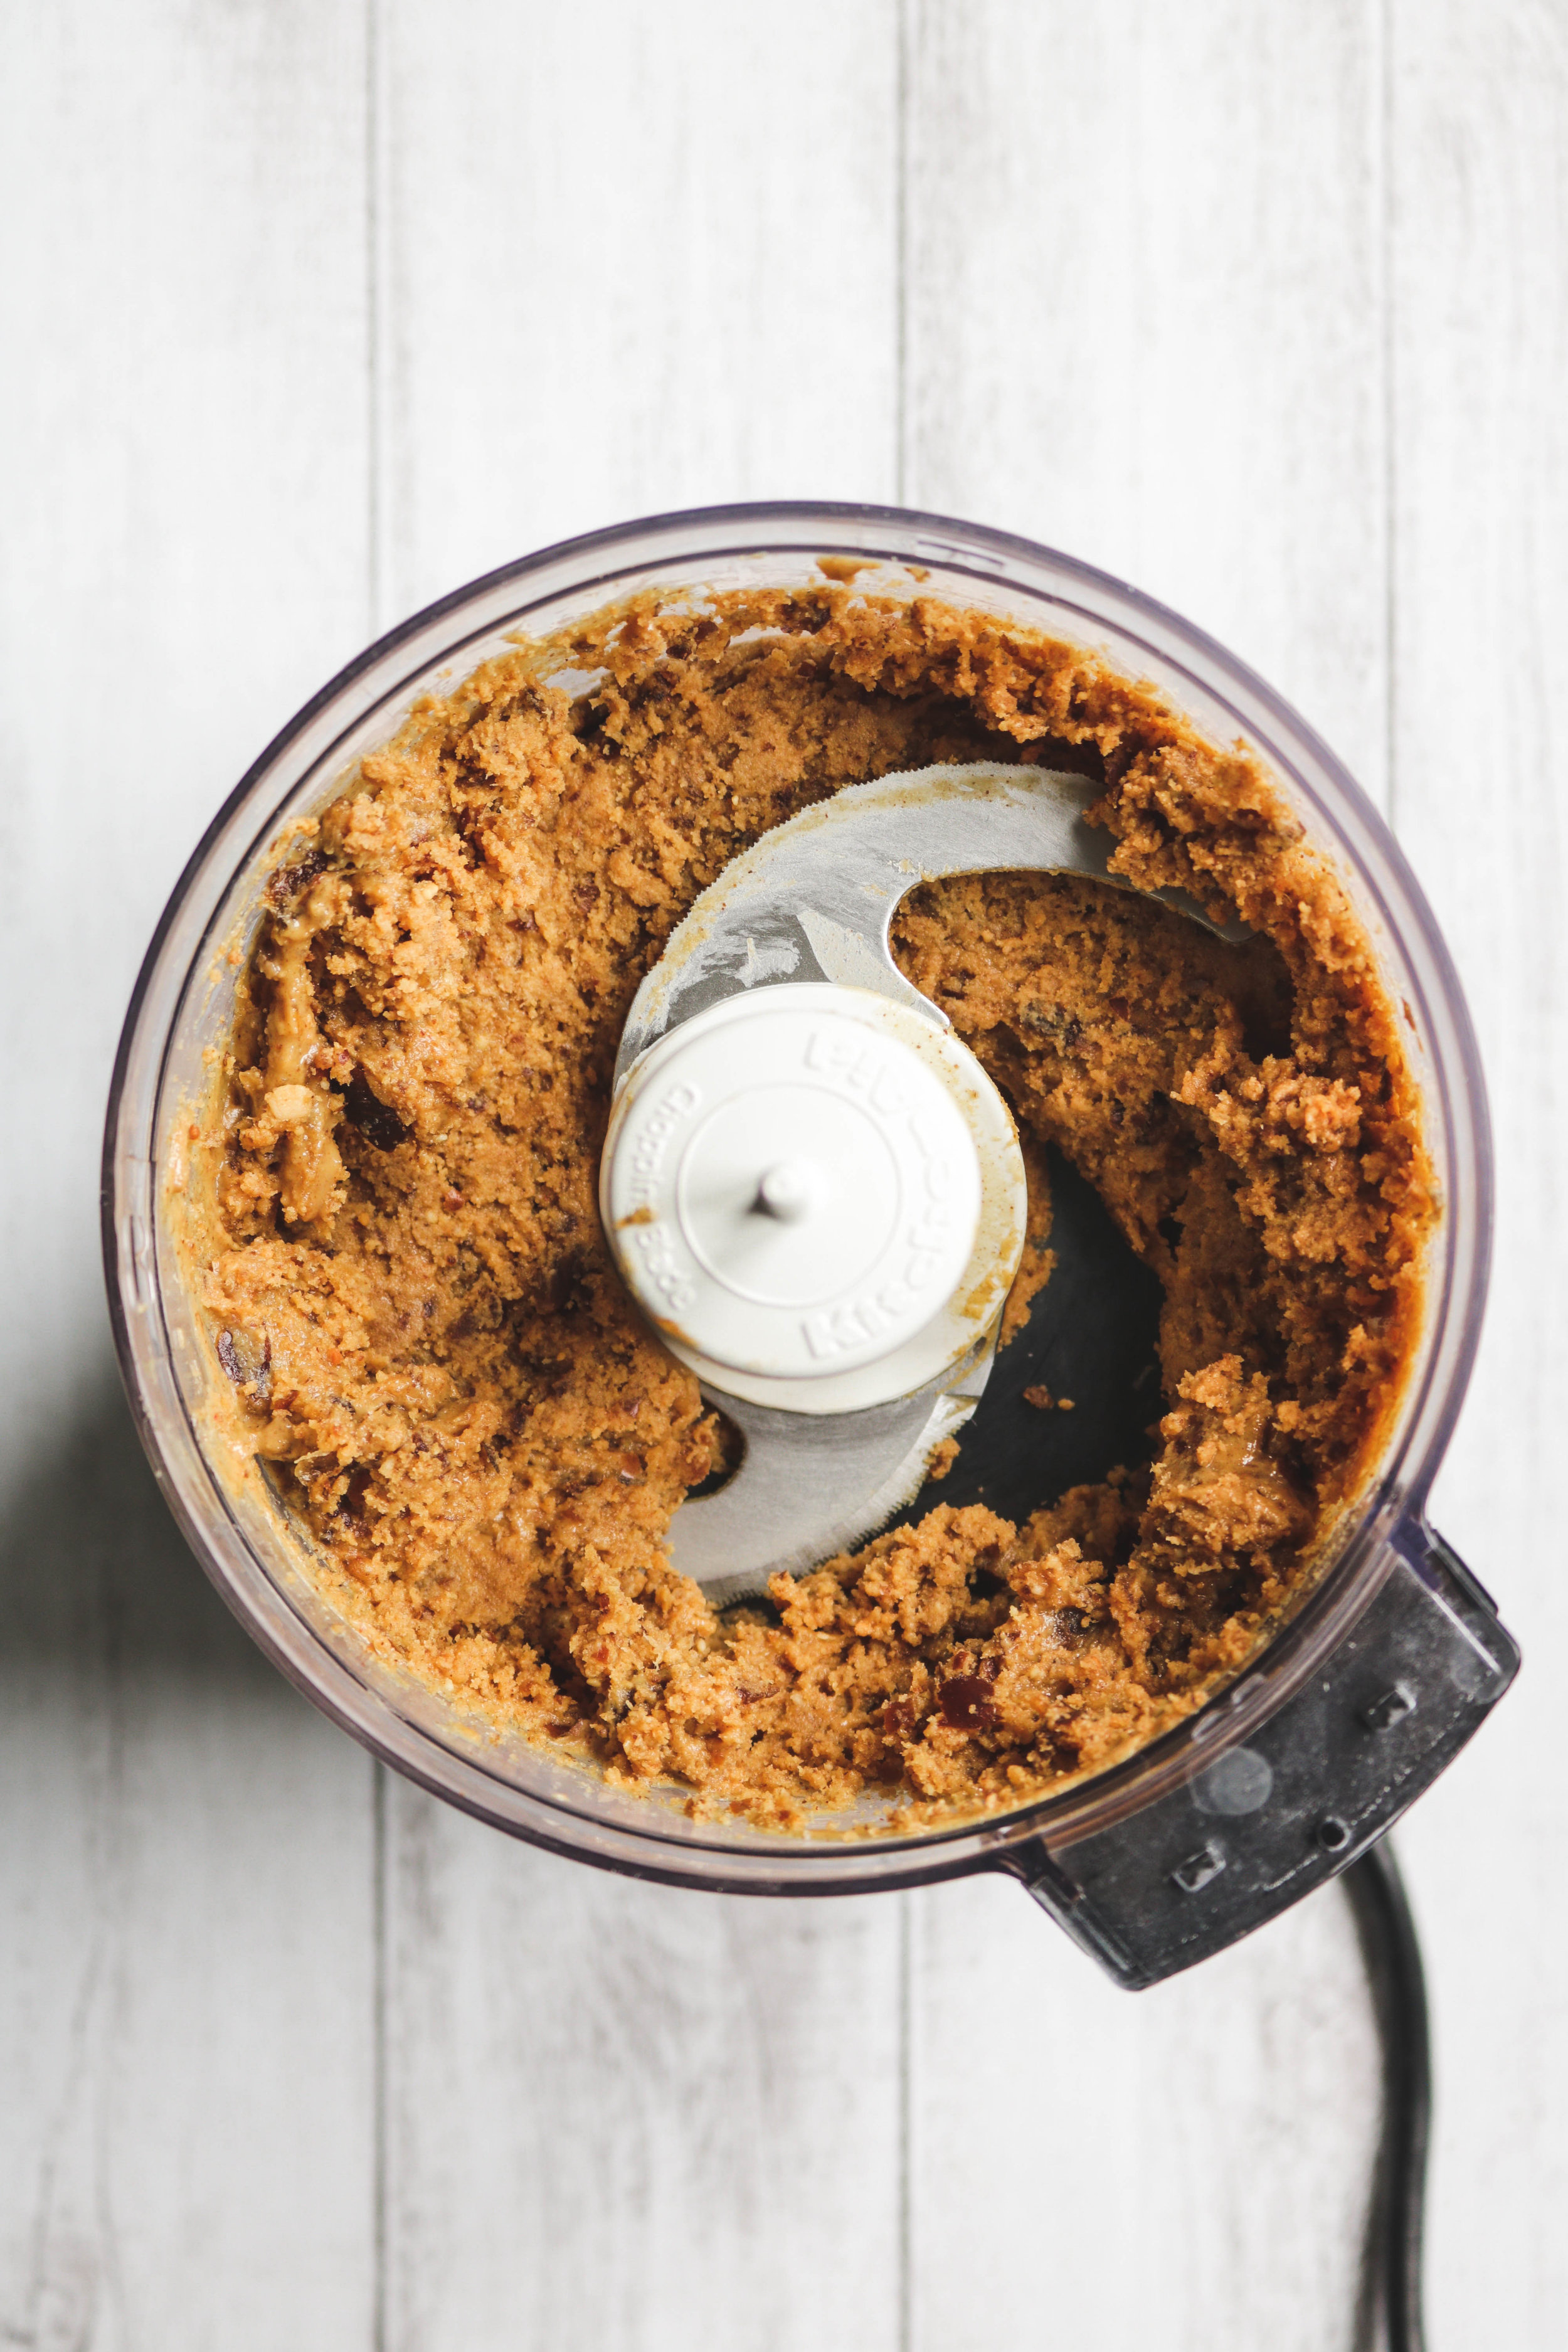
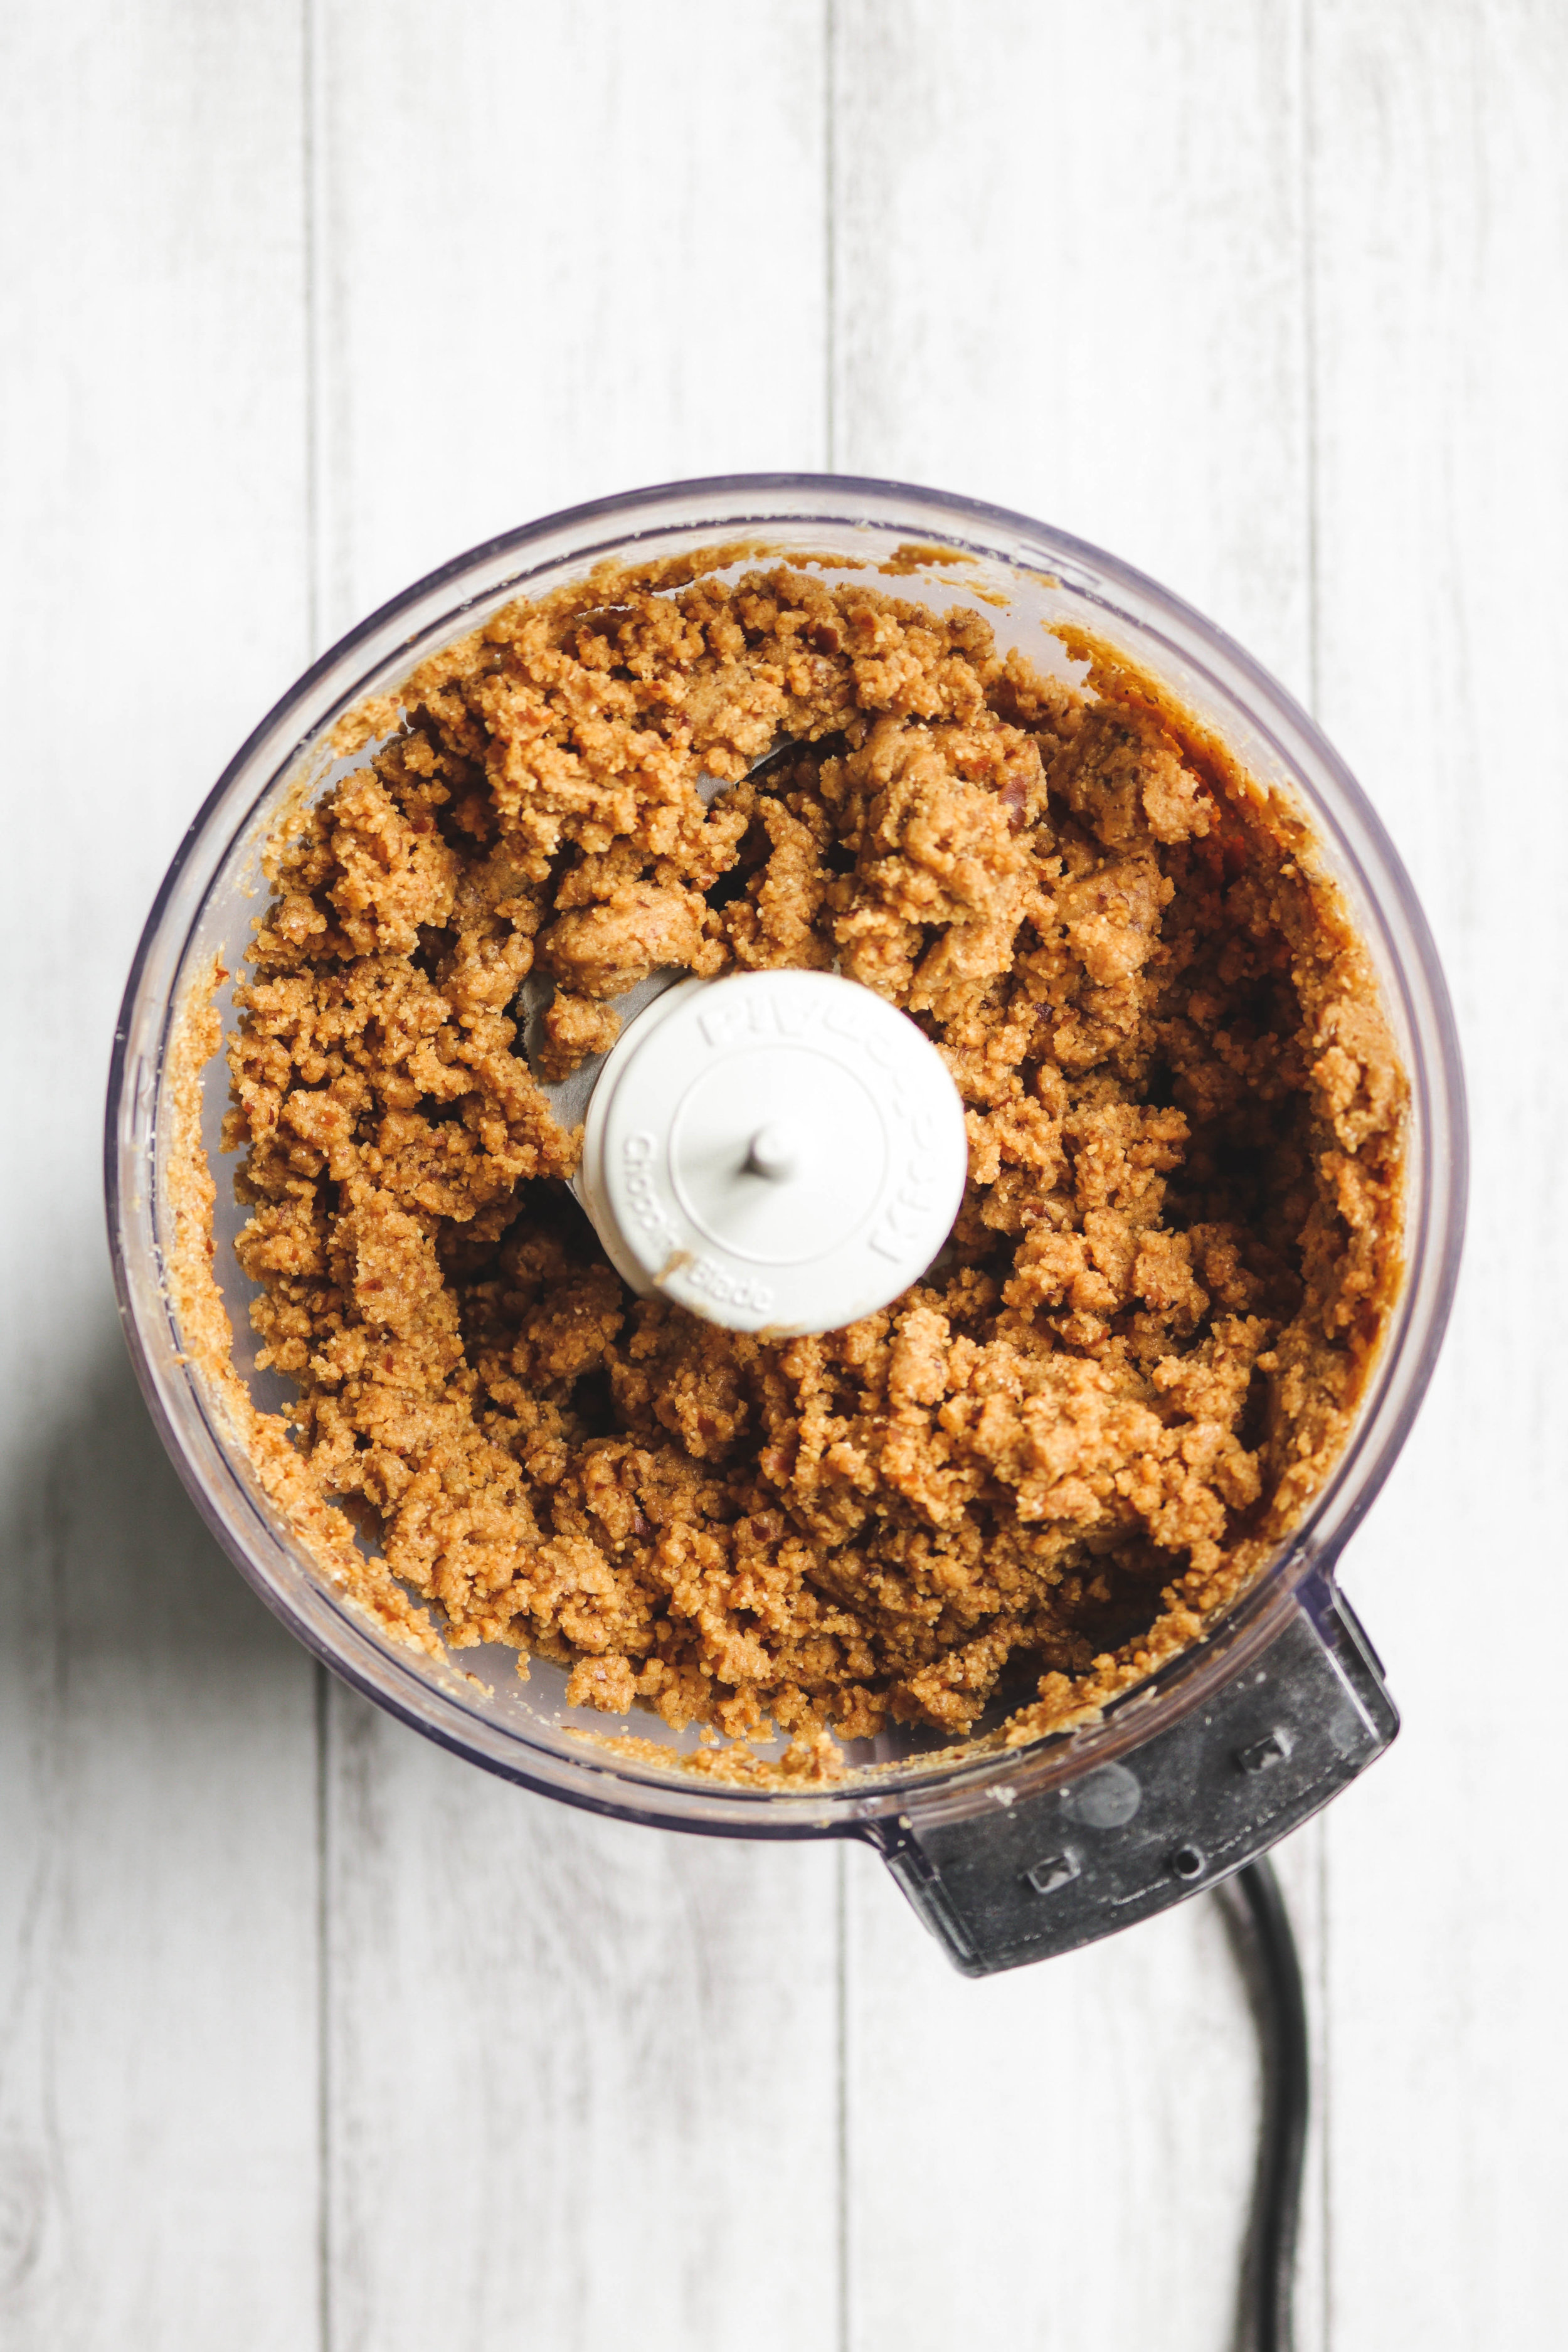
1. Process: the dates and peanut butter in a food processor until smooth. Check the consistency, and if it seems a bit too ‘loose’ then add in 1 tbsp of coconut flour (or your choice of flour). You should be able to press the paste between your fingers without it sticking too much.
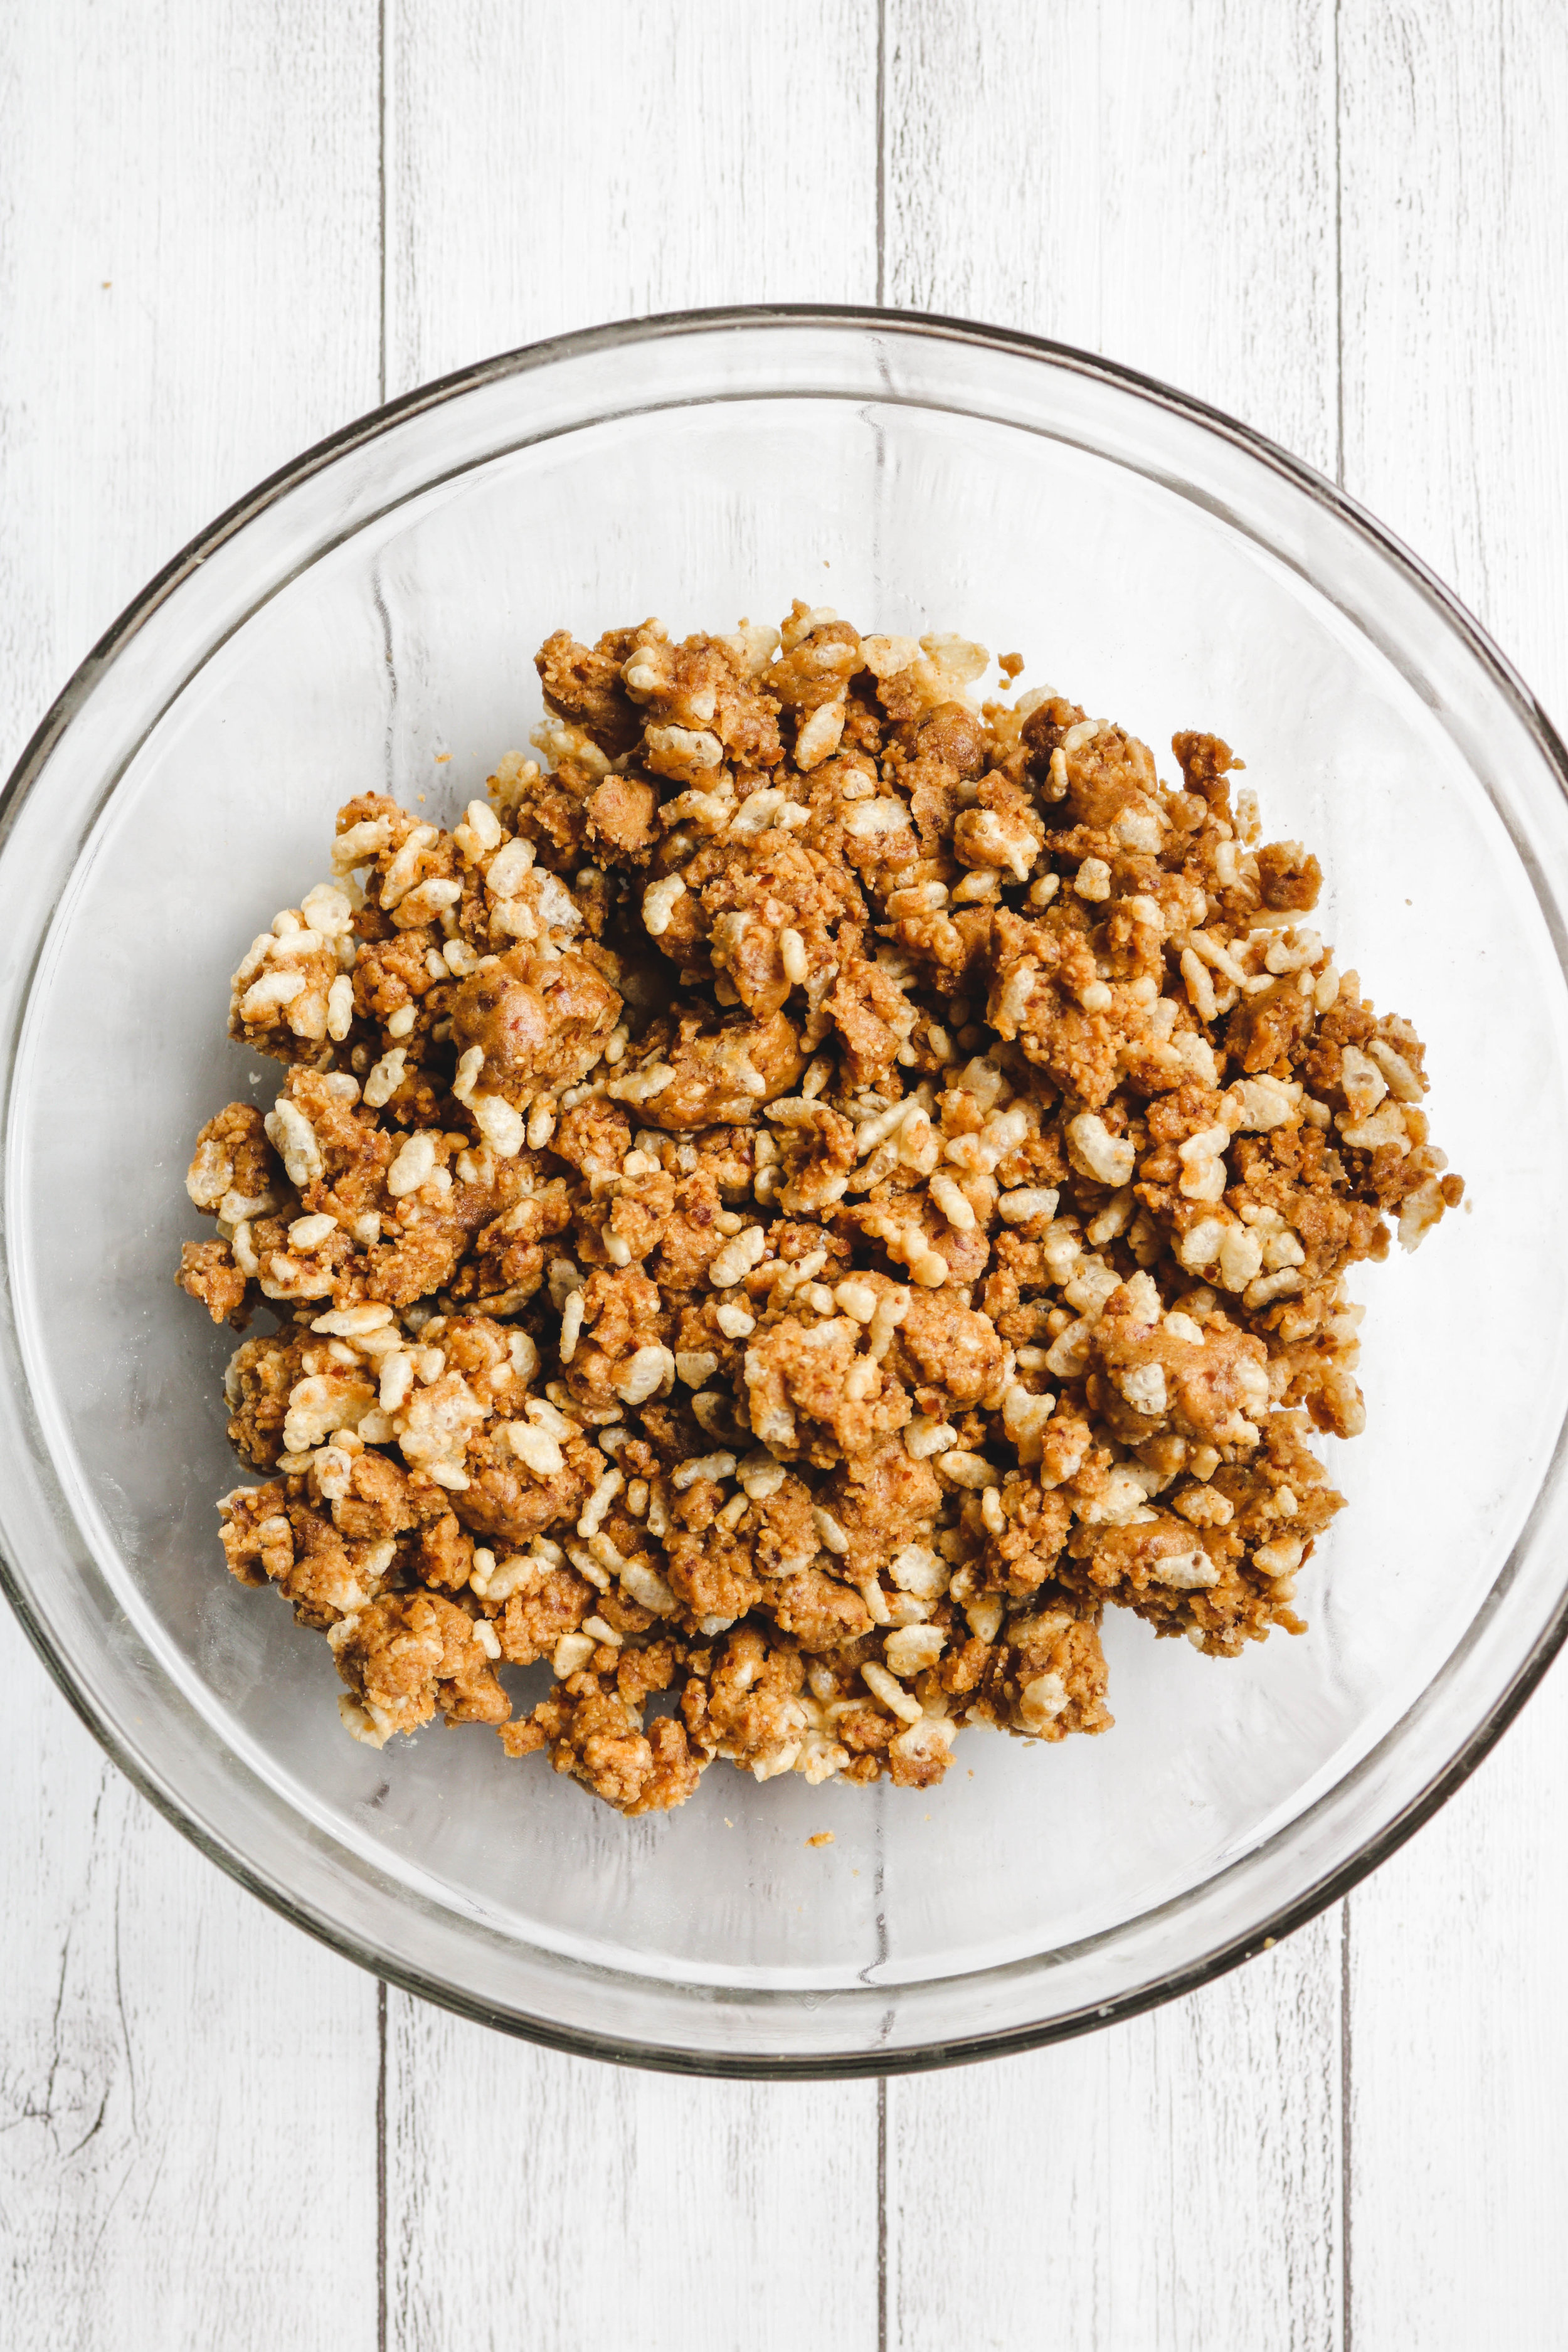
2. Mix: together the paste we just made with the crispy rice cereal.
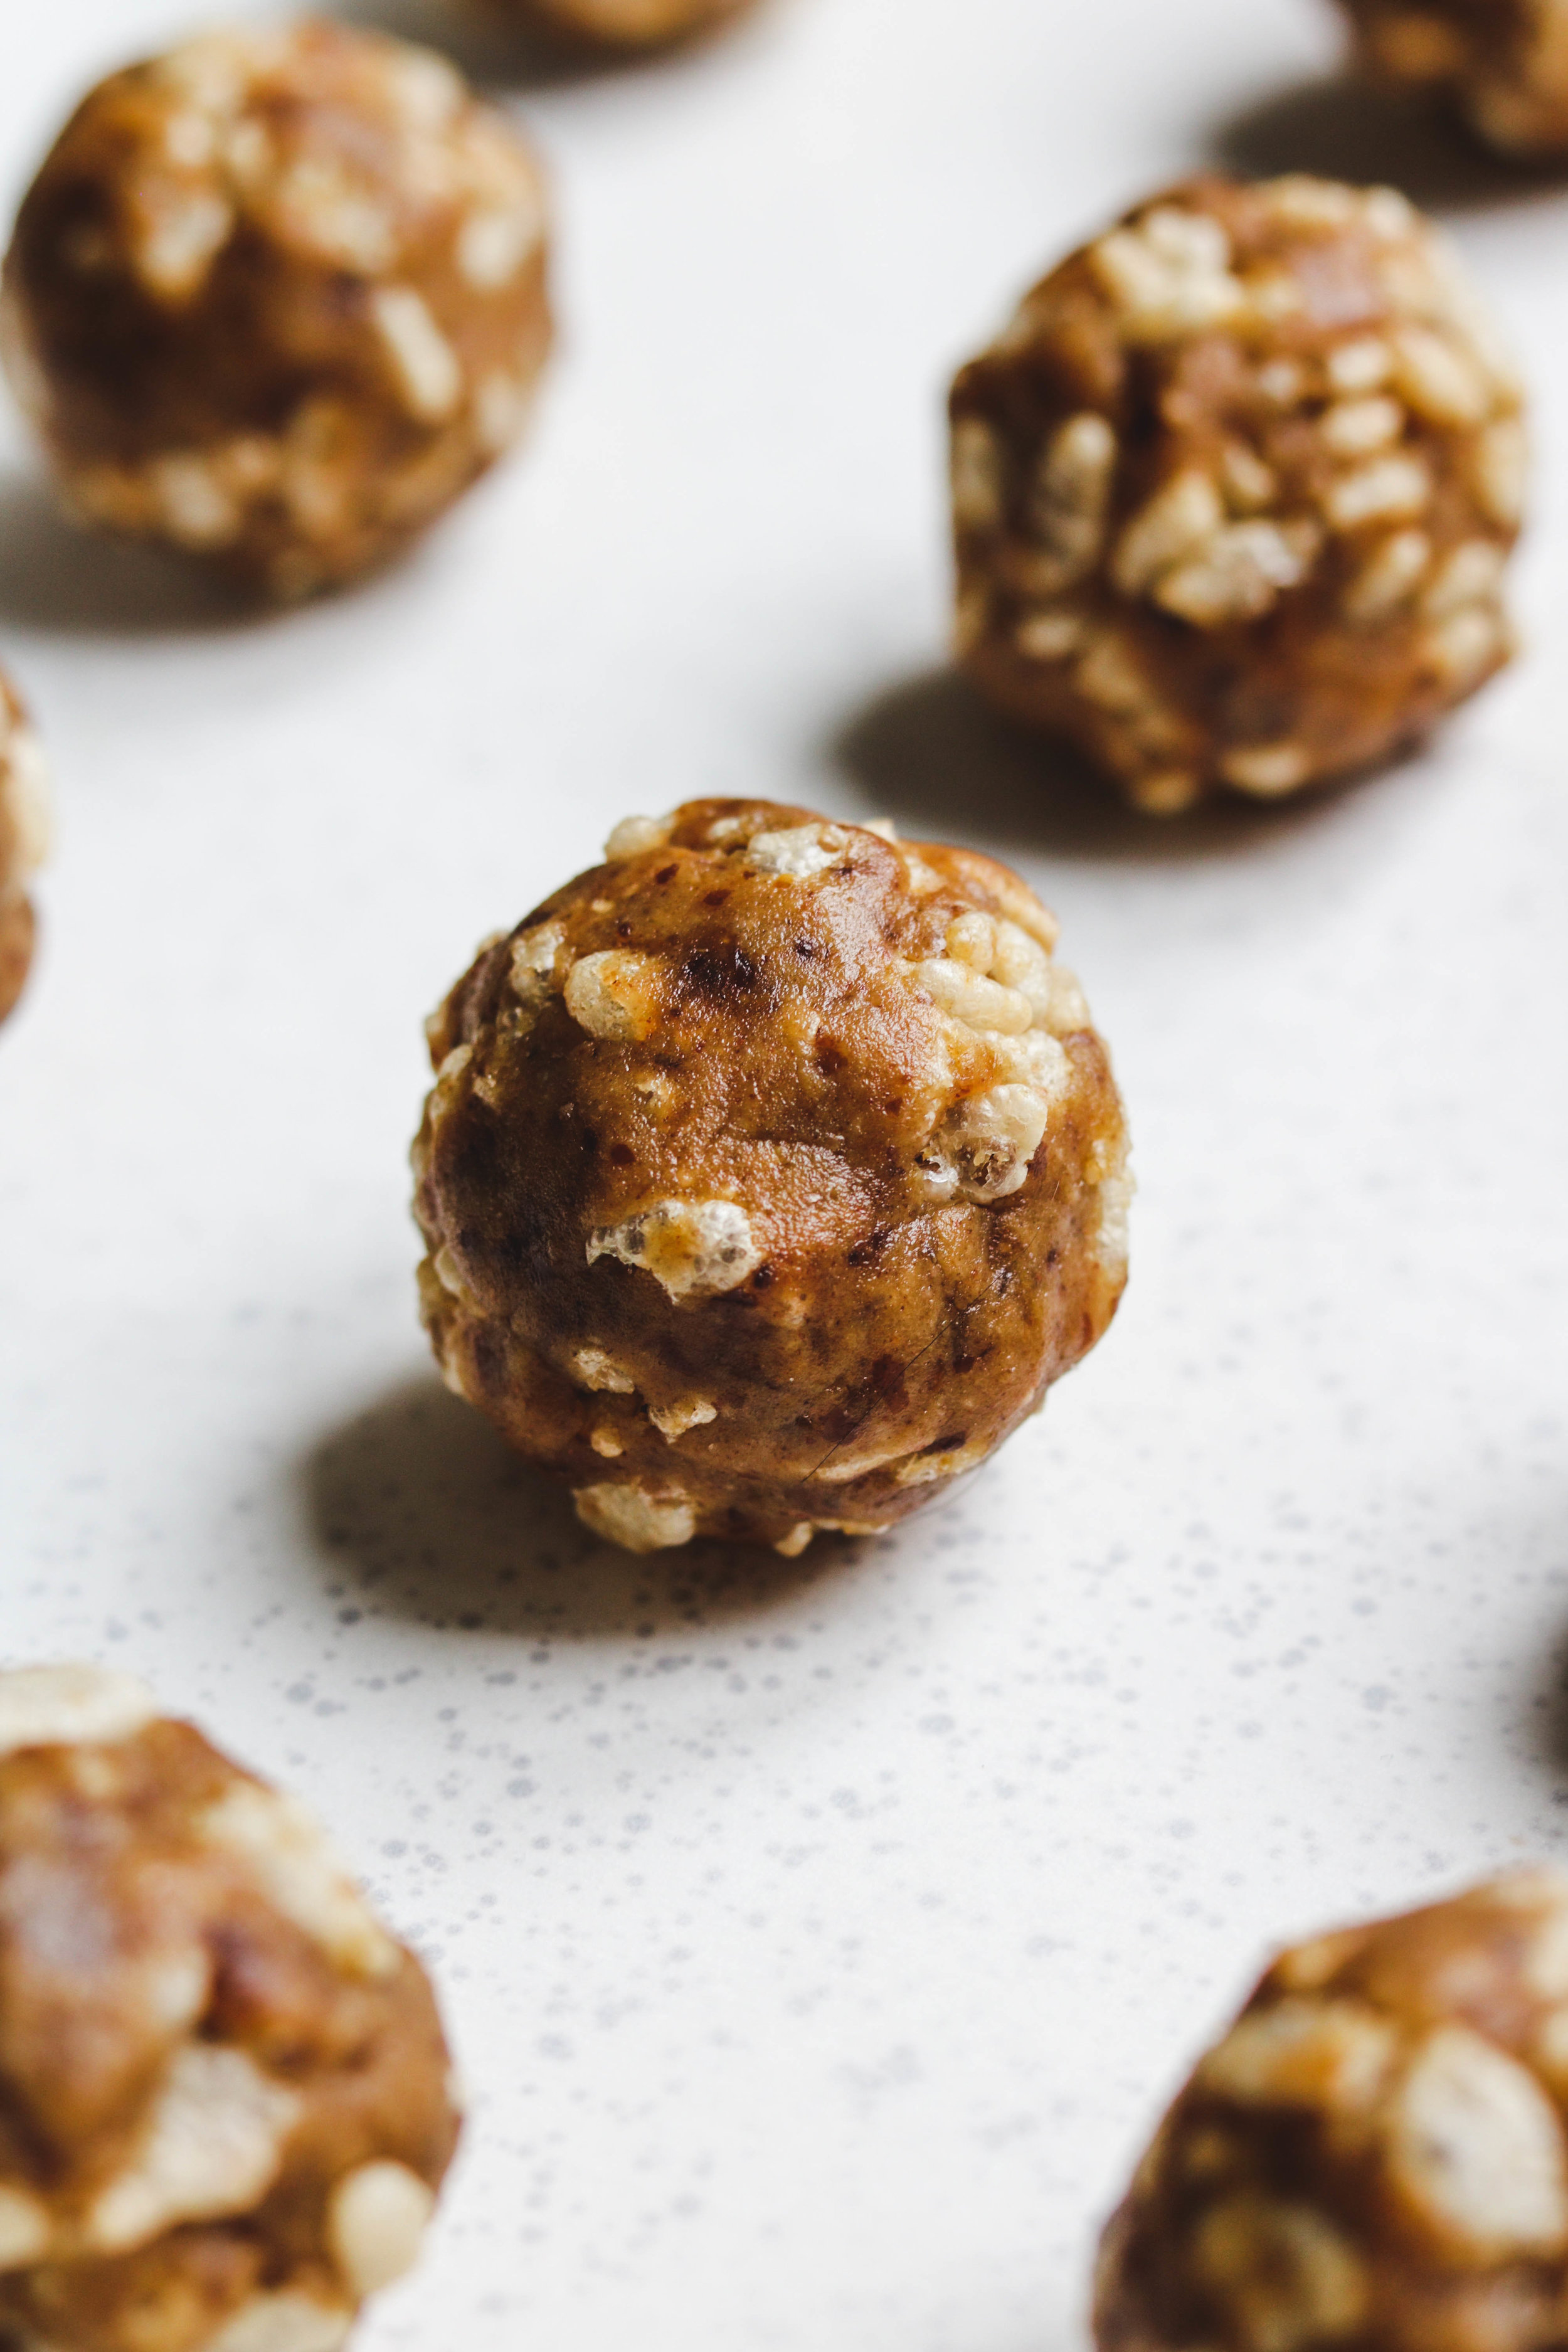
3. Roll them into balls, I was able to make 12 out of them using a standard size cookie scooper. Stick them into the freezer to let them chill to firm up.
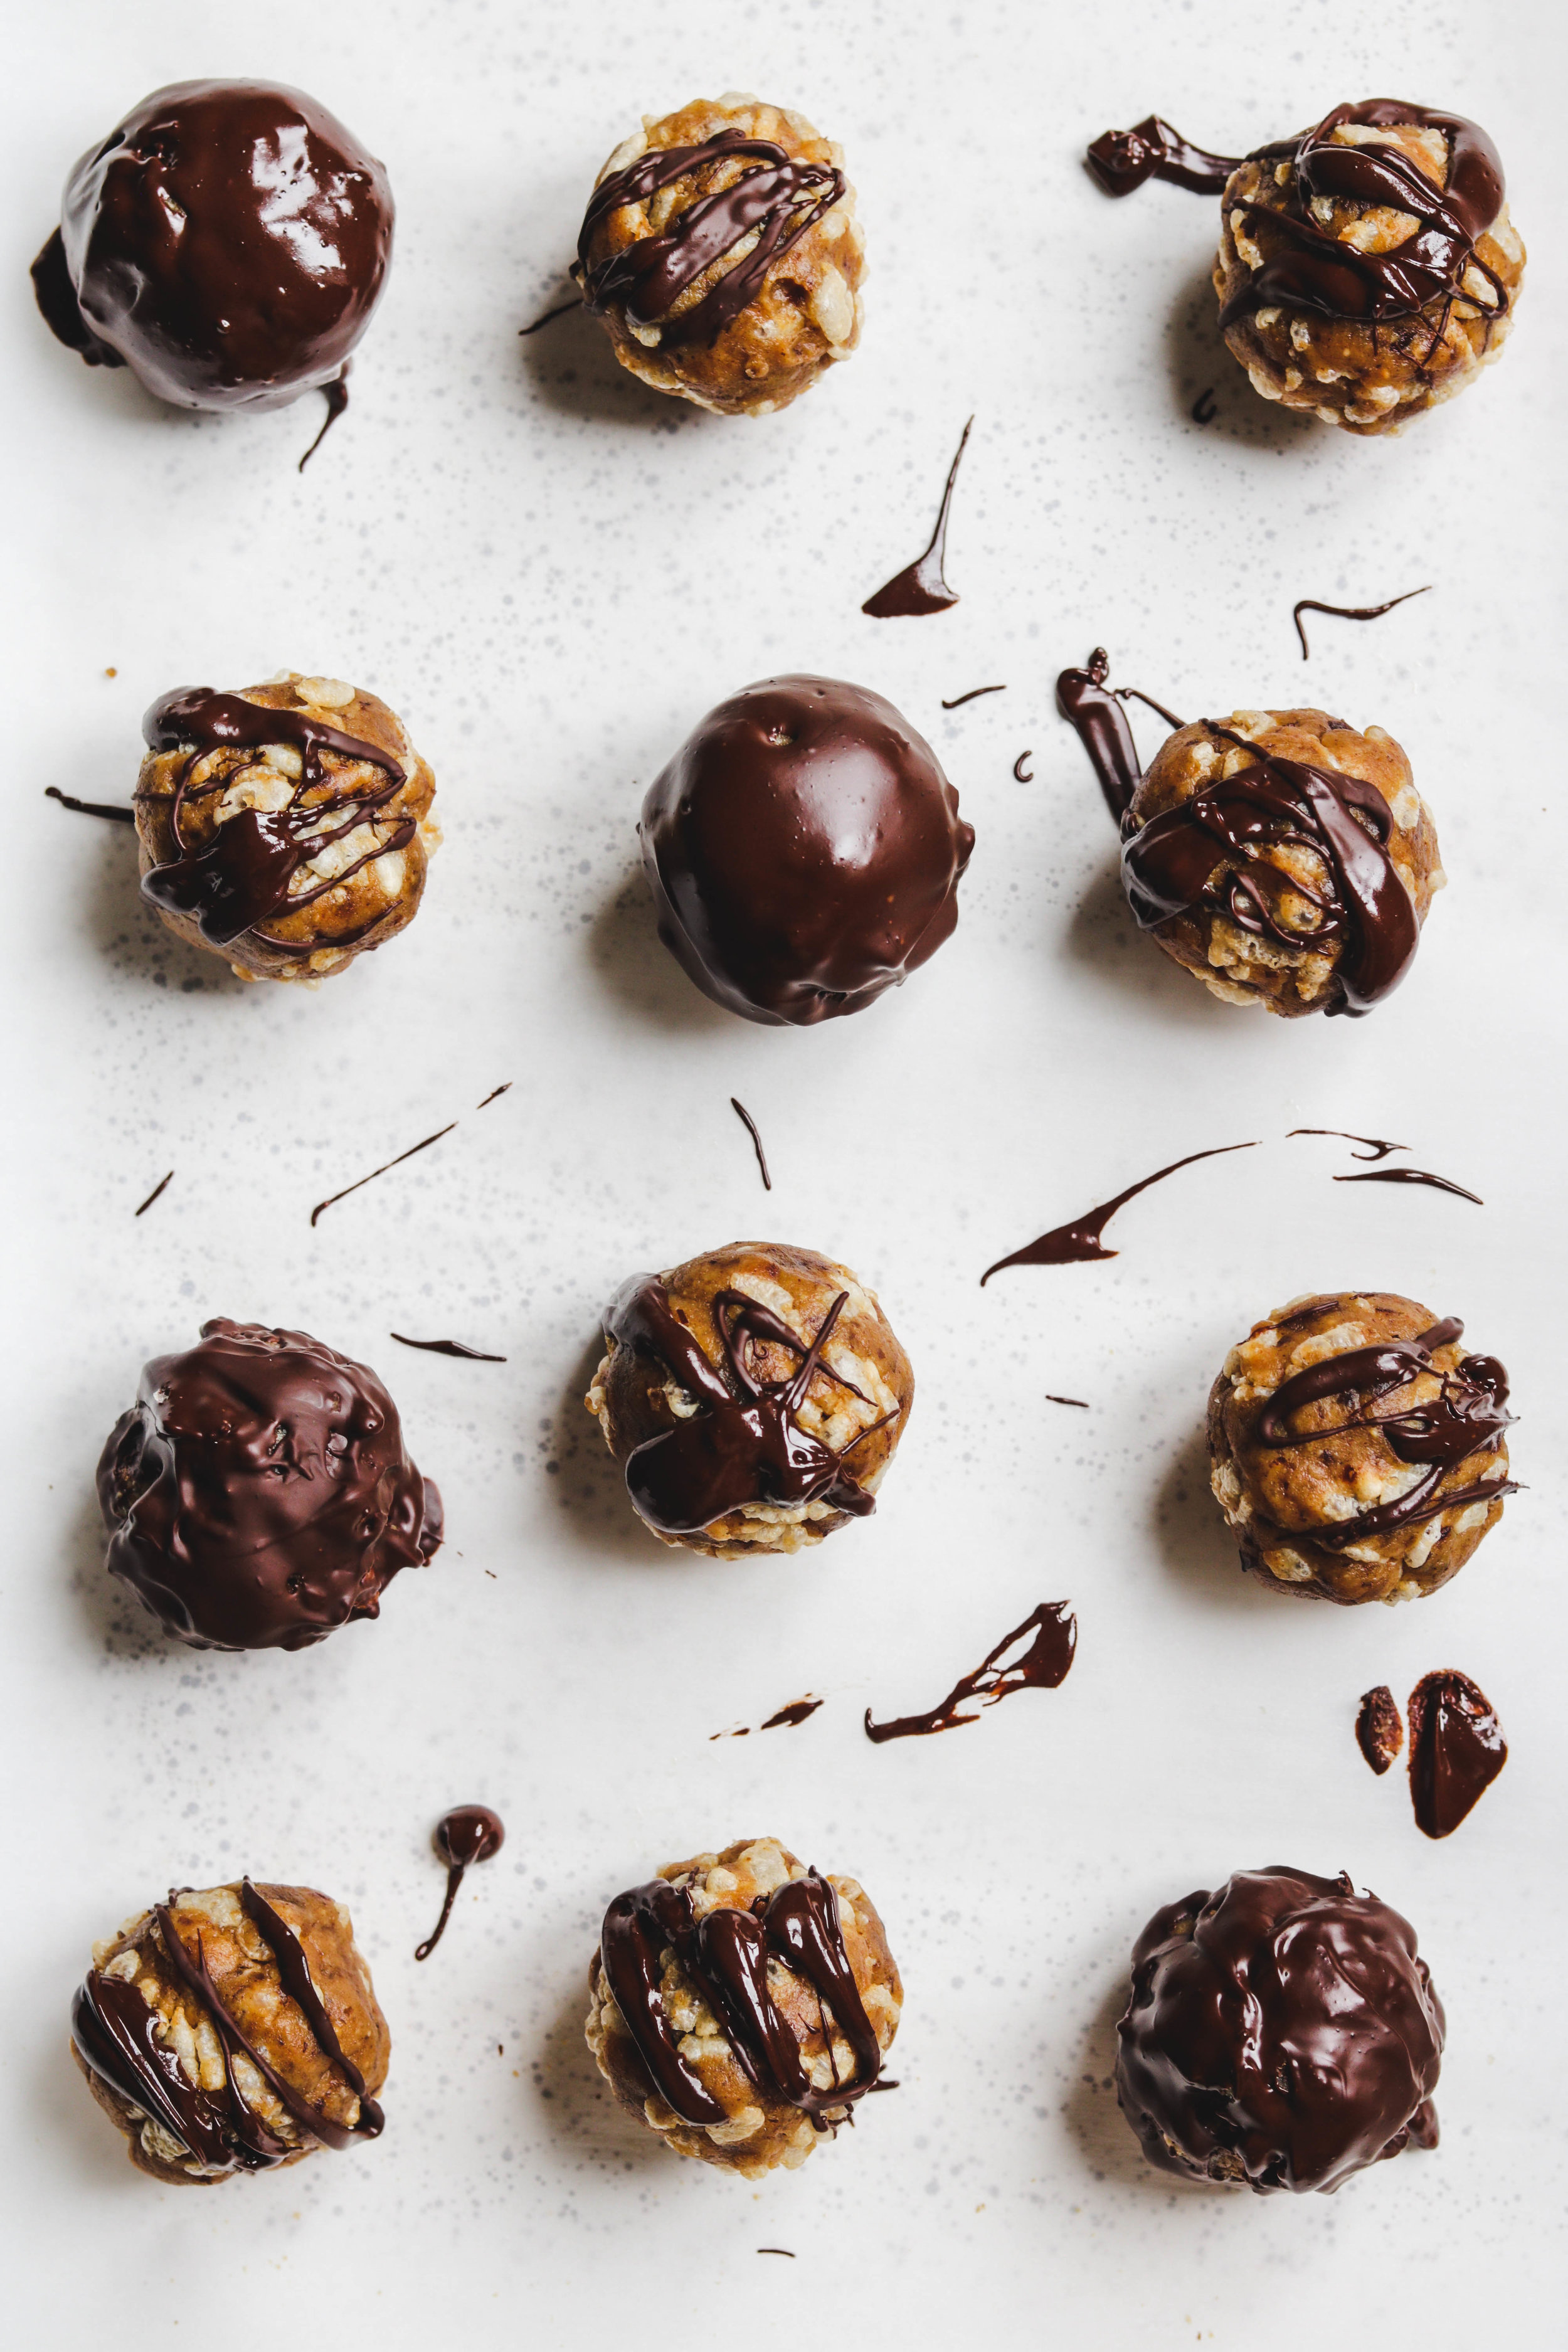
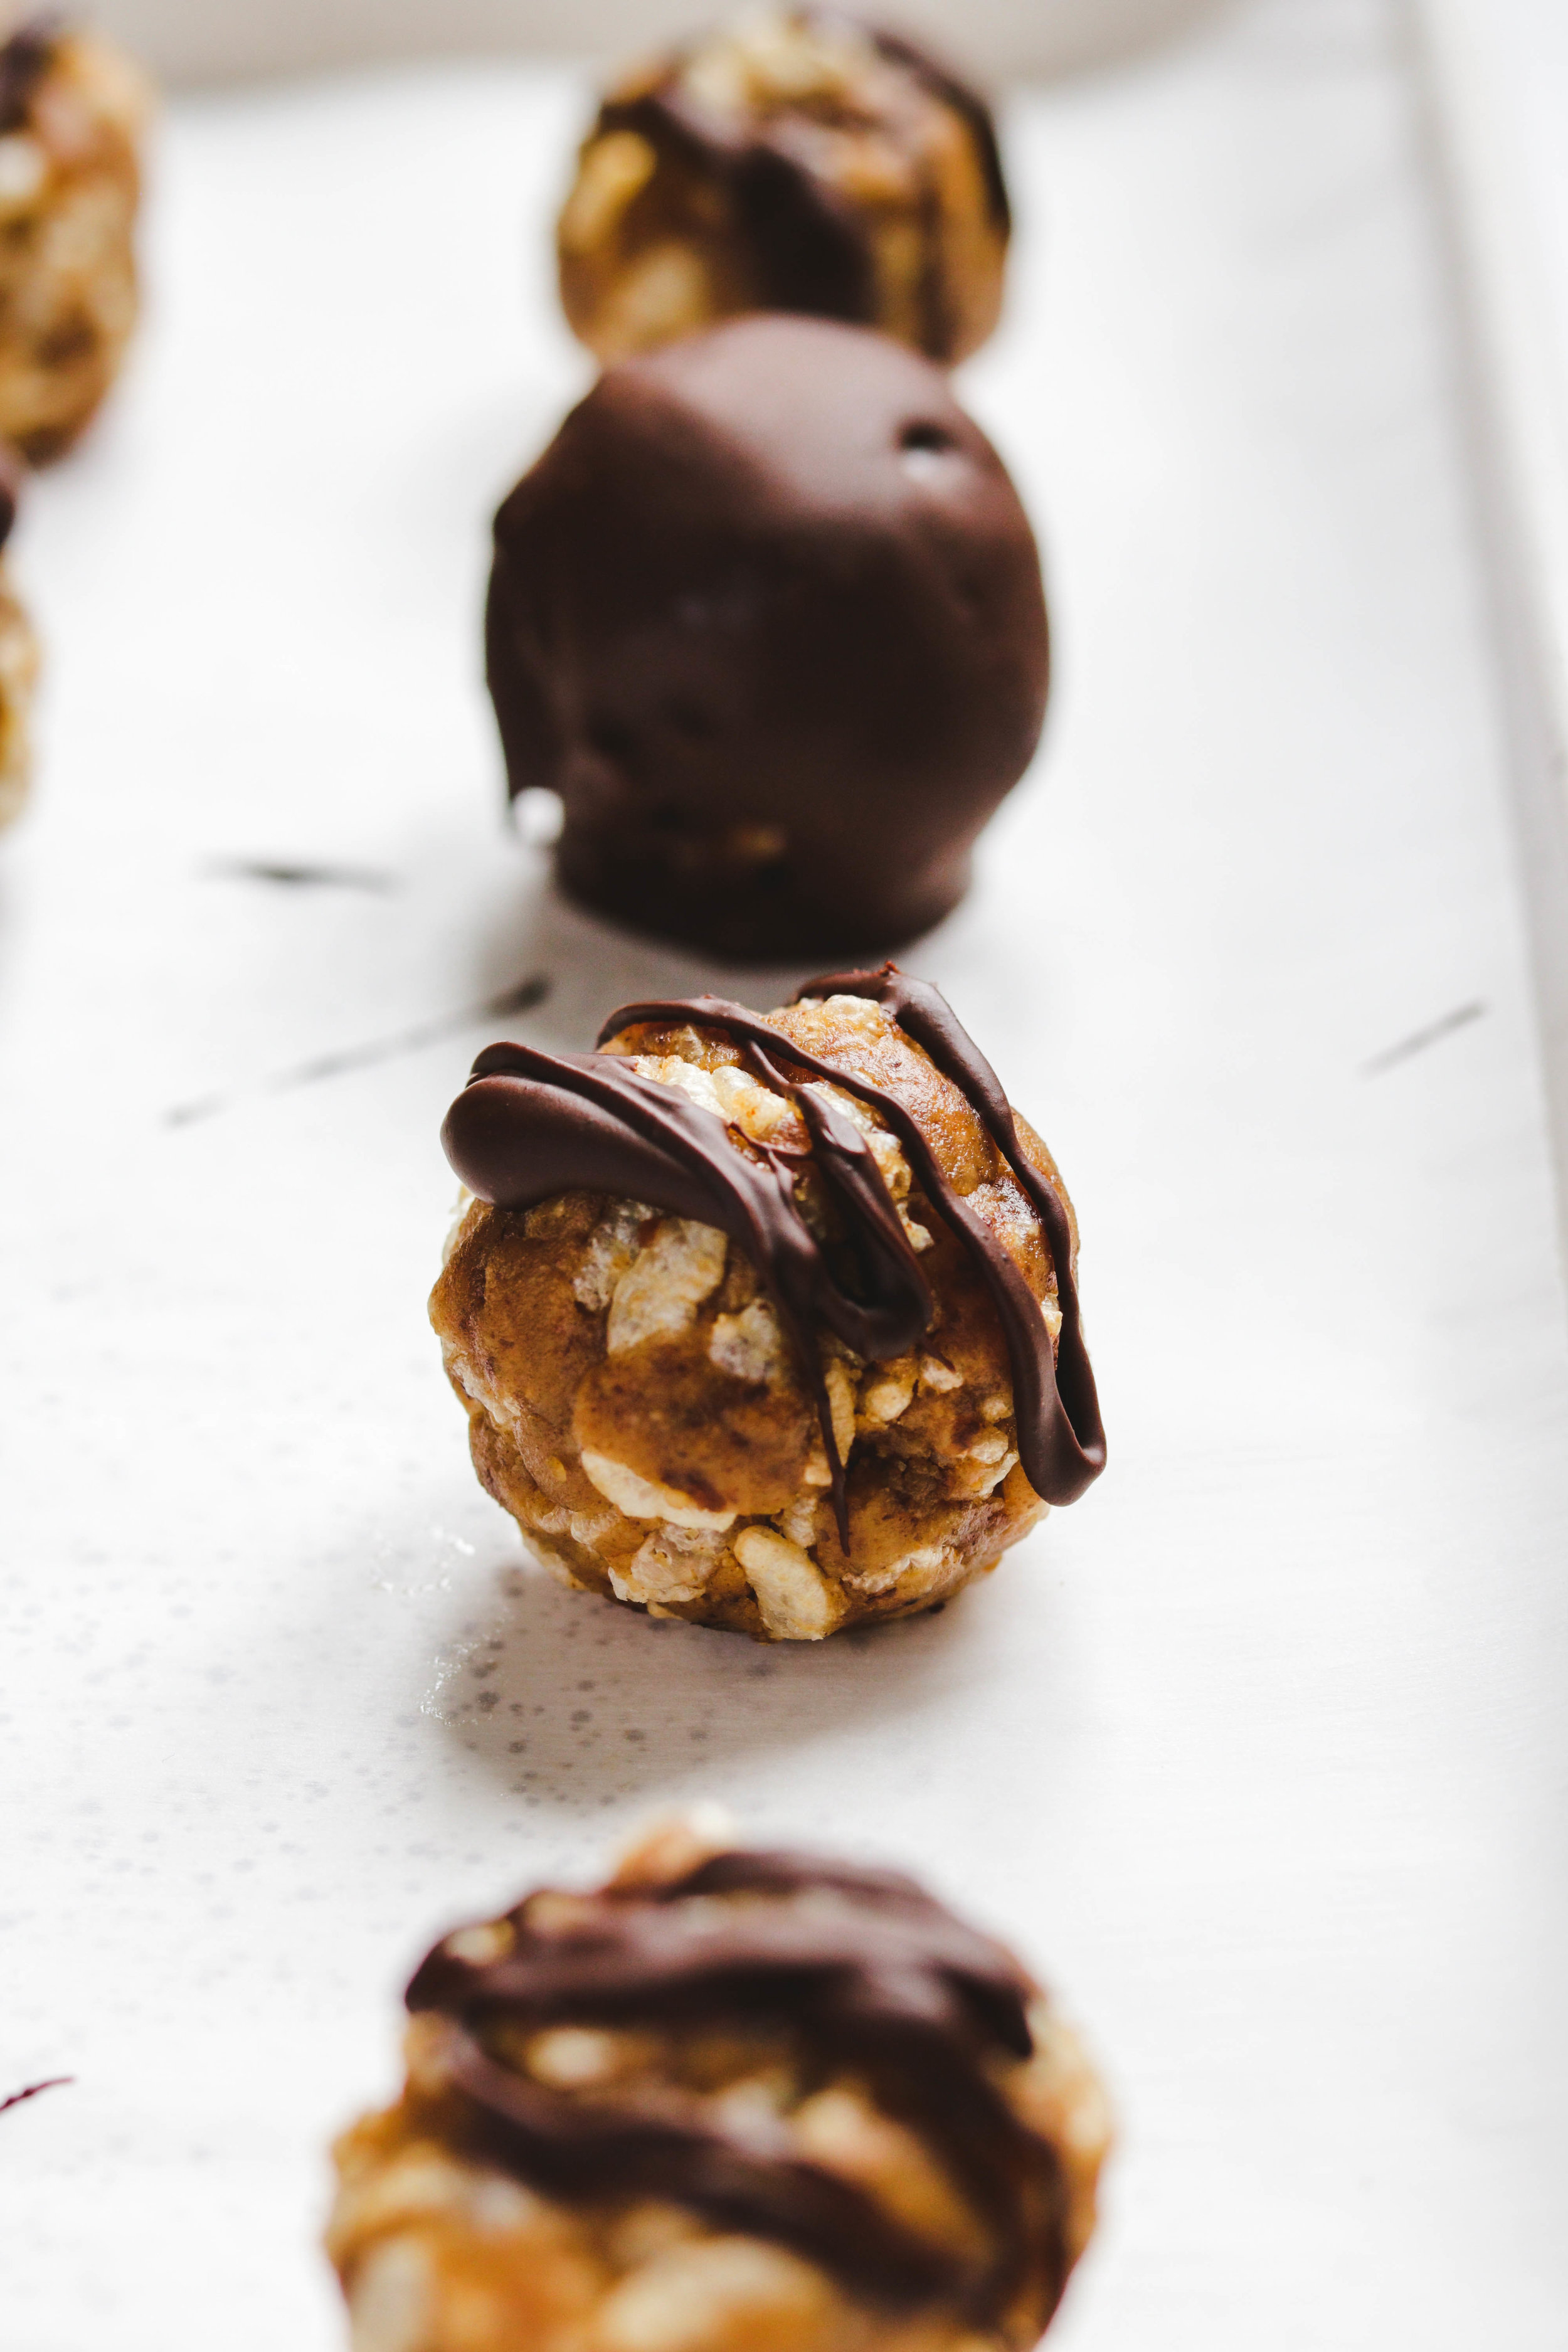
3. You can basically stop here and just enjoy them as is, but I love to drizzle (or coat) some dark chocolate to make them extra delicious.
How to store these Healthy Peanut Butter Rice Crispy Balls:
I like to keep these in the freezer, it keeps them firm and the perfect consistency. At room temperature they tend to get a little soft so I do recommend keeping them in the fridge or freezer in an airtight container.
Substitutions:
i know everyone always appreciates substitutions so I’ve tried these with different ingredients.
-
Peanut butter: you can use any nut or seed butter here, so if you have an allergy to nuts try sunflower seed butter! I will say, tahini is much more runnier so you may need to add a bit more flour.
-
Dates: I prefer to sweeten my treats with dates as much as possible, but I have successfully made this with brown rice syrup and maple syrup.
-
Crispy rice cereal: I used Nature Paths Organics but you can use any rice cereal that you have on hand!
I really hope you give these super easy & healthy Peanut Butter Rice Crispy Balls a try and love them as much as I do because they’re:
-
sweet & salty
-
crispy
-
crunchy
-
chewy
-
so easy & quick to make
-
& damn tasty!!
If you recreate these Healthy Peanut Butter Rice Crispy Balls please share it and let me know what you think by tagging me on Instagram @okonomikitchen, I love seeing all of your tasty recreations!
Print
Healthy Peanut Butter Rice Crispy Balls | Vegan & Gluten Free
- Total Time: 10 minutes
- Yield: 12 balls 1x
Description
These Healthy Peanut Butter Rice Crispy Balls are sweet, salty and made with 4 simple ingredients. They’re easy to make, no-bake, vegan, gluten free, sugar free & the perfect treat for any time of day!
Ingredients
- 2/3 cup peanut butter (170g)*
- 1/3 cup dates, packed (110g)
- 1 cup crispy rice cereal (32g)
- Optional: 1/3 cup chocolate chips, to drizzle on top or coat (80g)
Instructions
- Add peanut butter and dates into a food processor and process until combined and makes a thick paste like consistency. Add in 1/2 tbsp of coconut flour if your paste looks very liquidy (this will depend on how runny your peanut butter is or how moist your dates are). It should be thick enough that you can pinch the mixture between your fingers. Transfer into a large bowl and fold in crispy rice cereal. Take around 1 1/2 tbsp of the mixture and roll them into balls (I was able to make around 12). Place them on a lined baking tray and freeze for 30 minutes.
- Melt your chocolate chips. Once out of the freezer, dip the balls in or drizzle with chocolate chips. Place back into the freezer for atleast 5 minutes to let the chocolate harden.
- Store the finished crispy peanut butter balls in the freezer or fridge in an airtight container.
Notes
*Depending on your peanut butter, you may need to add in a bit of flour to make the consistency a little more thicker. If using a runny-er peanut butter or nut butter, I usually add in anywhere from 1-2 tbsp of coconut flour (can substitute oat flour or almond flour).
- Prep Time: 10 mins
Save it for later! ↓






How much maple syrup would you sub for the dates?
Hi Nicola!
I would start with 3-4 tbsp. Feel the texture of the dough, it may need slightly more to get it to stick together. Goodluck!
Can you please recommend for substitute for the coconut flour?
I think oat flour or almond flour will do! It’s just for consistency 🙂