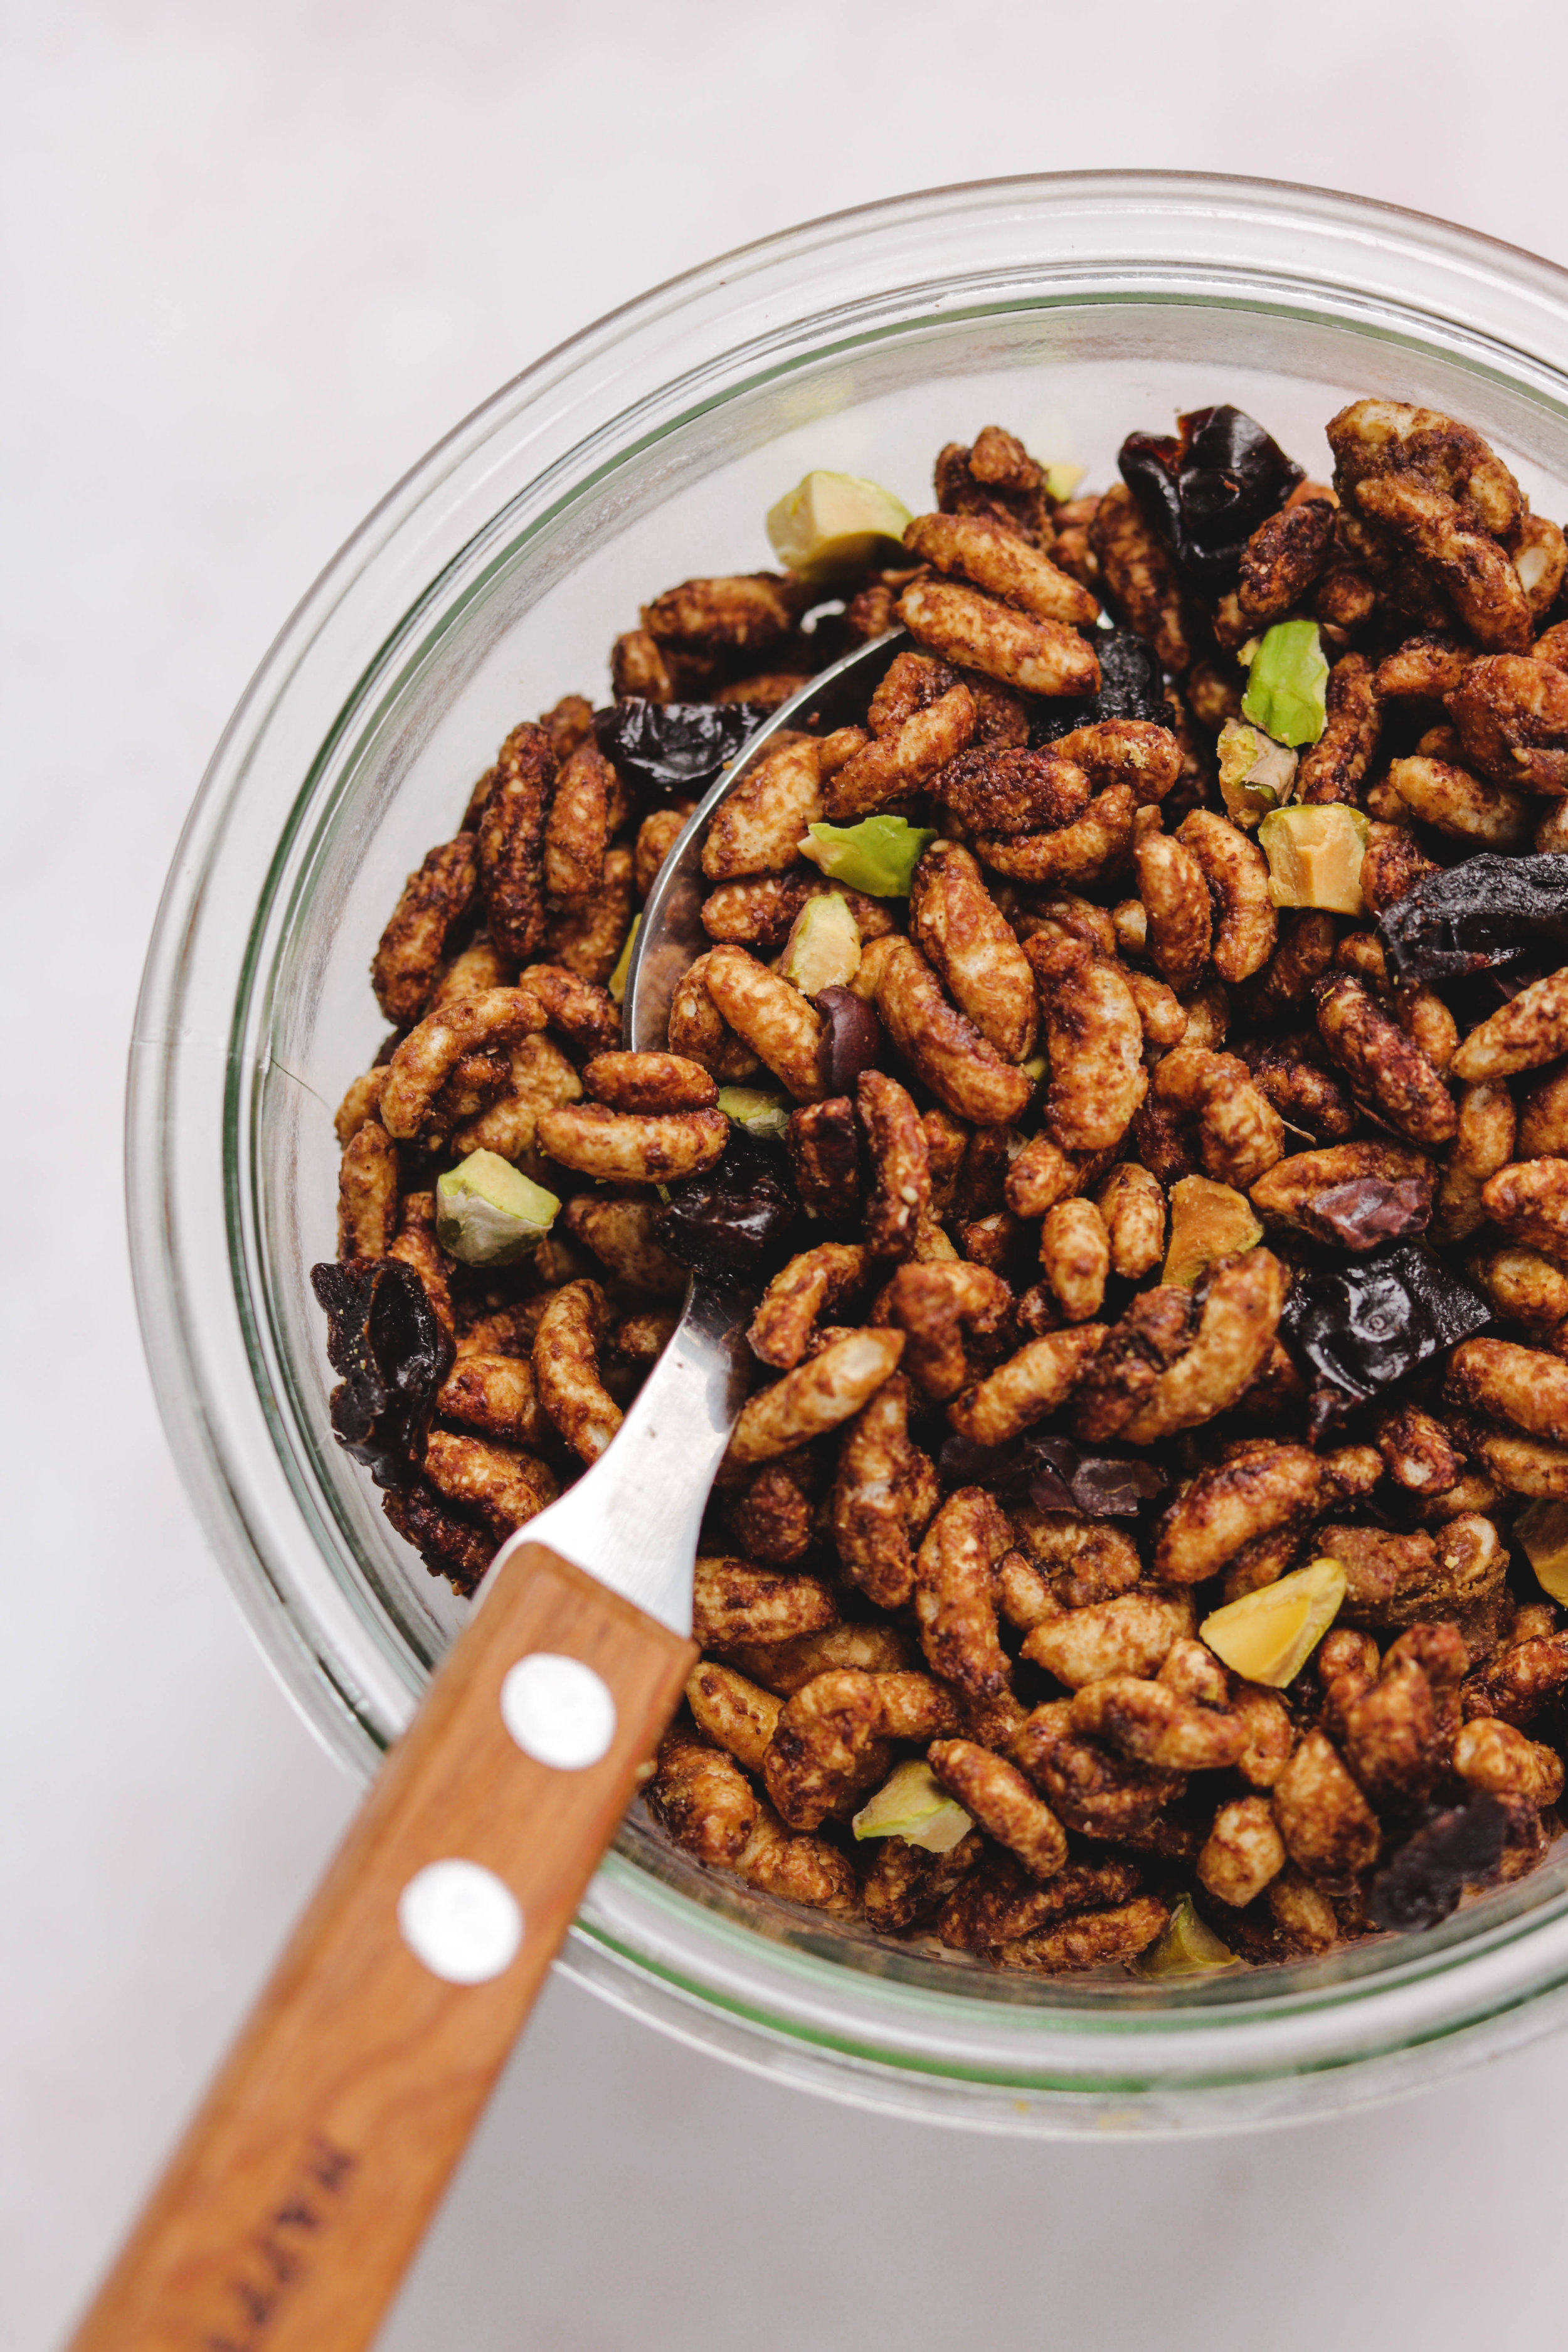
This Chocolate Hazelnut Cereal is the perfect alternative to sugary processed cereals. Made with just 3 simple ingredients, you can make your own crispy, sweet and chocolatey! (vegan and refined sugar & gluten free)

Ahh, my childhood was definitely comprised of a lot of sugary, chocolatey and very processed cereals. Something about the crunchy sweet morsels with cold milk was just so satisfying to eat. The best part? The left over milk that usually absorbs the left over sugary chocolate coating. My love for cereal still hasn’t changed, but I’ve opted for healthier cereals that to me, actually taste really good! The only problem is, they get kind of expensive and being a student… well sometimes it just doesn’t fit into my budget. I looked around in my kitchen and found a HUGE bag of rice puffs that were just sitting there, getting all stale because let’s be honest, they just don’t taste that good. BUT they are very cheap… and I know you can make rice puffs taste good.. do you see where I’m going with this?

I was craving chocolate, so I grabbed some vegan hazelnut spread and mixed it into the rice puffs. I tasted it, and it needed to be a bit more sweet. I poured in a bit of maple syrup and mixed. It was good, but it lost it’s crispiness. How to crisp things oven? I usually go to my oven. Popped it in for 5 minutes and shook the tray a bit and put it back in for another 5. I wasn’t sure it was was nice and crispy yet so put it in there for another 2, keeping an eye on it. I let it cool and then holy moly you guys, perfectly crispy chocolate cereal!

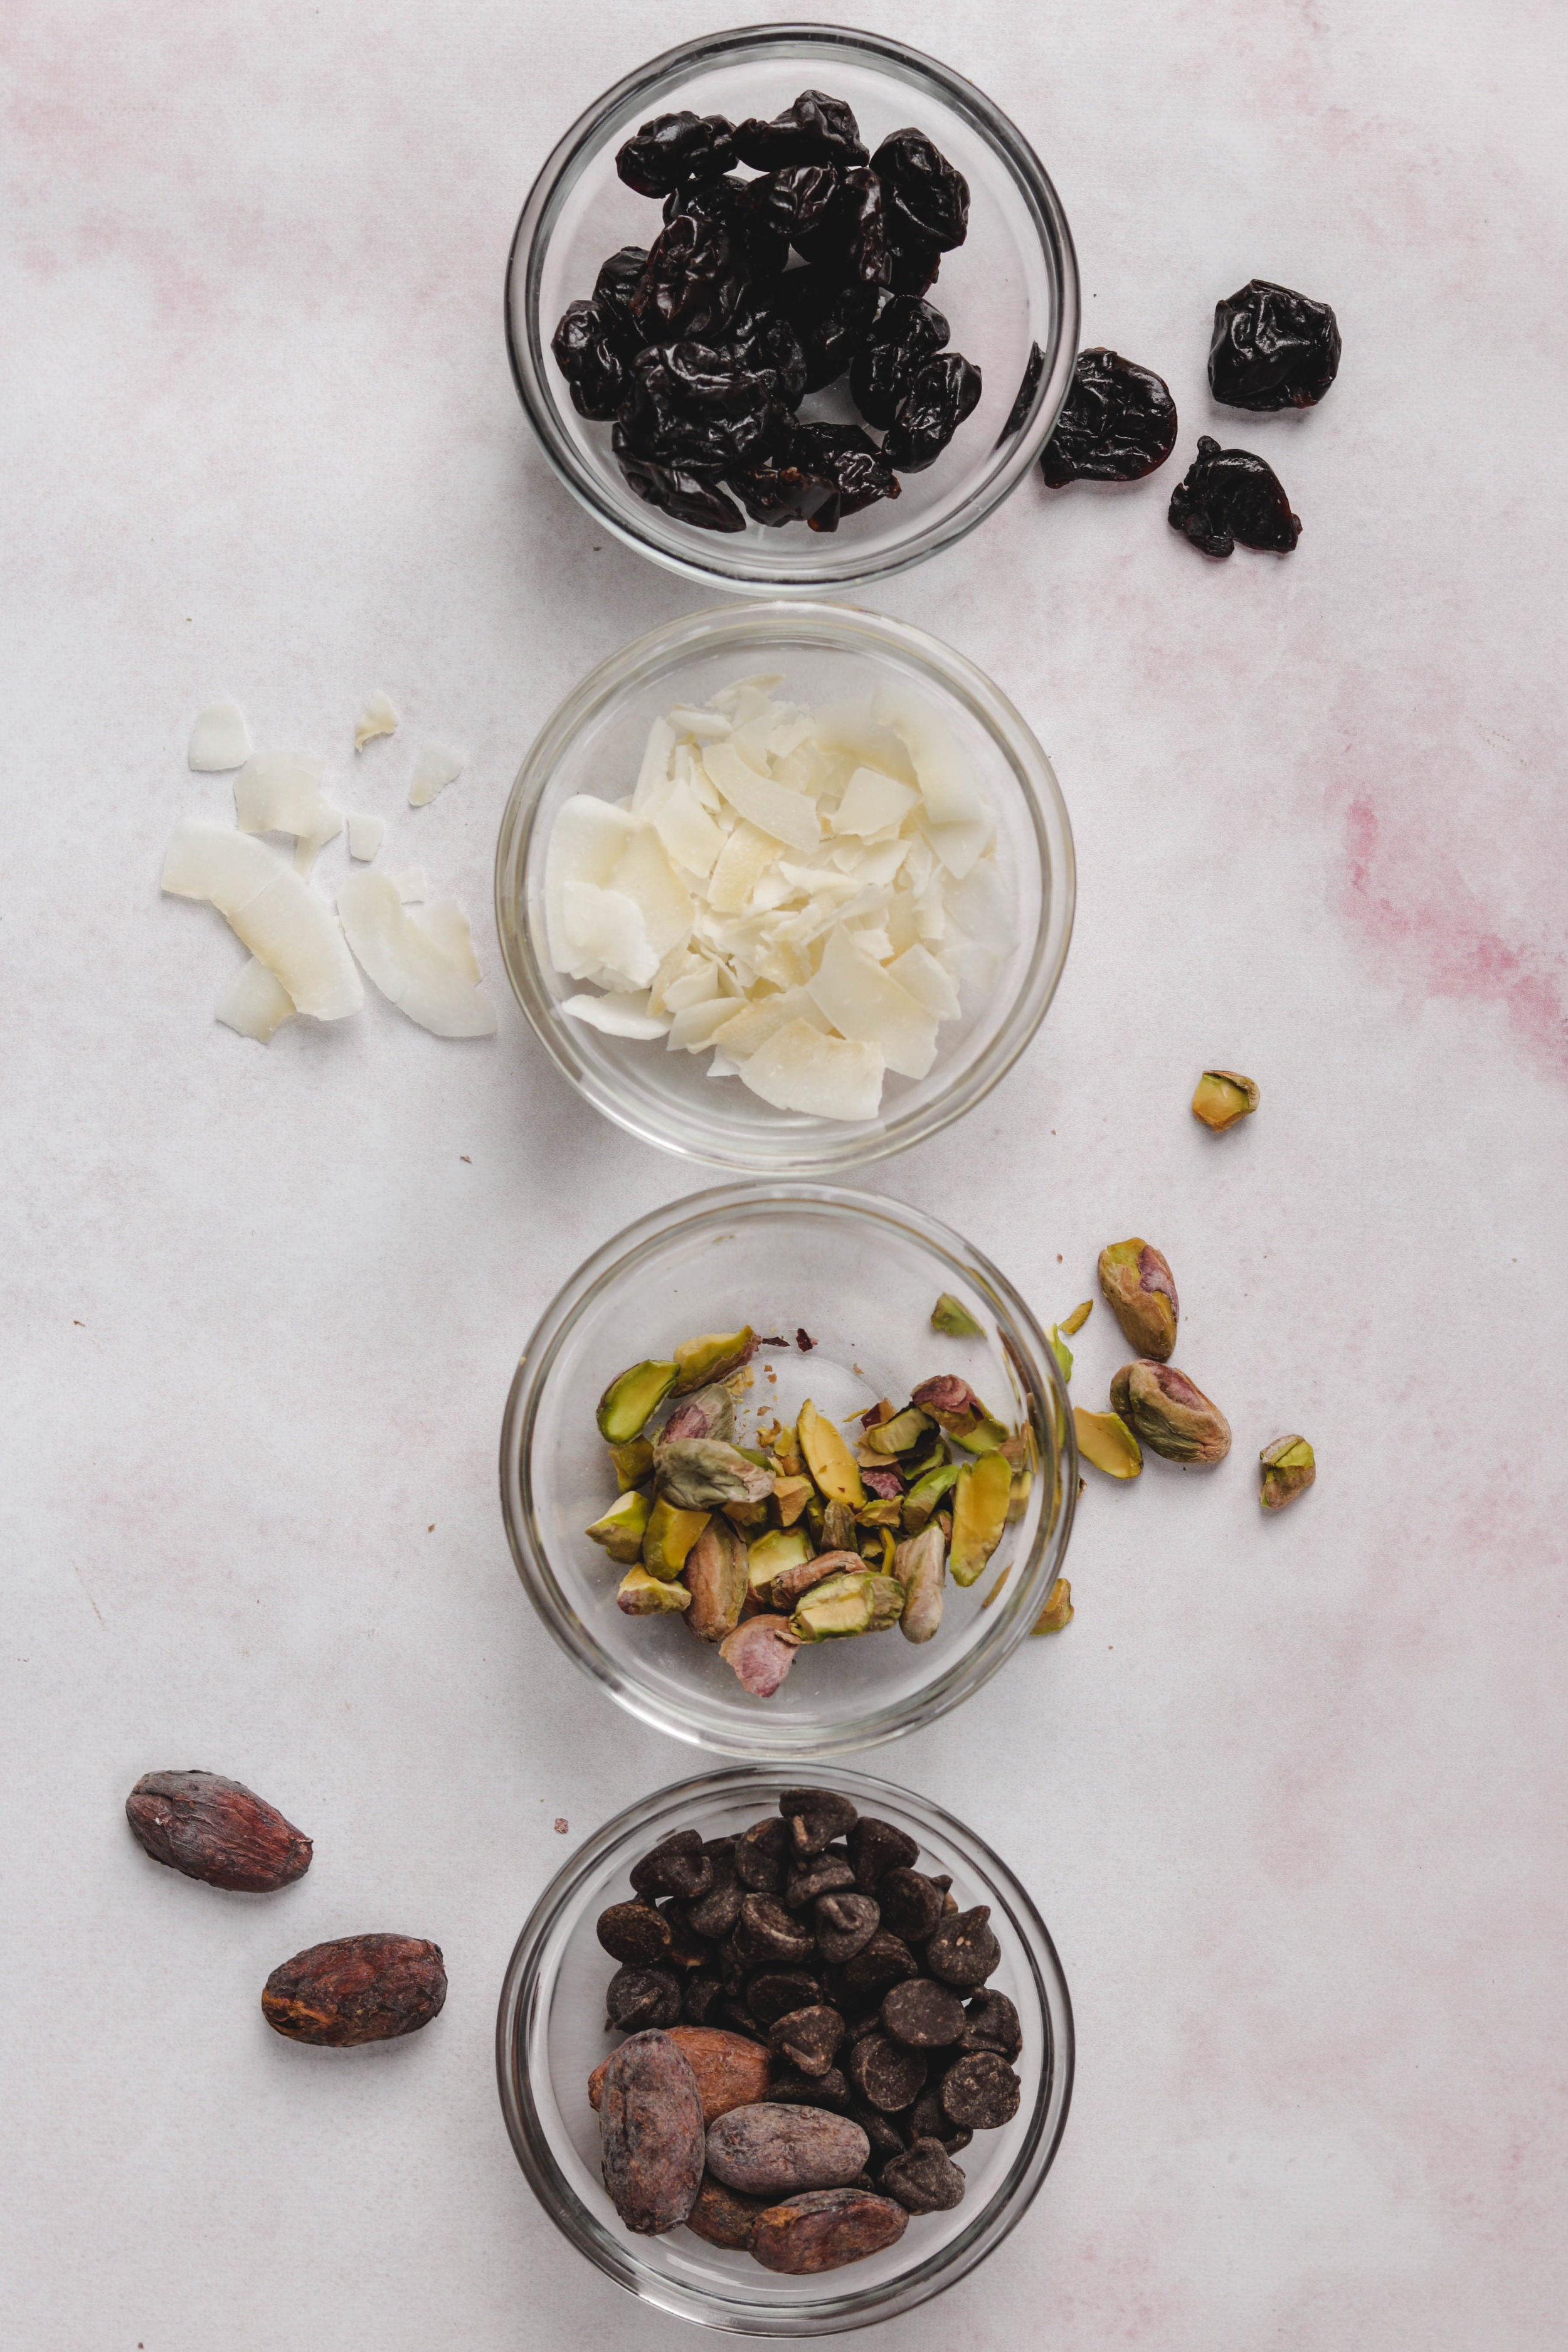

If you don’t like chocolate, you can use any nut butter! I’ve tried it with tahini and it’s DELICIOUS. Add in some dried coconut, dried fruits, some more chocolate chips, nuts, seeds… whatever you like!

Why you’ll LOVE this DIY method of making your own cereal! It’s:
-
crunchy
-
chocolatey
-
the perfect amount of sweetness
-
low in sugar
-
customizable
-
only 3 ingredients
-
vegan
-
gluten & dairy free
-
meal prep friendly
-
simple and easy to make
-
& makes for a quick breakfast or snack!

Tips and Tricks to making 3-Ingredient Chocolate Hazelnut Cereal
-
Ensure your nut butter is smooth and not dried out, this will help coat the cereal
-
Maple syrup can be replaced with coconut nectar, rice malt syrup or agave
-
Use larger puffed rice if possible because I did notice that they tend to shrink in size when placed in the oven
-
Make this ahead of time for an easy meal-prepped breakfast or snack! It will last 2-3 days in a airtight container.
If you recreate this DIY 3 Ingredient Chocolate Hazelnut Cereal please share it and let me know what you think by tagging me on Instagram @lisakitahara, I love seeing all of your tasty recreations!
Ingredients
-
2 c brown rice cereal
-
1.5-2 tbsp nut butter
-
2-3 tbsp maple syrup
-
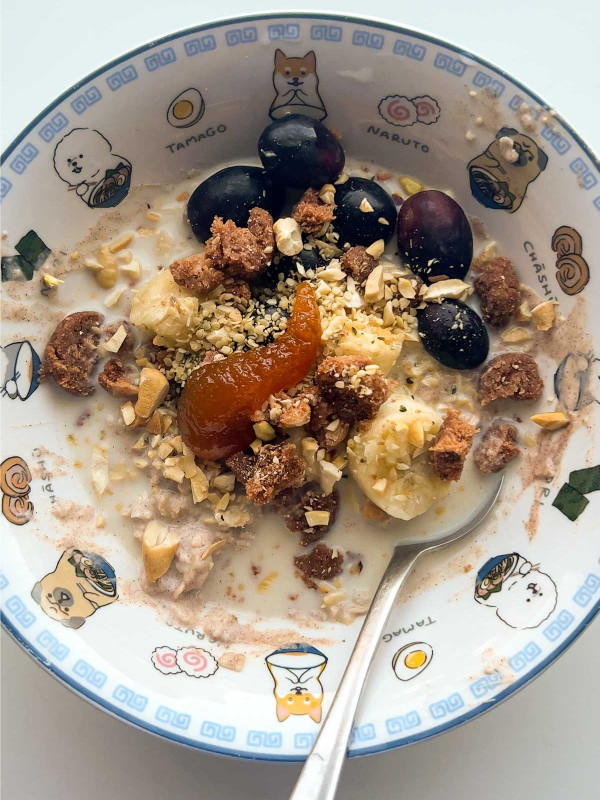
almond milk to serve and fruit
Method
-
Preheat oven 160 C
-
Mix lesser amount of nut butter butter and lesser amount of maple syrup into a large bowl
-
Add in the rice cereal and mix until coated
-
If it looks a little too dry, add in half more tbsp of nut butter and 1 more tbsp of maple syrup
-
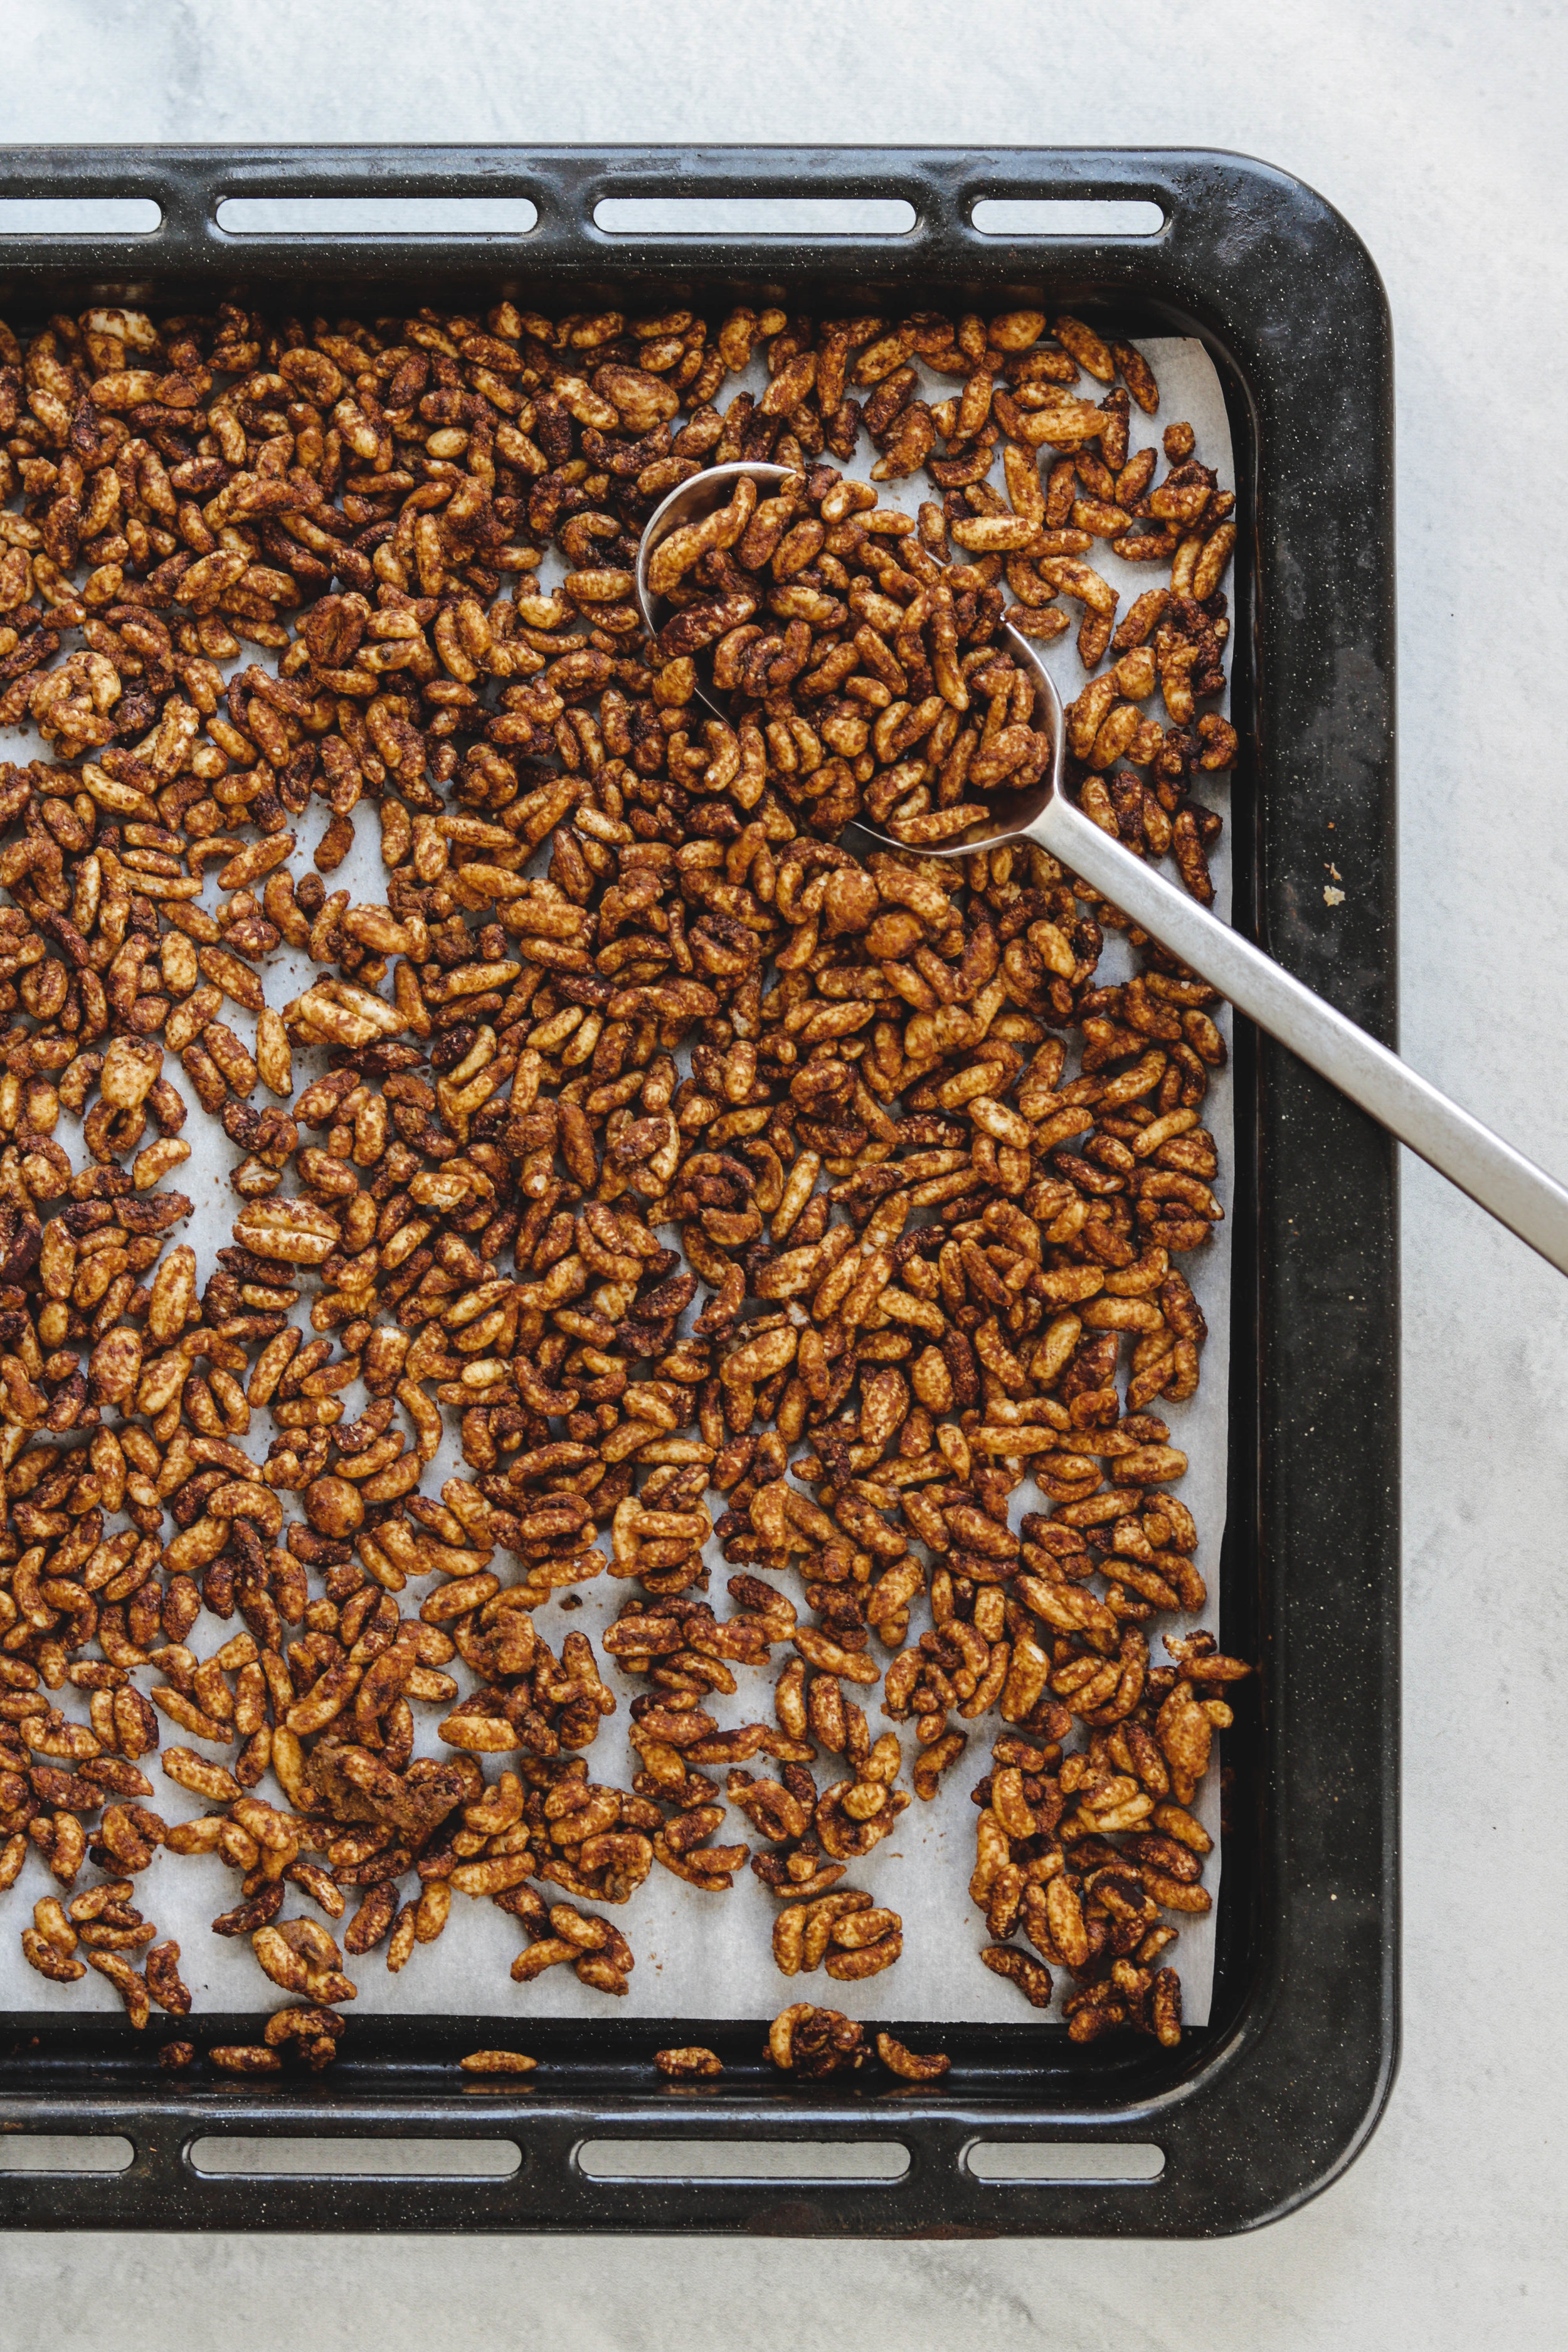
Spread evenly on lined baking tray and place into oven for 12-15 mins, rotating the tray half way (mix the cereal on the tray as well)
-
Remove and let it cool completely before consuming or storing it in a airtight container
Notes
-
SERVINGS: 2
-
PREP TIME: 10 minutes
-
COOK TIME: 20 minutes
-
INGREDIENTS: 15
-
DIFFICULTY: EASY