
This authentic Teriyaki Chicken recipe is a family favorite. Using the traditional Japanese method, skin-on chicken thighs are pan-seared until golden and crispy, then glazed with a simple, four-ingredient homemade teriyaki sauce. Juicy, tender, and full of flavor, it’s ready in just 20 minutes—perfect for a quick and comforting weeknight dinner.
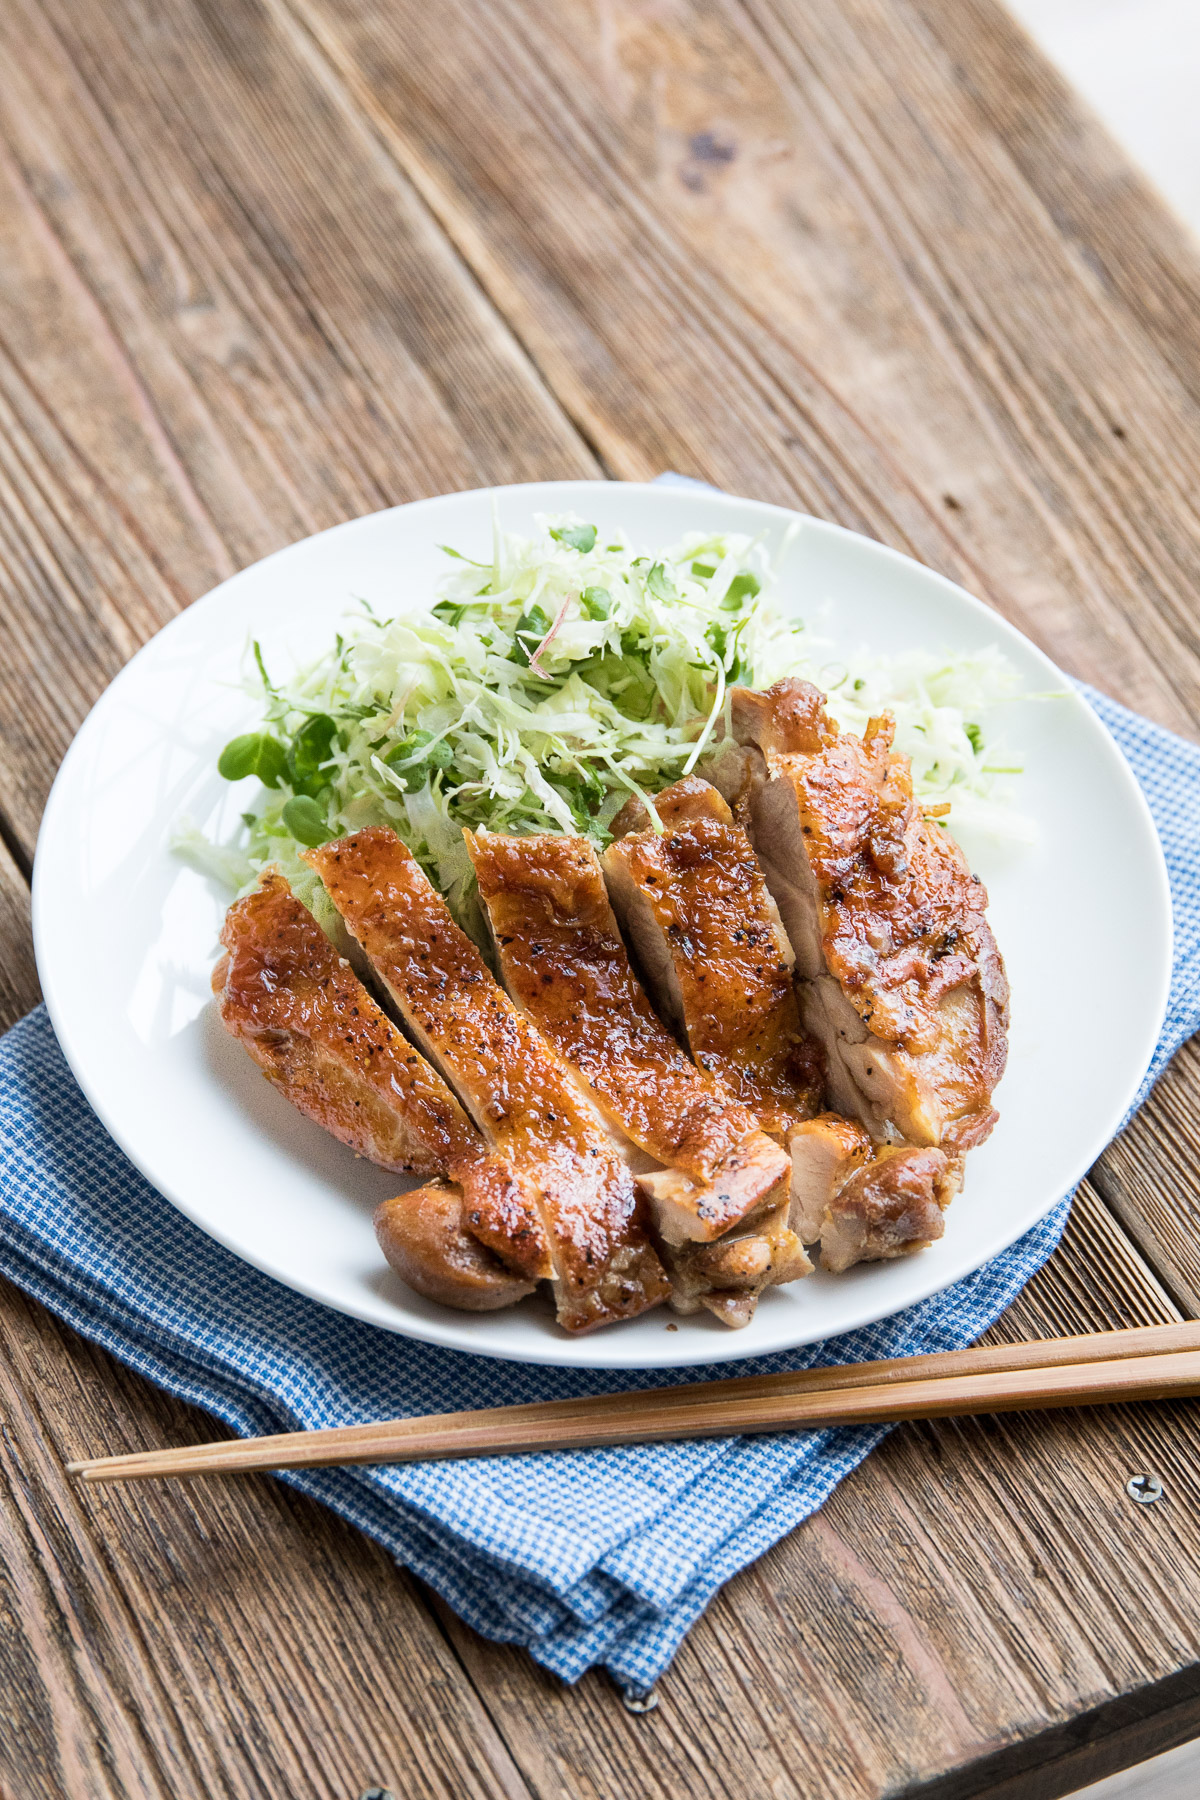
Table of Contents
- What is Teriyaki Chicken?
- Ingredients for Teriyaki Chicken
- What Cut to Use for Teriyaki Chicken
- Skin on vs. Skinless Chicken Thighs
- Authentic Teriyaki Sauce
- How to Make Teriyaki Chicken
- Classic Glazed vs. Crispy Skin
- Tips for Authentic Teriyaki Chicken
- Serving Suggestions
- How to Store and Reheat Teriyaki
- Recipe FAQ
- Teriyaki Chicken Recipe
Teriyaki is a dish I grew up eating at least once a week. Sometimes it was teriyaki chicken, other times teriyaki yellowtail or teriyaki salmon. It’s a classic home-cooked meal that both kids and adults love, and it’s surprisingly easy to make! There are plenty of teriyaki chicken recipes online or in cookbooks, but many add extra ingredients, require marinating, or call for baking or air-frying. Today, I’m sharing the traditional Japanese method for making teriyaki chicken on the stovetop.
What is Teriyaki Chicken?
Teriyaki Chicken (照り焼きチキン), also known as chicken teriyaki, is a classic Japanese dish made by pan-searing chicken and finishing it in a simple sauce of soy sauce, sake, mirin, and sugar. The word teriyaki (照り焼き) refers to the cooking method itself—teri meaning shine and yaki meaning to grill or pan-cook—describing the glossy finish created as the sauce reduces and coats the chicken. Unlike many Westernized versions, chicken teriyaki in Japan isn’t baked or covered in a thick bottled sauce. Instead, it’s cooked on the stovetop and simmered just until the glaze clings to the meat.
Ingredients for Teriyaki Chicken
The beauty of chicken teriyaki is that is requires very minimal ingredients that you should already have on hand if you cook a lot of Japanese dishes!
- Chicken Thigh: Typically skin-on, boneless chicken thighs are used. You can also use chicken breast or skinless thighs (see notes below).
- Potato Starch: Helps keep the chicken soft and juicy, crisps the skin, and helps the glaze stick. Cornstarch works too.
- Sugar: Rubbing a bit into the chicken helps retain moisture and prevents the meat from drying out. It attracts moisture and slows protein tightening, leaving the chicken tender and juicy.
- Teriyaki Sauce: A simple mix of soy sauce, sake, mirin, and sugar. You can make this ahead and keep it on hand for quick meals.
- Mirin substitute: If you don’t have mirin, 1 tbsp sake + 1 tsp sugar works well.
- Sake substitute: Dry sherry or Chinese cooking wine can replace sake if needed.
What Cut to Use for Teriyaki Chicken
In Japan, teriyaki chicken is traditionally made with boneless, skin-on chicken legs, giving each portion a generous size and a great mix of meat and flavor. Using the whole leg includes both the juicy thigh and a bit of the richer drumstick meat, which makes the dish more satisfying. If you can’t find boneless legs, you can always debone a whole chicken leg yourself, or simply use chicken thighs as a convenient alternative.
Teriyaki chicken isn’t usually made with chicken breasts in Japan, but if you prefer white meat, you can use breasts—ideally with the skin on for extra flavor and juiciness.
Skin on vs. Skinless Chicken Thighs
Boneless, skin-on chicken thighs are the go-to cut for traditional teriyaki because the skin helps keep the meat juicy and tender while cooking. As it renders, the fat crisps slightly and adds flavor, while also helping the teriyaki glaze stick to the chicken. This creates that perfect combination of tender meat and glossy, flavorful coating that makes teriyaki so good.
Here in Western countries, skin-on thighs are often sold bone-in, so you’ll either need to debone them yourself or ask your butcher. If you prefer skinless chicken, I’ve included instructions in the recipe card so you can still get juicy, flavorful teriyaki without the skin.
Authentic Teriyaki Sauce
Japanese teriyaki sauce is made of only 4 ingredients:
- Soy sauce : Gives the sauce its saltiness and rich flavor. Stick with a Japanese brand for the best balance.
- Mirin: A sweet rice wine that adds gentle sweetness and helps the sauce coat the chicken evenly.
- Sake: Adds subtle flavor and umami while helping to tenderize the chicken. Avoid “cooking sake,” which can be too salty and sharp. Instead, look for drinking sake like Junmai or Honjozo — these are clean, balanced, and add umami with a hint of sweetness without harsh salt. The alcohol cooks off as the sauce reduces, making it safe for kids, but you can also substitute water with a pinch of MSG for extra flavor if needed.
- Sugar: Balances the saltiness of the soy sauce and thickens the sauce as it cooks, giving it a glossy glaze that sticks to the chicken. You can use white sugar or raw/cane sugar, depending on your preference.
The standard ratio is 2:2:2:1 but you can adjust it to suite your taste. I always like to make a bottle of homemade teriyaki sauce to have on hand for quick and easty meals.
How to Make Teriyaki Chicken
Chicken teriyaki is really quick and easy to make so it’s perfect for weeknight meals. Here’s an overview:
- Prepare the Teriyaki Sauce: Mix the soy sauce, mirin, sake, and sugar together until the sugar dissolves. Set aside so it’s ready once the chicken is cooked.
- Prepare the Chicken: Pat the chicken dry and trim off any excess fat or tendons. Lightly score the thicker parts of the meat so the chicken cooks evenly.
- Season the Chicken: Rub the sugar into the chicken, then season with salt and black pepper. Let it sit briefly so the seasoning absorbs into the meat.
- Lightly Coat with Potato Starch: Dust the meat side of the chicken with a thin layer of potato starch. This helps lock in moisture and allows the sauce to cling to the chicken later.
- Sear the Chicken: Cook the chicken skin-side down in an oiled pan until the skin is crisp and golden. Flip and cook the other side until nearly cooked through.
- Add the Teriyaki Sauce: Pour the sauce into the pan and let it simmer while swirling the chicken in the sauce. As it reduces, it thickens and coats the chicken in a glossy glaze.
- Rest and Slice: Let the chicken rest for a few minutes before slicing. Drizzle with the remaining sauce and serve.
Classic Glazed vs. Crispy Skin
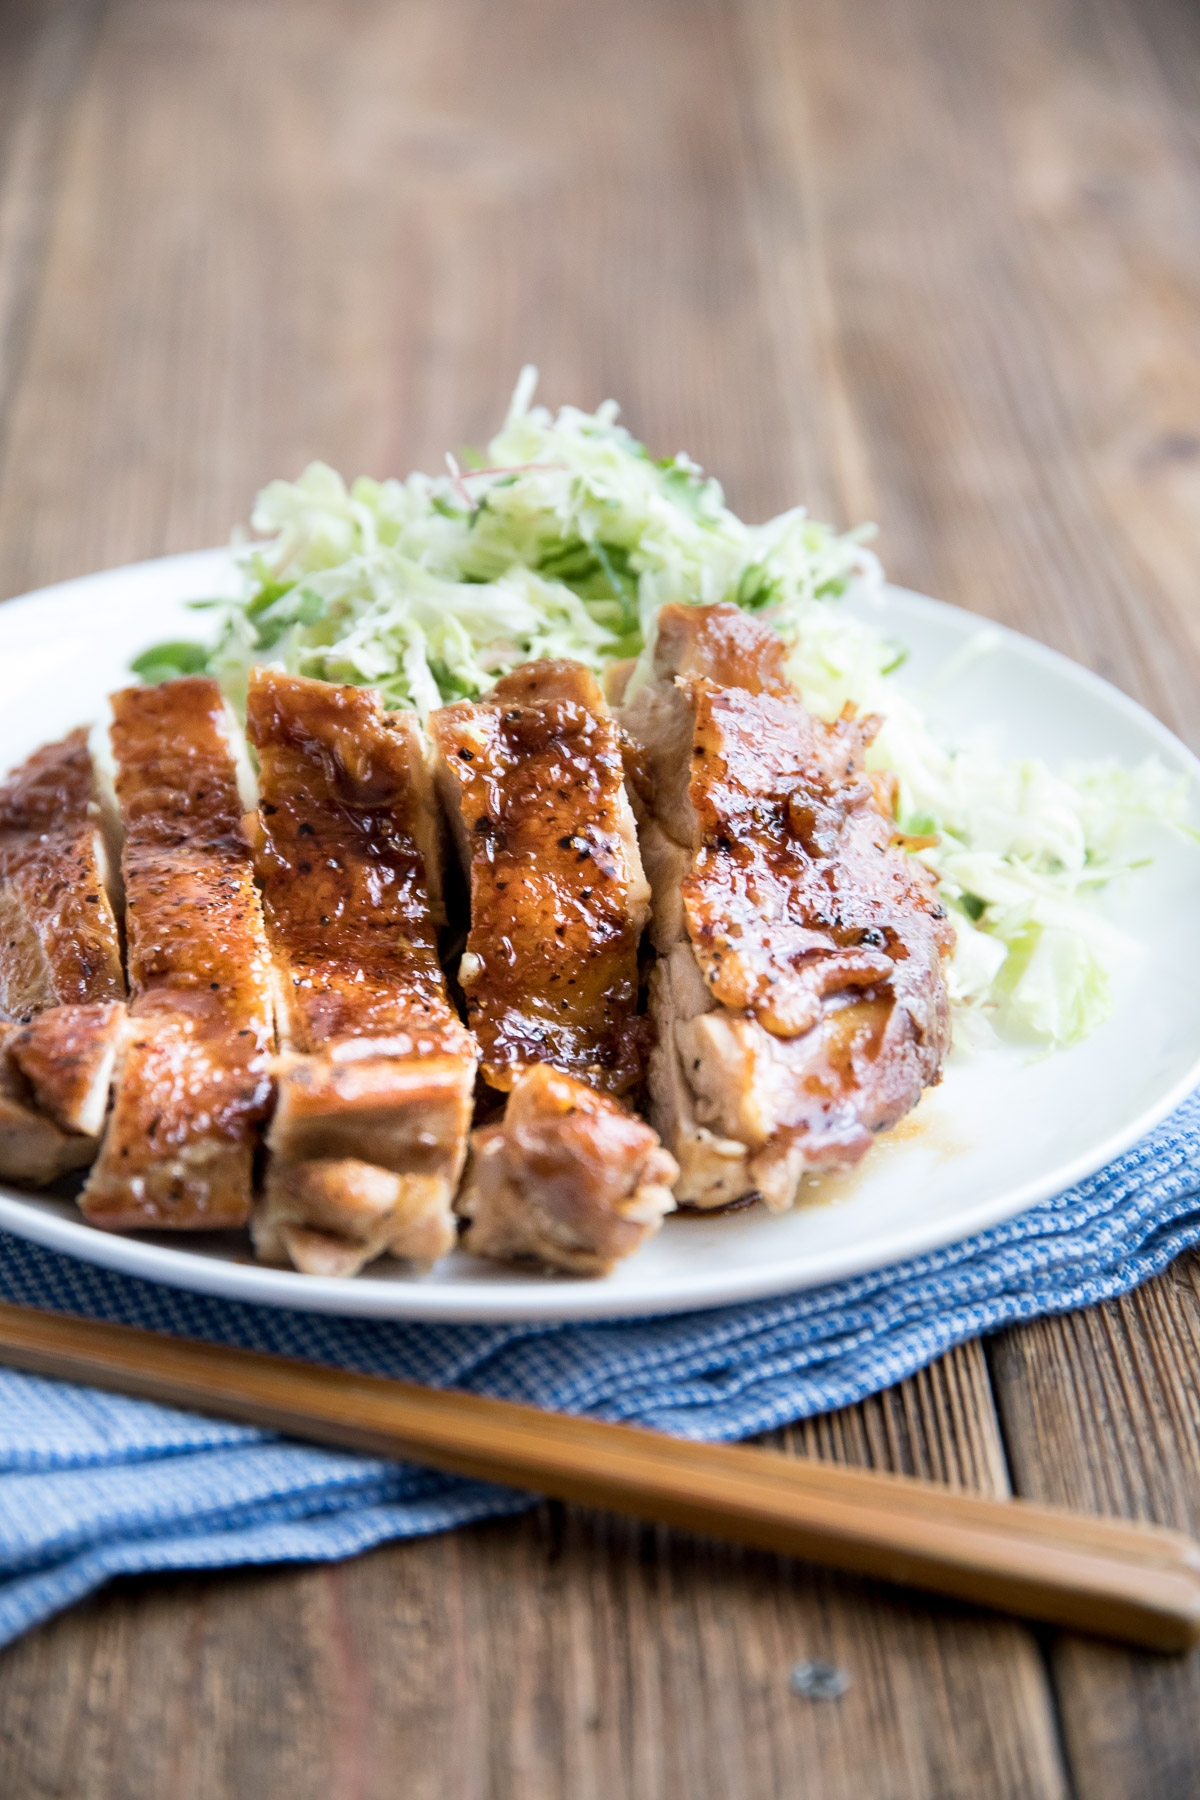
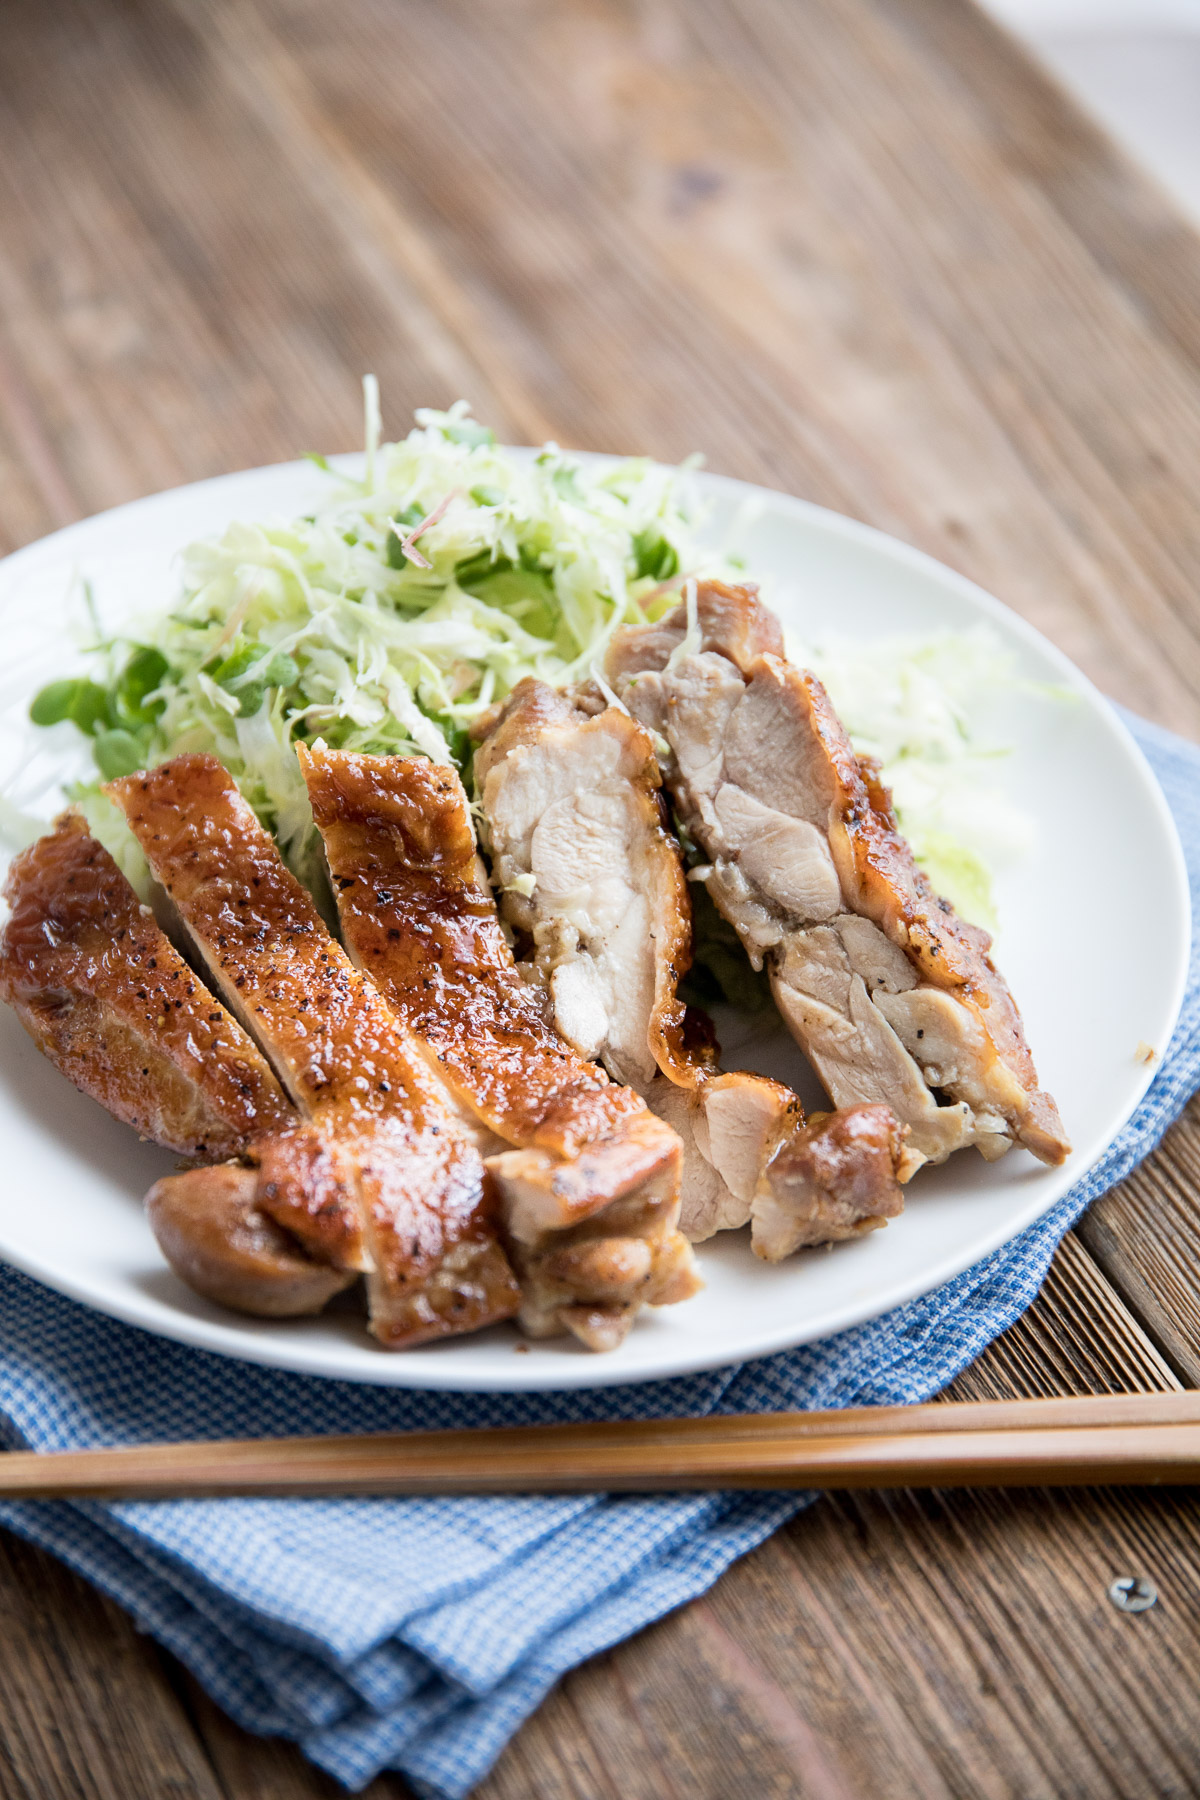
In the photos above, you’ll see the crispy skin version, where the sauce really soaks into the meat side and the skin is just lightly glazed, keeping it golden and crunchy while still flavorful. The classic glazed version isn’t crispy, but the skin has a rotisserie-style texture and is fully glazed on both sides. This is actually more typical in Japanese households because it’s simpler and easier to make. I personally love crispy skin, but both methods are worth trying depending on the texture and flavor you prefer. The fully glazed version is especially delicious over rice, as the extra sauce soaks into the grains. Both methods are included in the recipe card so you can try whichever style you like best.
Tips for Authentic Teriyaki Chicken
- Aim for Even Thickness: For juicy, evenly cooked chicken, cut a small slit into the thicker part of the meat and spread it out to match the rest of the piece. This simple step helps the heat distribute evenly, resulting in a tender texture.
- Coat with Potato Starch to Seal in Juices: Only coat the side without the skin. A full coating of potato starch creates a protective layer that locks in the chicken’s juices while keeping the skin from shrinking. The skin crisps up better with direct contact with the frying pan and oil.
- Use Oil for That Crispy Texture: Generously oil the pan and make sure to coat the skin well with that oil. This ensures the skin turns perfectly crispy and stays that way, even after being coated in sauce.
- Start in a Cold Pan: By starting the chicken in a cold pan, the fat gradually renders, giving the skin a crisp, golden finish while keeping the meat tender and juicy.
- Remove Excess Oil: Once the chicken is cooked, blot any excess oil with a paper towel. This prevents oiliness and the sauce from separating from the chicken.
- Prepare the Sauce Ahead of Time: To prevent the chicken from drying out, have your sauce ready to go before cooking. Mixing the ingredients in advance means less time fussing and more time enjoying tender, perfectly seasoned chicken.
Serving Suggestions
Teriyaki chicken in Japan is usually served with a few simple side dishes rather than piled over rice. You’ll often see it plated with vegetables or a small salad, with rice served on the side. In North America, though, it’s commonly served directly over rice. I personally love eating teriyaki chicken with rice—the sauce soaking into the rice is so good!
Here are some side dishes that pair well with teriyaki chicken:
- Miso soup
- Shredded cabbage or a simple green salad
- Steamed broccoli or green beans
- Japanese potato salad
- Spinach gomaae (sesame spinach)
- Cucumber sunomono
- Tamagoyaki (Japanese rolled omelette)
Leftover teriyaki chicken is also great used in onigiri, sandwiches, or packed into bento for an easy meal the next day.
How to Store and Reheat Teriyaki
Teriyaki Chicken is best enjoyed fresh right out of the pan, but leftovers keep well if you want to make it ahead.
- Refrigerator: Store unsliced pieces in an airtight container in the fridge for up to 3 days.
- Reheat: Warm gently in a skillet over low heat with a splash of water to loosen the glaze. You can also microwave it, covered, on low power until just warmed through.
- Freezer: For longer storage, cooked teriyaki chicken can be frozen for up to 2 months. Thaw overnight in the refrigerator before reheating.
Recipe FAQ
Traditional teriyaki sauce includes sake and mirin, which both contain alcohol. However, most of the alcohol cooks off as the sauce simmers. The small amount used in the sauce is generally considered fine for kids, but if you prefer to avoid alcohol entirely, you can substitute the sake with water and a little MSG.
Yes. Skin-on chicken thighs are traditionally used because the skin adds flavor and becomes crispy when cooked in the pan. If you prefer skinless thighs, you can still make this recipe—just follow the instructions for skinless chicken thighs in the recipe card. The chicken will still be juicy, but you won’t get the crispy skin.
Garlic and ginger aren’t typically included in traditional Japanese teriyaki sauce, but they’re common additions in many modern recipes. If you’d like to add them, stir 1–2 teaspoons of grated ginger and/or 1 minced garlic clove into the sauce before adding it to the pan.
Yes, but the result will be a little different from the traditional stovetop version. Cook the chicken in the air fryer first, then brush or toss it with the teriyaki sauce and simmer the sauce separately until it thickens before coating the chicken. This helps the glaze stick properly.
Enjoy!! If you make this Teriyaki Chicken recipe, let me know! Leave a comment, rating and if you decide to share it on socials, tag me on instagram @Okonomikitchen. I’d love to hear from you!
Print
Teriyaki Chicken
- Total Time: 20 minutes
- Yield: 2 servings
- Diet: Dairy-Free
Description
This authentic Teriyaki Chicken recipe is a family favorite. Using the traditional Japanese method, skin-on chicken thighs are pan-seared until golden and crispy, then glazed with a simple, four-ingredient homemade teriyaki sauce. Juicy, tender, and full of flavor, it’s ready in just 20 minutes—perfect for a quick and comforting weeknight dinner.
Ingredients
For the Chicken
- 1 whole skin-on boneless chicken leg or 2 skin-on boneless chicken thighs, about 300–350 g*
- 1/2 tsp sugar
- 1/4 tsp salt
- 1/4 tsp black pepper
- 1 tbsp neutral oil
- 1/2 tbsp potato starch
For the Teriyaki Sauce (2:2:2:1)
- 1.5 tbsp soy sauce
- 1.5 tbsp mirin
- 1.5 tbsp sake
- 2 tsp sugar
- or 5 tbsp homemade teriyaki sauce
Instructions
- Prepare the sauce: Mix the sauce ingredients together and microwave for 10 seconds or until the sugar is melted.
- Prepare the Chicken: Pat the chicken thigh with a paper towel. Place the chicken thigh on a cutting board, skin side down. Remove any visible fat (with a yellow hue), blood clots and tendons. If there is an excess amount of fat and skin around the meat, slice them off if desired (it will be less greasy to work with).
- Even out the thickness of the chicken thighs: Slice just thickest parts of the chicken vertically (across the fibers), about 2 cm apart. This will help with even cooking and prevent shrinking of the meat (especially if using whole chicken thigh).
- Alternative: Pound gently with a rolling pin or meat tenderizer, score the thicker areas with a knife or butterfly and flatten to even thickness
- Here is a helpful visual for preparing a whole chicken thigh.
- Poke and Season: Poke holes on both sides of the chicken using a fork. This helps the seasoning penetrate and prevents the skin from shrinking too much. Rub the sugar into the chicken until mostly dissolved, then season with salt and black pepper. Let sit for 5 minutes, then pat dry again with a paper towel.
- Coat: Lightly dust the meat side with potato starch. For the skin side, you can dust it with potato starch or leave it. You can get a crispier skin with a very light coat of potato starch (use a pastry brush to remove excess). If you don’t have a pastry brush I recommend leaving it as too much potato starch disturbs the rendering of the chicken that helps remove excess odour and can make the chicken skin actually less crispy and more gummy.
Cook The Chicken
- Sear the Skin: Add oil to a pan and turn on heat to medium high. While the pan is still cold, place the chicken onto the pan. Stretch the skin flat to avoid skin overlapping or wrinkles before placing it in the pan skin-side down. Swirl the pan and press the chicken down to ensure even oil contact. Use a spatula to press down. Sear for ~5 minutes, flipping occasionally to check for even browning. Press down on areas where its not seared evenly.
- Cook the Other Side: Once the skin is deep golden and crisp, reduce heat to low. Flip and cook the other side for 2–3 minutes. Use paper towel to remove excess oil from the pan.
- Add the Sauce: Pour the teriyaki sauce into the pan. Bring to a simmer. Swirl the chicken in the sauce to coat evenly. Use a brush or spoon to baste and glaze the crispy skin. Depending on how and what you’re serving it with, you can make it so that its served with an extra crispy skin or so that the it’s glazed entirely in the sauce:
- Glazed Skin: If you don’t care for a crispy skin, you can flip the chicken to coat the chicken in the sauce entirely. Remove chicken, use a kitchen torch or broil for 1–2 minutes to lightly char the skin for added texture and smokiness and then glaze with more sauce. Rest for 3 minutes before cutting.
- For extra crispy skin: Do not baste and just swirl the chicken around the pan to fully coat in the sauce. Remove the chicken, let it rest for 3 minutes and then slice. Then drizzle some of the glossy sauce on top.
- Serve: Slice the chicken skin-side down for clean cuts. Plate and drizzle with extra sauce. Enjoy!
Notes
You can opt to use skinless boneless chicken thighs. Coat the smooth side with a thin layer of corn starch. Heat the oil and pan before adding the chicken, smooth side down. Follow the recipe in the same way.
- Prep Time: 10 minutes
- Cook Time: 10 minutes
- Category: Main dish
- Method: Stove Top
- Cuisine: Japanese
Nutrition
- Serving Size: 1 serving
- Calories: 450
- Sugar: 8 g
- Sodium: 850 mg
- Fat: 31 g
- Saturated Fat: 8 g
- Unsaturated Fat: 23 g
- Trans Fat: 0.1 g
- Carbohydrates: 10 g
- Fiber: 0
- Protein: 30 g
- Cholesterol: 130 mg
Photography by Uchikoshi Yusuke.


Such a simple but flavourful teriyaki chicken, perfect amount of seasoning. Really enjoyed the crispy skin too. Had leftovers and they heated up nicely!