
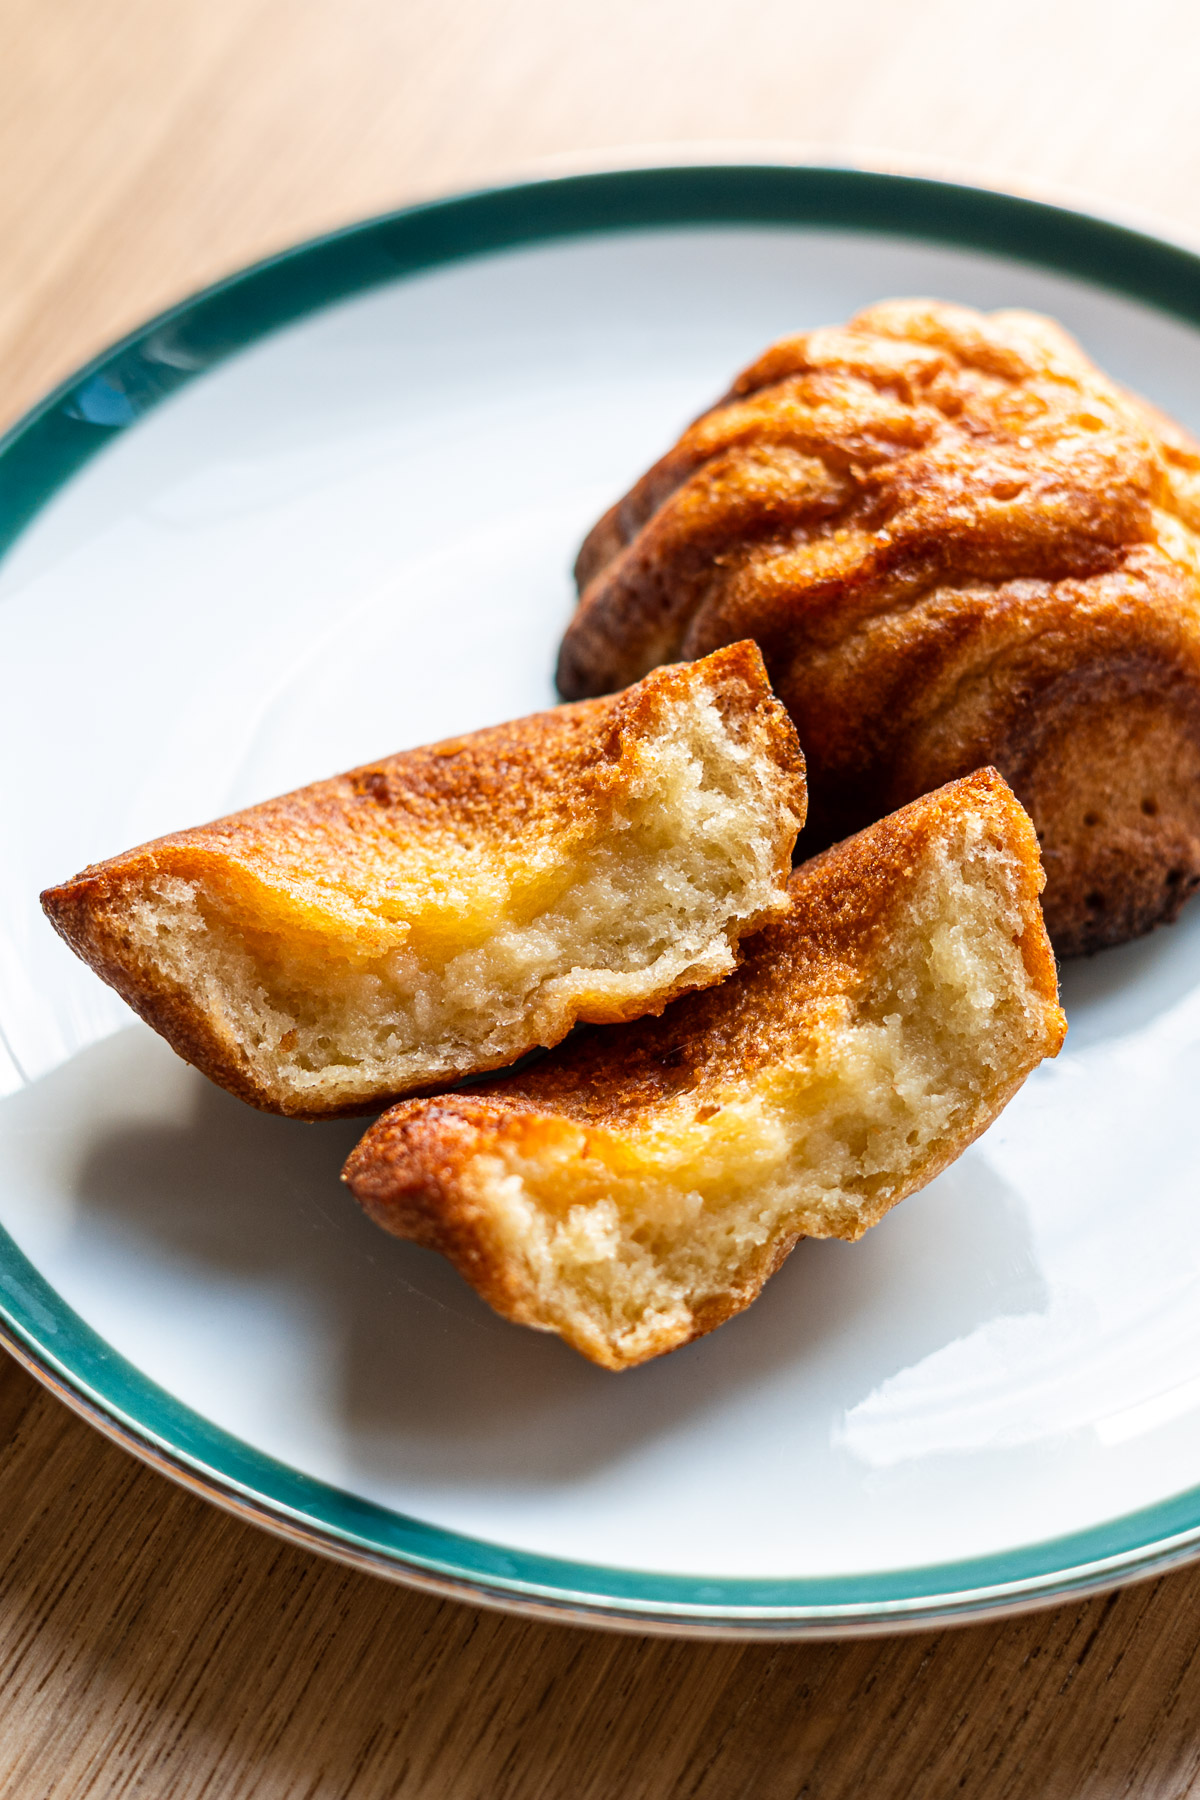
This Crispy Shanghai Butter Mochi has a golden, slightly crunchy exterior with a soft, chewy, custardy interior— the perfect combination of textures! Made with glutinous rice flour, tapioca, and butter, it’s a simple, delicious dessert that just so happens to be gluten-free. Really easy to make, it’s no wonder this butter tteok is going viral across Asia.

Table of Contents
- If it’s crispy and chewy, I’m making it. Say hello to this shanghai butter mochi recipe!
- What is Shanghai Butter Mochi?
- The Ideal Crispy Butter Mochi Texture
- Ingredients and Substitutions
- How to Make Shanghai Butter Mochi
- VIDEO: Watch How to Make It
- Lisa’s Recipe Tips
- Variations: How to Make Different Flavours
- Serving Suggestions
- How to Store and Reheat Leftovers
- Recipe FAQ
- More Mochi Recipes
- Crispy Shanghai Butter Mochi Recipe
If it’s crispy and chewy, I’m making it. Say hello to this shanghai butter mochi recipe!
If I had to choose just two textures of food for the rest of my life, it would be crispy and chewy. To be honest, butter mochi never really appealed to me. While I love a soft, chewy, and stretchy mochi, traditional butter mochi always felt a little heavy and dense— kind of like old dango. But when this crispy Shanghai butter mochi started popping up on my feed, that golden, crispy exterior lured me in. I’m a sucker for anything crispy… it’s honestly the best texture!
What is Shanghai Butter Mochi?
Shanghai butter mochi is a crispy, chewy baked rice dessert that’s been all over social media for its golden buttery edges and soft, chewy center. It’s made with glutinous rice flour (mochiko), butter, sugar, and eggs, so the ingredient list is simple but the texture is really satisfying. While it’s often associated with Shanghai, the texture is actually closer to Hawaiian butter mochi or bibingka than a traditional rice cake. It’s also been getting popular in Korea, where it’s often called butter tteok, or “butter rice cakes,” even though it feels more like something in between mochi, butter cake and canele.
The Ideal Crispy Butter Mochi Texture
I tried a few different variations, and for me, the ideal crispy butter mochi texture is lighter and less dense— almost fluffy and custardy, like a cross between mochi and a canelé. That said, I know a lot of people prefer the more traditional dense, chewy texture, so I’ve included recipes for both versions in the recipe card below.
Ingredients and Substitutions
This recipe is simple, and most of the ingredients are pantry staples. You can also swap a few things if needed. Here are the key ingredients you’ll need:
- Mochiko: This is Japanese-style glutinous rice flour, made from short-grain sticky rice. It’s super fine and powdery, which gives baked mochi a soft, chewy, and slightly bouncy texture. If you can’t find mochiko, you can substitute sweet rice flour (sticky rice flour), but the texture may be slightly denser or less silky, so you might need to add a little extra liquid (milk or butter) to get a pourable batter.
- Tapioca starch: Adds stretch and lightness to the mochi.
- Egg: Helps lighten the batter and adds richness.
- Granulated sugar: Provides sweetness and helps caramelize the top.
- Honey: Adds moisture and subtle fragrant sweetness or sub with more sugar.
- Whole milk: Provides moisture and richness. You can substitute with non-dairy milk like coconut, soy or oat.
- Butter: For that buttery flavour and crispy edges.
How to Make Shanghai Butter Mochi
This crispy butter mochi is so easy to make without any special equipment. Here’s an overview of the steps:
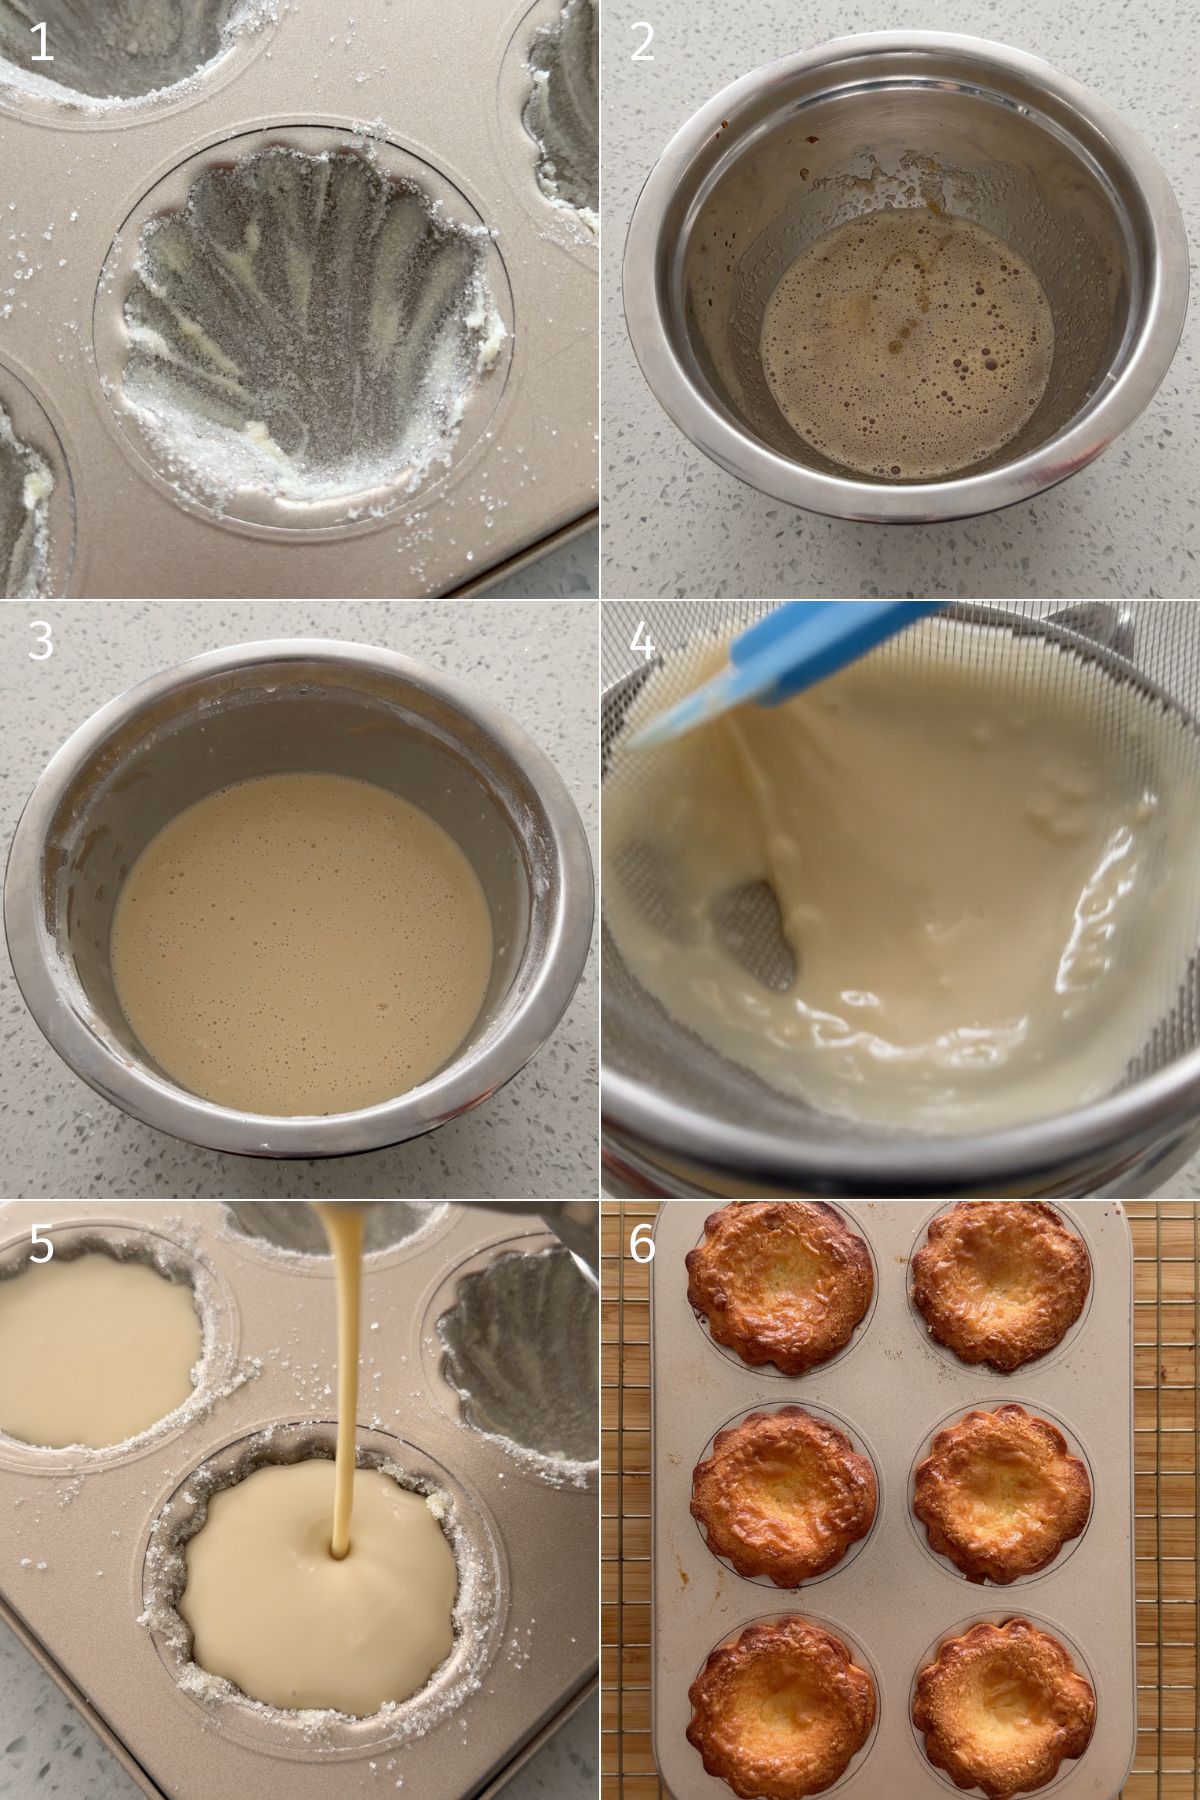
- Prepare the molds: Butter your molds generously and optionally sprinkle with coarse sugar for extra crispy, caramelized edges.
- Mix the wet ingredients: Melt the butter, warm the milk, and whisk together with the egg, sugar, honey, salt, and vanilla (plus optional milk powder).
- Add dry ingredients: Sift in mochiko and tapioca starch, stir until smooth, then strain the batter through a fine mesh sieve for a silky texture. Let it rest briefly.
- Bake the mochi: Pour the batter into the prepared molds, gently tap to remove air bubbles, and bake.
- Cool and serve: Remove from mold and let them rest before serving. They’ll get crispier as they cool.
VIDEO: Watch How to Make It
Lisa’s Recipe Tips
- Generously Butter the Pan: Coat the pan liberally with butter. This helps ‘fry’ the exterior so it’s crispy and infuses the mochi with rich buttery flavor.
- Add Sugar to the Pan: Sprinkle a little sugar over the butter before pouring in the batter. It caramelizes as it bakes, making it extra crunchy!
- Strain the Batter: Straining makes the batter super smooth, so the inside comes out silky and custardy without any lumps of starch.
- Bake Until Deeply Golden: Bake until a deep golden brown. I push it so its borderline burnt. It adds a nutty caramelized flavour and keeps the edges super crispy while the inside stays soft and chewy.
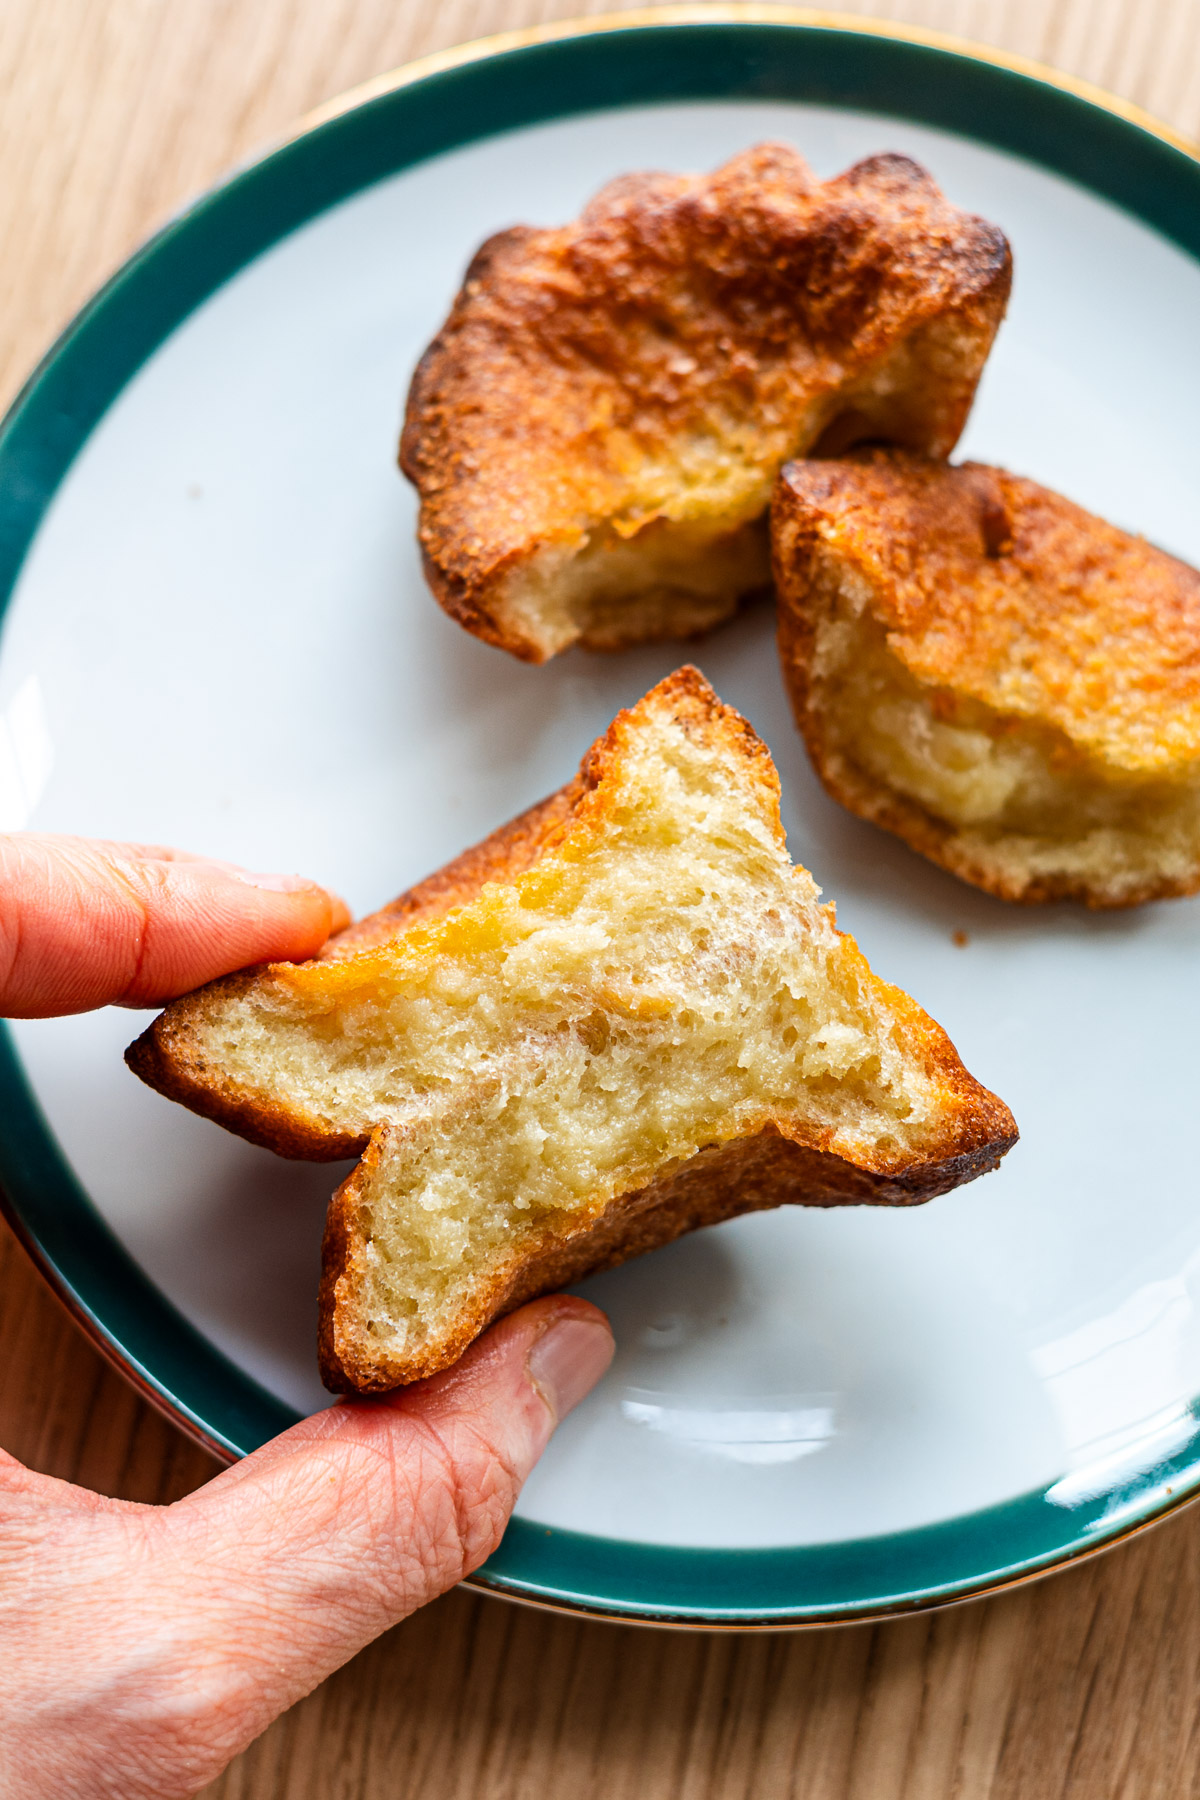
- Remove from Pan Right After Baking: Once it’s done, flip it out of the pan right away. Leaving it in traps steam and can make the bottom soggy, so quick removal keeps that crispy base intact.
Variations: How to Make Different Flavours
One of the best things about Shanghai butter mochi is how easy it is to make different flavors. You can try chocolate, matcha, or tea flavors like Earl Grey! For dry flavorings like these, you can either substitute a small portion of mochiko (about 1–2 tsp) or, if you’re adding more than that, slightly increase the liquid— about a teaspoon or two of milk keeps the batter pourable and smooth. If you’re using tea, you can even infuse the milk first to really bring out the flavor.
For extra fun, you can also add fillings or mix-ins:
- Cheese: small cubes of cream cheese or shredded cheese work well for a slightly savory version.
- Red bean paste: a classic pairing.
- Black sesame paste: adds a bit if nuttiness to balance out the sweetness.
- Chocolate chips: a little richness that melts into gooey pockets as it bakes.
Just keep the batter consistency similar— you want it pourable but not too thin so the mochi still bakes with crispy edges and a chewy center.
Serving Suggestions
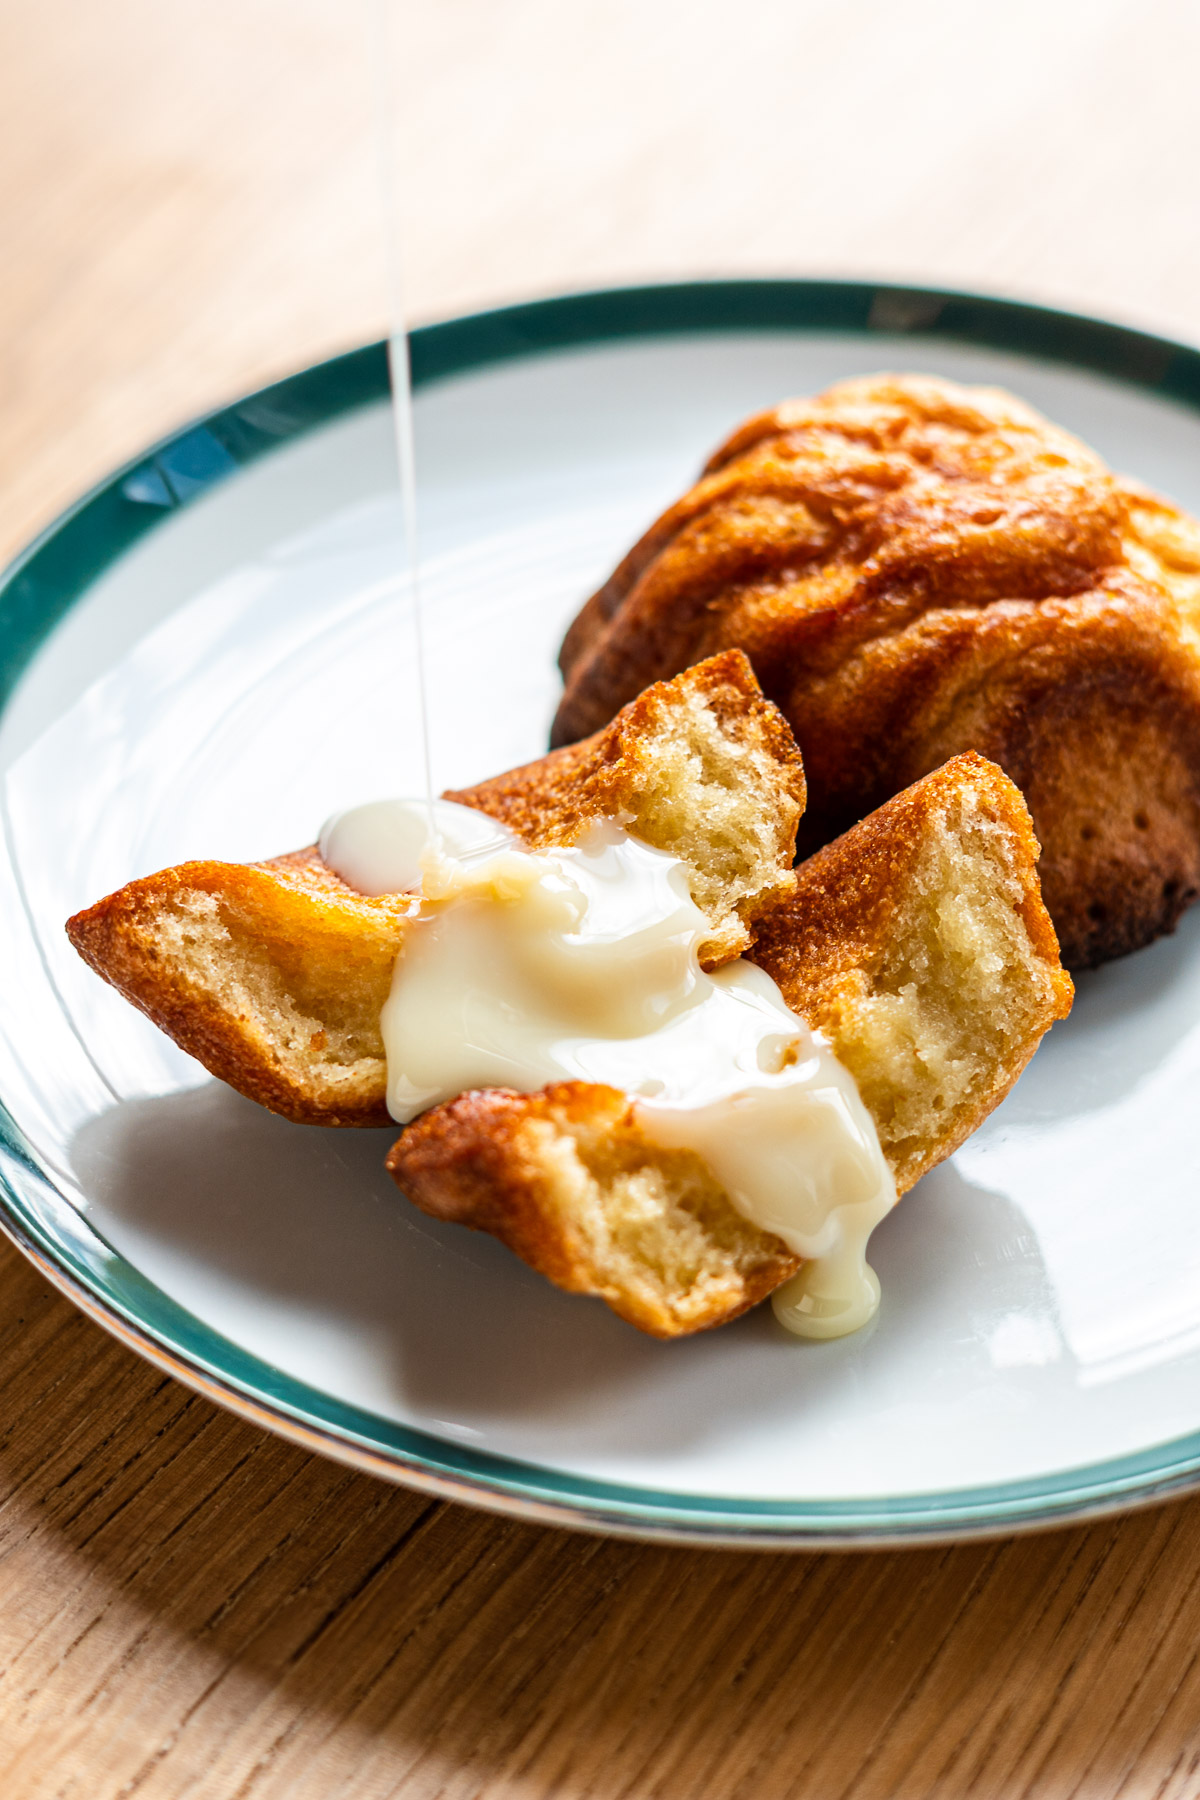
These crispy butter mochi are pretty rich on their own, and I find the sweetness just right. But if you like them a little sweeter, you can drizzle with honey, sprinkle with powdered sugar, or add a touch of condensed milk.
I also love serving them with ice cream or yogurt bowls— kind of like a mini parfait. The chewy, buttery mochi pairs really well with creamy, cold textures, making it a fun dessert or snack idea. You can even add fruit, granola, or a drizzle of chocolate sauce for maximal deliciousness.
How to Store and Reheat Leftovers
This recipe makes a small batch but if you do have leftovers storing them properly is key to make sure they stay crispy, soft and chewy.
- Storing: Let the mochi cool completely before storing. Place in an airtight container at room temperature for up to 2 days.
- Freeze: Freeze in air tight bags with excess air removed for up to 3 months.
For Reheating:
To bring back that crispy edge and soft, chewy center, try one of these methods:
- Oven: Preheat to 350°F (175°C). Place mochi on a baking sheet and warm for 5–7 minutes until heated through and edges crisp again.
- Toaster oven: Set to 350°F (175°C) and toast for 4–6 minutes, checking to avoid burning.
- Air fryer: Place mochi in the basket at 320°F (160°C) for 3–5 minutes. Keep an eye on it, as air fryers can heat quickly and crisp the edges nicely.
Avoid microwaving if possible — it will warm the mochi, but the edges will turn soft instead of crisp, and there’s also a risk of the mochi drying out.
Recipe FAQ
If your mochi collapsed, it’s usually because the oven temperature was too low, inside was still undercooked or the batter wasn’t rested.
Chewiness comes from using the right amount of mochiko (glutinous rice flour) and tapioca starch. Using a coarser flour or skipping the tapioca starch can make the mochi dense or cakey.
The crispiness comes from a combination of buttered molds, sugar on the edges, and high heat at the start of baking. If your mochi isn’t crispy, it could be because the molds weren’t buttered enough or the oven temperature wasn’t high enough at the beginning. Also, letting the mochi cool in the molds for a few minutes before unmolding helps the edges firm up. For extra crisp edges, try baking a few minutes longer at a higher temperature.
Hawaiian butter mochi is usually softer, denser, and evenly chewy throughout, with a slightly crispy top since it’s baked in a larger pan. Shanghai butter mochi, on the other hand, is baked in individual molds and “fried” in butter, giving each piece crispy, caramelized edges all around while keeping the center soft and chewy. Many Hawaiian butter mochi recipes also use coconut milk, which adds richness and a heavier texture.
More Mochi Recipes
- Matcha Mochi Waffles
- Kabocha Cheese Mochi
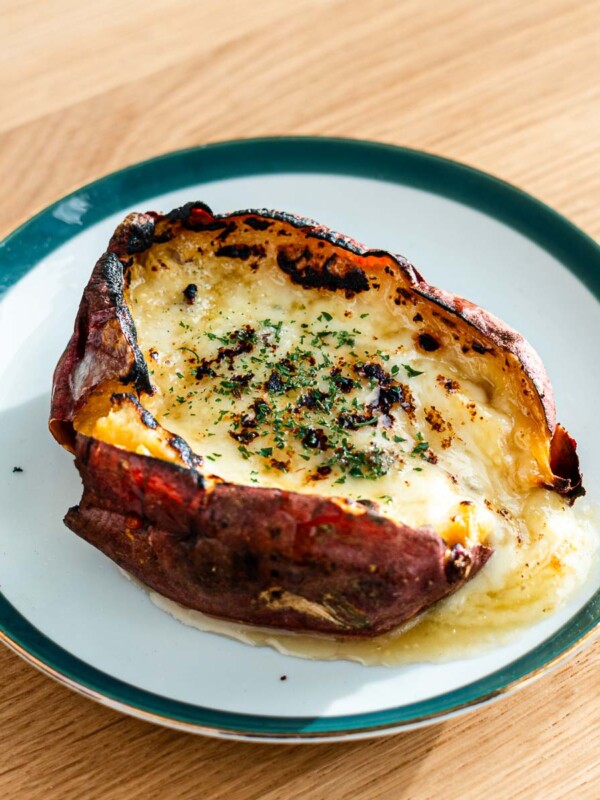
- Japanese Sweet Potato Cheese Mochi
- Isobe Yaki Mochi (Potato Mochi)
- Japanese Sweet Potato Yaki Mochi
Enjoy! If you make this Crispy Shanghai Butter Mochi recipe, I’d love to hear what you think! Leave a comment and rating below, and if you share it on social media, tag me on Instagram @Okonomikitchen. I can’t wait to see your creations!
Print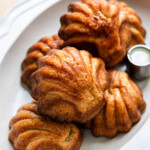
Crispy Shanghai Butter Mochi
- Total Time: 50 minutes
- Yield: 8 pieces
- Diet: Gluten-Free, Vegetarian
Description
This Crispy Shanghai Butter Mochi has a golden, slightly crunchy exterior with a soft, chewy, custardy interior — the perfect combination of textures. Made with glutinous rice flour, tapioca, and butter, it’s a simple, delicious dessert that just so happens to be gluten-free. Really easy to make, it’s no wonder this butter tteok is going viral across Asia!
Ingredients
Crispy, lighter, soft and chewy:
- 1 large (52 g) egg, room temperature
- 3 tbsp + 1 1/2 tbsp (45 g) white sugar
- 1/2 tbsp (10 g) honey (or substitute condensed milk or more sugar)
- 1 tsp vanilla extract
- 1/3 cup + 2 tbsp + 1 tsp (115 ml) whole milk
- 3 tbsp (42 g) salted butter, melted
- 1/8 tsp (1 g) kosher salt
- 2 tsp milk powder, optional
- 1/3 cup + 2.5 tbsp (75 g) mochiko
- 3.5 tbsp (28 g) tapioca starch
Crispy, thick and chewy:
- 1/2 large (26 g) egg, room temperature
- 3 tbsp + 1 1/2 tbsp (45 g) white sugar
- 1/2 tbsp (10 g) honey (or substitute condensed milk or more sugar)
- 1 tsp vanilla extract
- 1/3 cup + 1 tbsp (100 ml) whole milk
- 3 tbsp (42 g) salted butter
- 1/8 tsp (1 g) kosher salt
- 1/3 cup + 1/2 tbsp (55 g) mochiko
- 3.5 tbsp (28 g) tapioca starch
Instructions
Preparation
- Prepare the molds: Rub softened butter generously into each mold. Optionally, sprinkle with coarse sugar, then flip the pan to remove excess — this creates extra crunchy, caramelized edges. Chill the molds in the fridge to keep the butter firm.
- Preheat oven: Set oven to 425°F (220°C).
- Heat milk and butter: Melt the butter and warm the milk to 40–50°C (104–122°F).
- Mix wet ingredients: In a bowl, whisk together egg, sugar, and vanilla until combined. Stir in melted butter, warm milk, salt, and milk powder (if using).
- Add dry ingredients: Sift mochiko and tapioca starch into the wet mixture. Stir until no dry flour remains.
- Strain the batter: Push the batter through a fine mesh sieve to remove any lumps for a silky smooth texture.
- Rest batter: Let it sit for 15 minutes.
Baking
- Whisk the batter and then pour batter into prepared molds about 90% full. Gently tap molds on the counter to remove air bubbles.
- Place in oven:
- Reduce heat to 400°F (205°C) and bake 10 minutes.
- Reduce to 350°F (175°C) and bake 18-20 minutes.
- Check the colours, if only lightly browned, increase to 400°F (205°C) for a more minutes until deeply golden and crispy. The darker it is the more crispy and crunchy the exterior.
- Remove from oven and let cool slightly before unmolding.
- Prep Time: 20 minutes
- Cook Time: 30 minutes
- Category: Dessert
- Method: Baking
- Cuisine: Chinese, Hawaiian, Korean
Nutrition
- Serving Size: 1 piece
- Calories: 113
- Sugar: 7.2 g
- Sodium: 90 mg
- Fat: 4.9 g
- Saturated Fat: 2.8 g
- Unsaturated Fat: 1.7 g
- Trans Fat: 0.2 g
- Carbohydrates: 16.2 g
- Fiber: 0.1 g
- Protein: 1.4 g
- Cholesterol: 24 mg



Can you share the pan details? Would love to find the ones you use to try this! Thanks!
I use the six pan version but they also have a 12 pan version that I actually think is better for batch size.
I tried a lighter version with condensed milk. I like it a lot.
It’s somewhere between mochi and canelés. Perfect sweet, crunchy, chewy… yummy.
Thank you so much for recipe.
Taste so good but when I remove it from the oven, the mochi always seem to sink. Did I do something wrong?
I’m glad you enjoyed! 🙂 If your mochi sank, it’s usually because the oven temperature was too low, inside was still undercooked or the batter wasn’t rested.
I went for the extra chewy version and it was DELICIOUS! I didn’t have the deep dish madeleine pan so they turned out extra crispy which was a bad thing but if you want more of a chewy center, get yourself the proper pan.
This looks delicious, can’t wait to make these! Just a quick question, if I were to add more mochiko to replace the tapioca starch, would it be a 1:1 substitution? Thanks!
Hi Jas,
I haven’t tried that but it should work! Enjoy 🙂
Omg these were highly addicting.. I added a bit of miso paste (cause why not) and they turned out super yummy. They didn’t last a day. Will have to double up the recipe for next time. Thank you!
Why preheat to 425 if you have to lower to 400 before placing in tray?
Makes up for the oven temp dropping before putting it in!
Great recipe. The middle is so delightfully custardy (I used the thicker/chewier version) & the exterior has a lovely crunch. Not too sweet!
I tried the thick and chewy version–it didn’t collapse, but it collapsed upside down? LOL it looks like there was just a GIANT air bubble underneath and it happened to every single piece, even tho they were 90% full. I must have done something wrong but I felt I followed it pretty slowly. might have to try it again? Tragic 🙁
I’ve never had that happen!! Did it collapse after removing them? Or was it already bumped in the pan? What type of pan did you use?
I had the same happen to me. It’s almost like a Yorkshire pudding effect but upside down. I used a mini muffin pan.
This happened to me as well! Like it bubbled up from the bottom! So strange, but still very delicious!
Would corn starch work to replace the tapioca?
I haven’t tried but I think the texture would be different. You can sub with more mochiko or glutinous rice flour 🙂
How big is the Madeline pan used? Is it better to use a smaller one? I’m going to buy a pan just to make these. It looks so good!
I think larger is better for these!
Love the texture and the taste, and the smell when you bake or reheat them. I’ll always go back to this recipe when I want to make this.
The texture of this was so good! We made the first one and it has the perfect crispy and chewy but light texture definitely going to make them again.