
Learn how to make dairy-free chickpea yogurt with just one ingredient! Thick, creamy and perfect for sweet and savoury dishes. (Soy free, nut free, gluten free + vegan)
Happy weekend, friends! Today we’re making dairy free, nut free, gluten free AND soy free yogurt… using chickpeas!
Inspiration
This was one of those accidentally experimentations where I was working on a chickpea tofu recipe and accidentally added too much water. The consistency came out to be almost yogurt-like! I was originally going to keep the method the same as making the tofu but wanted to see if I could actually make chickpea yogurt with probiotics. I mean hey, I think most people eat yogurt for that reason right?
So I did a bit of research on chickpea yogurt and there wasn’t much. I have seen cooked chickpeas turn dairy milk into yogurt but I wasn’t sure about how it would work with non-dairy milk. I however, did come across this video by Priyanka N Jain, where she used the soaking water of the chickpeas! I was keen on trying it so I gave it a go…
Verdict?! Flavour wise– it was neutral and a little chickpea-y (obviously). Like most plain yogurts, it tastes like what it’s made from. However, it’s the texture that I wasn’t a fan of. While thick, it was curd-y and almost a little grainy. Interestingly enough, different batches came out with different grainy-ness levels. I was going to scrap the idea because who like grainy yogurt?? And then my 2-minute yogurt came to mind. Straining, blending and adding sweetener to it is the secret to making it actually creamy, smooth and really– like yogurt!

Why this method works
All beans contain a good amount of starch but chickpeas, on it’s own is relatively high. This is why when you make chickpea milk, you’ll see some starch settle at the bottom (be sure to use that up when making the yogurt!). Starch, when heated thickens liquid (ie. vegan custard, gravy and mochi are good examples of this). So when the chickpea milk is heated over the stove, it naturally thickens up.
While still very little research on this, chickpeas seem to have a prebiotic property, which is how it can become its own starter. I have previously seen cooked chickpeas used to make yogurt too but the idea of using its soaking water intrigued me.
Is soaking water safe to consume?
I had this thought come to mind as well. So of course, I did my research and haven’t found any hard evidence of this being true. There are a lot of forums that talk about why it *might* be potentially harmful (soaking water contains what you’re trying to get rid of with dried beans… aka what makes some people gassy) but, in my experience for the past month I have not felt any difference of discomfort.
It’s like when aquafaba first came around. Everyone was skeptical about using liquid of the beans because we’re always told to rinse it off but now it’s considered one of the best egg substitutes and used in all sorts of recipes and applications. However, if you are still concerned you can definitely use another starter and use chickpea milk to keep it soy and nut free 🙂
How to Make Chickpea Yogurt
- Soak the chickpeas: Soak the chickpeas overnight or for 10-12 hours. Save 1/4 cup of soaking water (skimming from the surface) in a clean bowl and cover it to prevent any dust from getting in.
- Prepare chickpea milk: Drain and rinse the chickpeas and then add them to a blender. Add 960ml of filtered water to the chickpeas and blend on medium-high speed. Do not blend until very smooth or it will become difficult to strain. The texture should be like grainy milk. Strain the chickpea milk through a nut milk bag or cheesecloth. Squeeze out as much of the milk as possible.
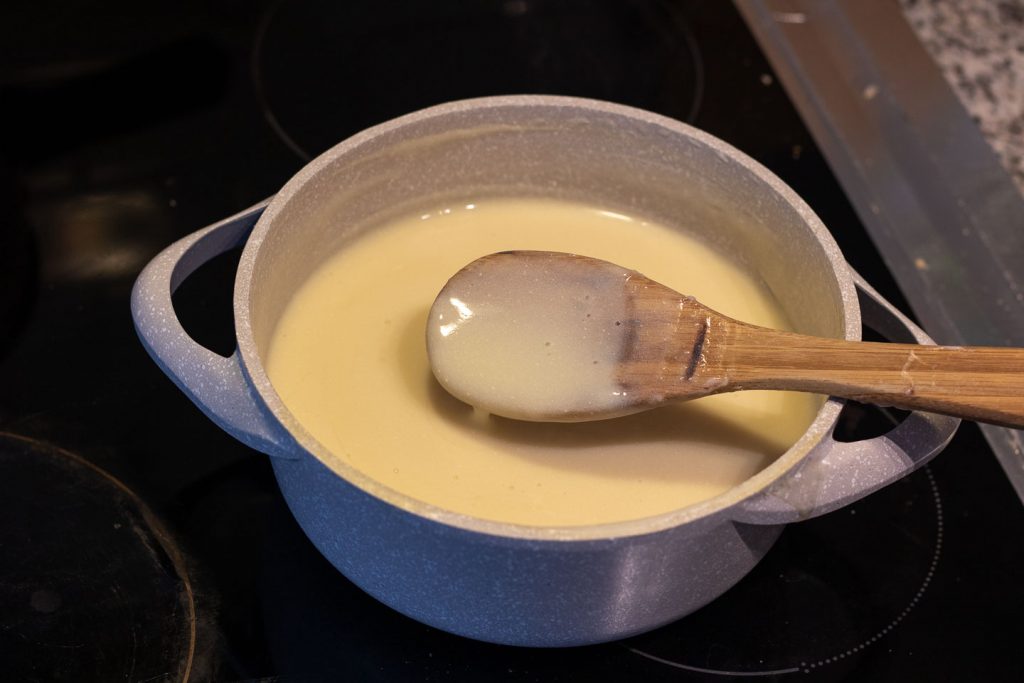
- Heat the chickpea milk: Add the milk to a large pot and stir (be sure to stir the starch at the bottom that tends to sink when sitting for a period of time). Turn the stove on high heat and once it begins to heat up, reduce to a medium. Stirring continuously, heat the chickpea milk until it thickens (about 10 minutes). Turn off the heat and continue to stir for another 2 minutes. Remove the pot from the burner and continue to stir for 2-4 minutes (this will help cool the mixture).
- Ferment the chickpea milk: Once the mixture comes to room temperature, transfer it to a clean sterile glass container with a loose lid. Stir in 2 tablespoons of the soaking water with a wooden utensil. Wrap the lid with a kitchen cloth and then cover. Let the yogurt sit at room temperature for 10-12 hours. Place into the fridge to chill for one day.
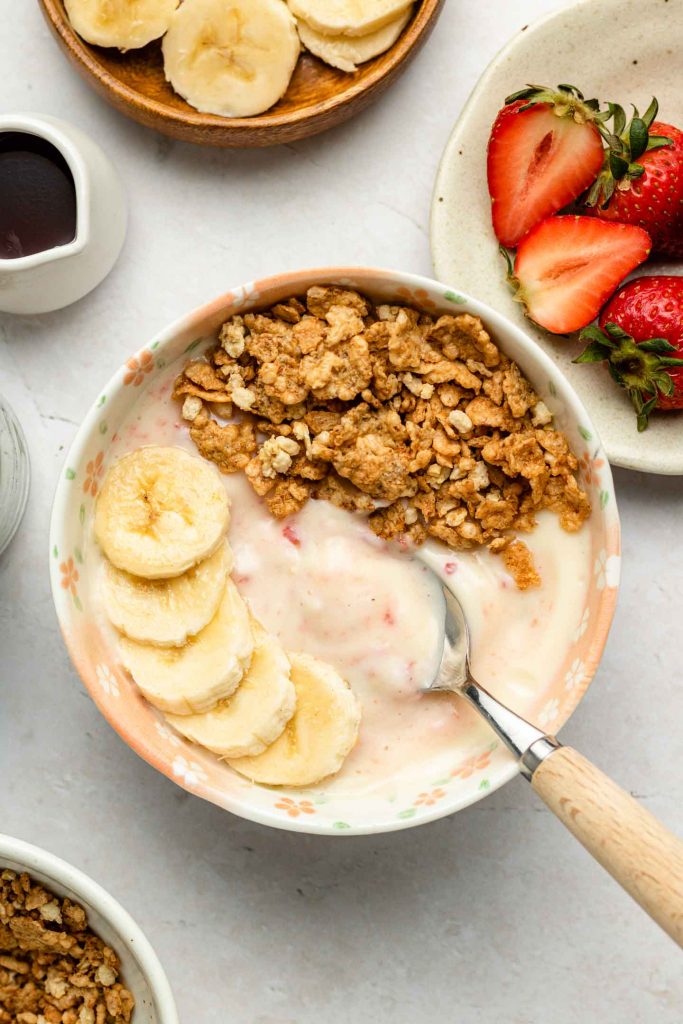
- Make creamy yogurt: Scoop the chickpea yogurt and add to a blender, along with a sweetener of choice and/or vanilla if desired. Blend until smooth. Now the chickpea yogurt is ready to serve and enjoy!
Tips & Tricks
- Use organic chickpeas: The flavour is more mild and less sour.
- Use a glass or clay storing container: I found glass to be the best in terms of consistent results. Definitely do not use metal– it makes the yogurt curdle in a strange way.
- Strain the chickpea curd: Before blending, if you like thick yogurt I recommend straining off some of the liquid of the curd. I’ll save about 2 tbsp of the liquid for my next batch and then dump everything to a large mesh strainer and let it sit for 5 minutes before blending.
- Save the liquid from the first batch: If you’re concerned about using the soaking water from the liquid, make a small batch first and keep the liquid that comes from the first batch. Then you can use that as your first starter. Alternatively, you can use your choice of active culture. I’ve seen fresh sauerkraut juice, kimchi juice, miso paste and fermented raisins used but please do your research first!
How to Store Chickpea Yogurt
I found this chickpea yogurt to last in the fridge for about 5 days. While you can blend the chickpea curd all at once and store it that day, it may separate so I do recommend blending it before serving to maintain that smooth and creamy consistency. However, you can just re-stir it again if you prefer to blend it all at once.
More easy chickpea recipes to try!
- High Protein Thai Chickpea Curry
- Chickpea Peanut Butter Skillet Cookie
- Salted Pretzel Chickpea Cookies
- Chickpea Sweet Potato Buddha Bowl with Spicy Tahini Sauce
- BBQ Pasta Salad with Chickpeas
If you recreate this Chickpea Yogurt recipe let me know how you liked it by leaving a comment and rating below or by tagging me on Instagram @Okonomikitchen, I love seeing all of your tasty recreations!
Hungry for more? Be sure to subscribe to my newsletter and follow along on Instagram, Youtube and Pinterest for more deliciousness!
Chickpea Yogurt (1-Ingredient)
- Total Time: 20 minutes
- Yield: 3 cups
Ingredients
Base Yogurt
- 200g organic chickpeas
- 960ml filtered water
To Serve
- appropriate amount of sweetener of choice
- vanilla powder or extract
Instructions
- Soak the chickpeas for 10-12 hours (I let it soak overnight).
- Save 1/4 cup of soaking water (skimming from the surface) in a clean bowl and cover. Drain and rinse the remaining chickpeas and then add them to a blender. Add 960ml of water to the chickpeas and blend on medium speed. Do not blend until very smooth or it will become difficult to strain (aim for a grain-y consistency).
- Strain the chickpea milk through a nut milk bag or cheesecloth. Squeeze out as much of the milk as possible.
- Add the milk to a large pot and stir (be sure to stir the starch at the bottom that tends to sink when sitting for a period of time). Turn the stove on high heat and once it begins to heat up, reduce to a medium. Stirring continuously, heat the chickpea milk until it thickens (about 10 minutes).
- Turn off the heat and continue to stir for another 2 minutes. Remove the pot from the burner and continue to stir for 2-4 minutes (this will help cool the mixture). Once the mixture comes to room temperature, transfer it to a clean sterile glass container with a loose lid. Stir in 2 tablespoons of the soaking water with a wooden utensil. Wrap the lid with a kitchen cloth and then cover. Let the yogurt sit at room temperature for 10-12 hours. Place into the fridge to chill for one day.
- Scoop the chickpea yogurt and add to a blender, along with a sweetener of choice and/or vanilla if desired. Blend until smooth. Now the chickpea yogurt is ready to serve and enjoy!
Notes
- This is not my original recipe/concept, but one I’ve adapted from other recipes & Priyanka N Jain (see posts for details) as my preferred method.
- Helpful Equipment: glass fermenting jar, wooden spoon, nut milk bag, blender, strainer
- Nutritional Information Disclaimer: Nutrition information is a rough estimate calculated on an online tool (Cronometer).
- Prep Time: 10 minutes
- Cook Time: 10 minutes
- Category: breakfast
- Method: stove top
- Cuisine: vegan, gluten free, north american
Nutrition
- Serving Size: 1/2 cup
SAVE IT FOR LATER! ↓
Okonomi Kitchen is a participant in the Amazon Services LLC Associates Program. When you purchase something through my amazon affiliate links, I earn a small commission that helps me produce consistent content at no cost to you. Thank you for supporting my plant based kitchen!


I have made this chickpea yogurt recipe. I put the yogurt in a glass container. I was going through the refrigerator and saw that I had some in there. It looked like it was OK, looked smooth, and it still looks like it was good to use. I poured the liquid out. I wonder how long can you keep it. The first container I used was not as smooth as this second one. I used the first container few days after I had made and it looked curled, I think after I mixed it up. I don’t want to throw it away if it’s OK but I don’t want to use it if it’s not. I might have kept it too long. I really don’t looks like I have made a while back. It’s so smooth and pretty. Is there any suggestions please comment or give me some feedback. Thank you!
Thankfulness to my father who shared with me about this webpage, this blog is actually amazing.
Love this recipe! Do you think using chickpea flour to make the milk could work?
Hey Lisa!
Love this so much. Going to try it this weekend 🙂
Out of curiosity, have you tried chickpea milk for anything else before making yogurt? I’m trying to think of other things I could use it for.
Thank you for the recipe! What do you do with all the leftover Chickpea meal?
Hi Laura!
I add it to soups, smoothies and dumplings! 🙂
Thank you Lisa! I actually added yogurt starter and kept it in the dehydrator at 90F overnight. It came out thick and delicious. My partner says that it tastes like hummus yogurt, which makes sense.
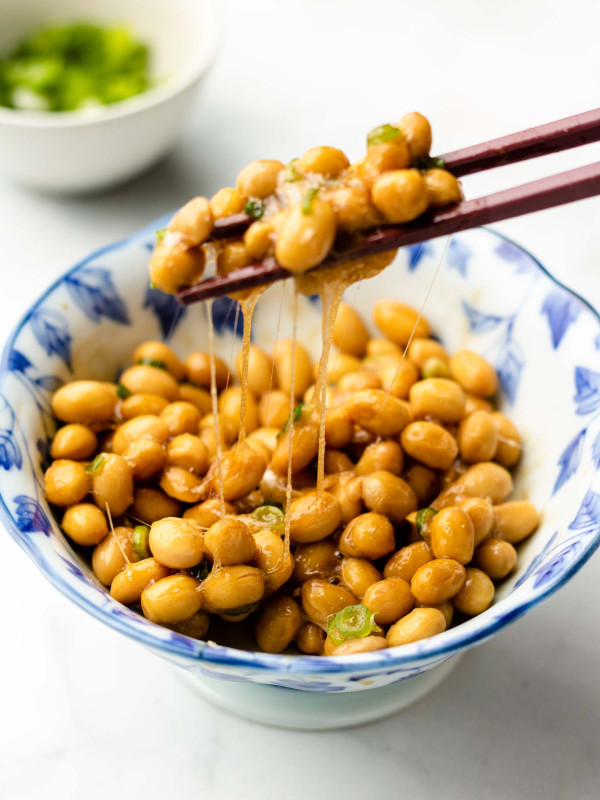
So fast to make, extremely yummy and creamy! I do love the taste of chickpeas so I don’t add any sugar but I’ve been putting a little bit of vanilla and it tastes great! It’s been literally my breaky every day. My pantry is filled with chickpeas and soy beans this days ( for natto 🤤) xx
Really enjoyed this recipe! It’s pretty quick and easy, once you get a hang of the steps. Even though my measurements were mostly eyeballed, it still set nicely. Made a nice bowl of fresh mango yoghurt with it. 🙂
It’s really awesome, we mix with different fruits and eat with granola for our breackfasts
Simple, easy, and cheap! Perfect for yogurt alternatives since they’re expensive at the store. I saw the same video as she saw on YouTube, and so curious but couldn’t take it further cuz I was sceptical 😅 Then I saw the post here, and that was my last push to try!! I am so glad I tried. I would never buy vegan yogurt at the store 😋
Hi, Lisa! I absolutely love the concept of this recipe, it’s SO inventive and fun! Would I be able to use canned chickpeas for this recipe, so long as I save the aquafaba? Thank you! 🙂