Learn how to make Tsubushian (crushed sweet bean paste), the classic mashed Japanese red bean paste. This homemade recipe guides you through creating this versatile paste, perfect for an array of traditional Japanese sweets.

Anko is the basis of many Japanese sweets. The method of making sweet red bean paste is relatively straight forward when made at home. If you love Japanese desserts, you’ll love homemade anko!
Table of Contents
- what is anko?
- how to make anko
- types of anko
- how to make tsubushian
- how to make tsubuan or koshian
- top tips for making anko
- how to store anko
- recipes using tsubushian

What is Anko?
Anko ((餡子 or あんこ), also referred to as An (餡), is Japanese sweet red bean paste made from azuki beans, sugar and salt. It is an essential ingredient for modern and traditional Japanese sweets. There are many types of anko, but today I’ll be sharing how to make tsubushian.
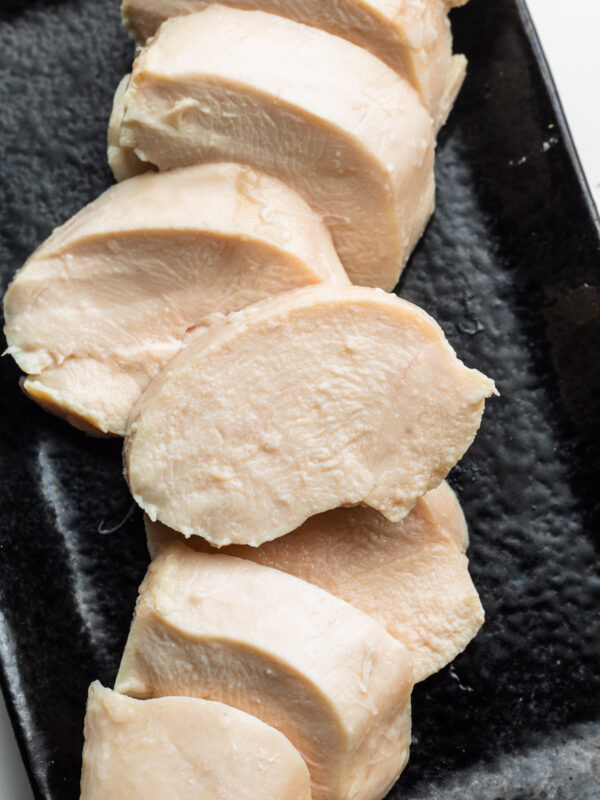
What is Tsubushian?
Tsubushian is a type of anko that is mashed, but still contains the skin of the azuki beans.
How to Make Anko
Depending on the type of anko, they are all made slightly differently. Generally, it is made by cooking the adzuki beans until soft, mashing them (for tsubishian and koshian) and then adding sugar to sweeten it. For some uses, it is then reduced to make a thicker paste for filled desserts such as taiyaki, dorayaki and daifuku.
How to Make Tsubushian (Chunky Mashed Sweet Red Bean Paste) + Tips
This method of making tsubushian is adapted from my grandmothers recipe. It does take a bit longer to make but it promises retaining as much of the azuki beans natural flavour while still removing the astringency and bitterness. I will also be sharing a quicker and easier way to make anko for tsubuan and a pressure cooker / instant pot method for koshian soon. You can use any of the methods and simply just mash it down to make tsubushian.
A quick rundown:
- Soak beans (optional)
- Shibukiri (渋切り): remove bitterness and astringency by boiling the beans and discarding the water
- Cook beans: until soft and you can squish the beans between your fingers easily
- Mizu salashi (水さらし): this step of preserves the flavour of azuki by saving the bits that get released from the beans called ‘go’ (ゴ)
- Sweeten beans: combine the ‘go’, sugar and beans, and cool overnight.
- Thicken into paste: depending on what you are making

Tips for Making Delicious Anko
Soaking Adzuki Beans
My grandma and mom always soaked the beans for 24 hours prior because it’s cooks faster. However, it’s not required. Adzuki beans absorb water differently than other beans. Most beans absorb water through their skins, but adzuki beans absorb water through their seed buds (white streaks). This means it takes much longer to soak them in water. If you want to soak the beans, soak for a minimum of 24 hours.
Depending on the type of anko I’m making and the type of beans I’m using, I’ll purposely skip this step. For example, if I’m making tsubuan. Soaking it overnight makes it more likely break open in the cooking process, which is not ideal for tsubuan. Additionally, if the insides comes out you end up throwing away the delicious part during the process of shibukiri.
Shibukiri (removing bitterness and astringency)
This is the process of removing the astringency of the bean. How many times this process is done varies from once up to four times. The more you do it, the more ‘clean’ the flavour tastes because you remove the bitterness. However, you lose some of the adzuki flavour and colour. It’s said that really delicious wagashi shops do this several times, which is why their anko is lighter in colour. I do it 2-3 times, but experiment and find what flavour you like.
Bikuri Mizu (びっくり水)
This is the process of adding cold water to a pot or shocking the beans in cold water after boiling. Azuki beans have thick skins and softer insides, so when you boil them, the amount of water absorbed differs between the surface and inside. By the time the inside of the bean is cooked, the skin is too soft and breaks, causing the insides to come out. So the reason we do this is to lower the temperature equalize the surface and internal temperature of the beans. This helps the beans absorb the water more slowly for even cooking (it makes it easier for the hot water to penetrate to the core of the beans) and preserves the azuki beans flavour.
Mizu Salashi: Preserve the ‘go’ (ゴ)
The next step is where my grandmothers recipe slightly diverges and does the process of mizu salashi. The cooked beans are filled with water and then rested to let the adzuki beans and ‘particles’ called ‘go’ sink. Then the water on top is drained, and the remaining liquid and beans are strained through a colander. Lift the colander and let the ‘go’ sink to the bottom. Carefully strain the liquid on top and add that ‘go’ to a clean pot.
Cool the Beans
By cooling the beans right after adding sugar, the sweetness intensifies through to the centre of the beans.
Sweetness of Anko (Bean to Sugar Ratio)
Generally, Anko’s bean to sugar ratio is 1:1. It can be as low as 70% and up to 120% depending on the recipe, shop, usage and type of sugar used. However, note that the sugar is not only used for sweetening, but also to preserve the paste to last longer. Also take into account what you will use the anko for. Typically it’s served with someone unsweetened, so the anko should be sweeter to compensate. Additionally, keep in mind that the sweetness will intensify as it rests.
I also add mizuame (water candy) to my anko, which is why I use a little less sugar. If not using water candy, increase trhe amount of sugar.
Salt
Like with many other desserts and sweets, salt is added to enhance the flavour and sweetness. I typically use about 1- 1.5% of salt, depending on what I’m making.
Controlling the thickness
If making zenzai or oshiruko, there’s no need to reduce the anko. However, when making anko for wagashi desserts and for toppings, thicken to the point where you can draw a line on the bottom of the pot. Immediately transfer to a baking tray to prevent further cooking. The sweet bean paste will thicken significantly as it cools. Cover with cling wrap or a lid.

FAQ
- What type of sugar can I use? You can use any sugar you like. I recommend cane sugar for the most clean taste, especially if making for the first time so you know what it tastes like. Sometimes, I’ll also add a bit of light brown sugar for a bit of depth. Keep in mind the anko will taste different based on the type of sugar you use.
- How can I make anko in a pressure cooker or instant pot? I’ll have a recipe for this method coming soon!
- How long does red bean paste last? Sweet red bean paste will last 3-4 days kept in the fridge and for a few months in the freezer if stored properly.
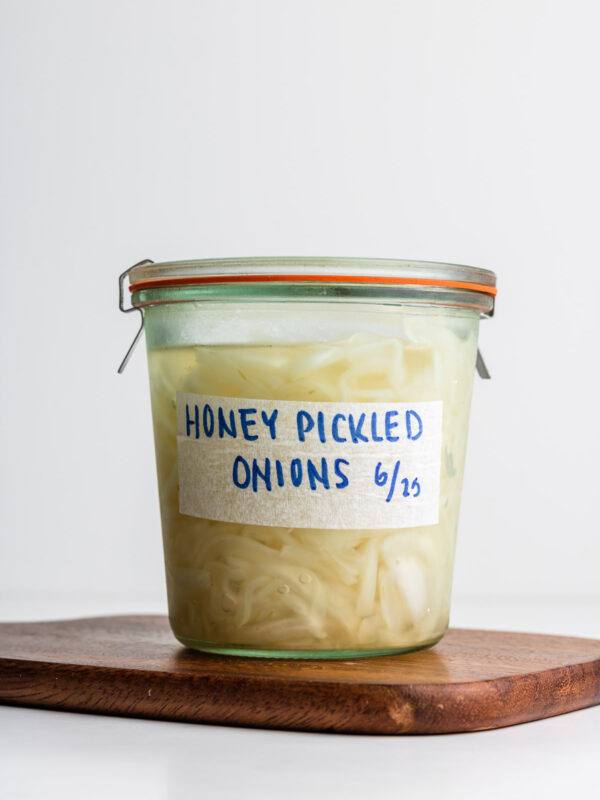
How to Store Anko
Once cooled, transfer to an air tight container and keep refrigerated for 3-4 days. To freeze, pack it into a freezer safe container or freezer safe ziplock bag for up to 2 months. Ensure there is no ‘space’ between the container to prevent freezer burns.

Enjoy!! If you make this Tsubushian recipe, let me know! Leave a comment, rating and if you decide to share it on socials, tag me on instagram @Okonomikitchen. I’d love to hear from you 😁!
PrintTsubushian (Crushed Sweet Bean Paste)
- Diet: Vegan
Description
Learn how to make Tsubushian (crushed sweet bean paste), the classic mashed Japanese red bean paste. This homemade recipe guides you through creating this versatile paste, perfect for an array of traditional Japanese sweets.
Ingredients
- 1 lbs (450 g) adzuki beans
- 70-120% of sugar sugar
- 1 tsp (1.1%, 5 g) salt
- 10-12% (54 g) mizuame (water candy), optional
Instructions
- Prepare beans: Add beans to a colander and remove any beans that are broken or discoloured. Gently rinse the beans between your hands.
- Soaking beans: more information on soaking beans in the blogpost, but if you decide to soak the beans, ensure to soak for 16-24 hours to reap the benefits of quicker cooking. If skipping, pour boiling water over the beans.
- Removing bitterness (Shibukiri): Add the beans to a pot and pour in hot water 1 inch above the beans. Bring to a boil and heat for 30-60 seconds (3 minutes if not soaked, or until the outer skin is wrinkled).
- Shock with cold water (Bikuri Mizu): Strain the beans and plunge in a bowl of cold water. By shocking the beans in cold water, the beans cook up plump.
- Repeat: Place it back into a cleaned pot with water 3 cm above the beans and boil for 1 minute. Then remove water and place in cold water again. Repeat once more and boil for 30 seconds (total 3 times).
- Cook the beans: Place beans back into pot and add water 1-2 inches above the beans (water should be about x3 amount of beans), and bring it to a boil. Reduce to a simmer and cook for about 1 – 1.5 hours, covered. Check every once in awhile and add a bit of water as needed so that there is water still covering the beans. Turn off the heat and keep covered for 10 – 15 minutes (steaming).
- Mizu Salashi: After 10 minutes, slowly pour in water a little over 3/4 of the pot. Let it rest for 10-15 minutes. Drain 1/3 of the water without a colander. Pour remaining into a colander with a bowl under it. Then carefully lift the colander. Let the ‘go’ (cooked bits of azuki beans) sink to the bottom and drain most of the excess water (total amount is about 250 ml for 450 g beans).
- Sweetened: Add the ‘go’ to a clean pot with sugar and salt. Stir, and once the sugar dissolves completely, add the beans. Use a wooden spatula to gently stir the beans, mashing them to your liking. Once it comes to a boil turn of heat and let it cool completely (overnight). Once cooled, bring it to a boil and then reduce heat to a simmer.
- For zenzai and oshiriko (soup-y): once it’s heated, stir in the mizuame if using, crush some of the beans with a spatula to your liking and then you can use it immediately.
- For Japanese sweets like ohagi, dorayaki, daifuku (thick): cook until you can draw a quick line on the bottom of the pot with a spatula while mashing the beans, and then turn off the heat. Stir in the mizuame if using and once it’s stirred in, remove from heat. Transfer to a baking pan or bat (Japanese cooking tray), cover and cool. Use immediately or store for later use.
Notes
- *I typically use about 382 g of sugar with mizuame. If omitting mizuame, add a bit more sugar to compensate and to your liking. Substitute with 20% of brown sugar for a depth of flavour.
- Method: Stove top
- Cuisine: Japanese


The “Repeat” step of the recipe says “Place it back into a cleaned pot with water 3 cm above the beans and boil for 30 min”. However, because we’re repeating the Shibukiri step, should this be “boil for 3 min” instead?
Should it be 3 minutes regardless of whether the beans were soaked or not? So the “30-60 seconds (3 minutes if not soaked)” applies only on the first step, not on subsequent repeats?
Thank you for this wonderful recipe!
Hi Ashley! So sorry about that, thank you for catching it! Yes, so you actually boil it for 1 minute again not 30 minutes. So if its not soaked, first boil for 3 minutes. Then regardless of whether its soaked or not, the second time is about 1 minute and third time around 30 seconds. Hope that clears things up!