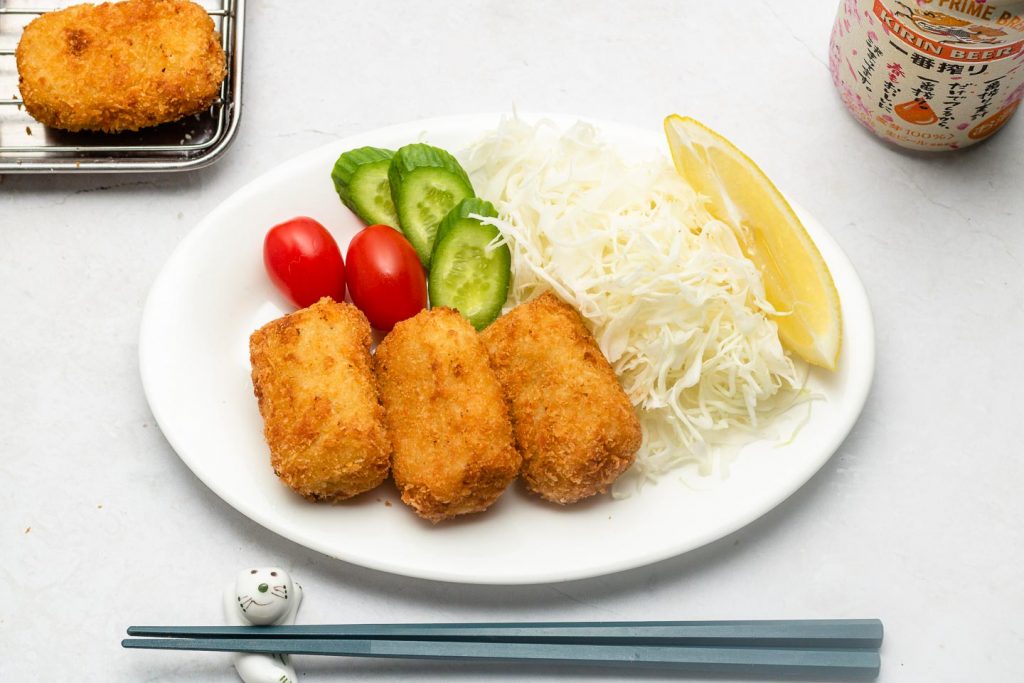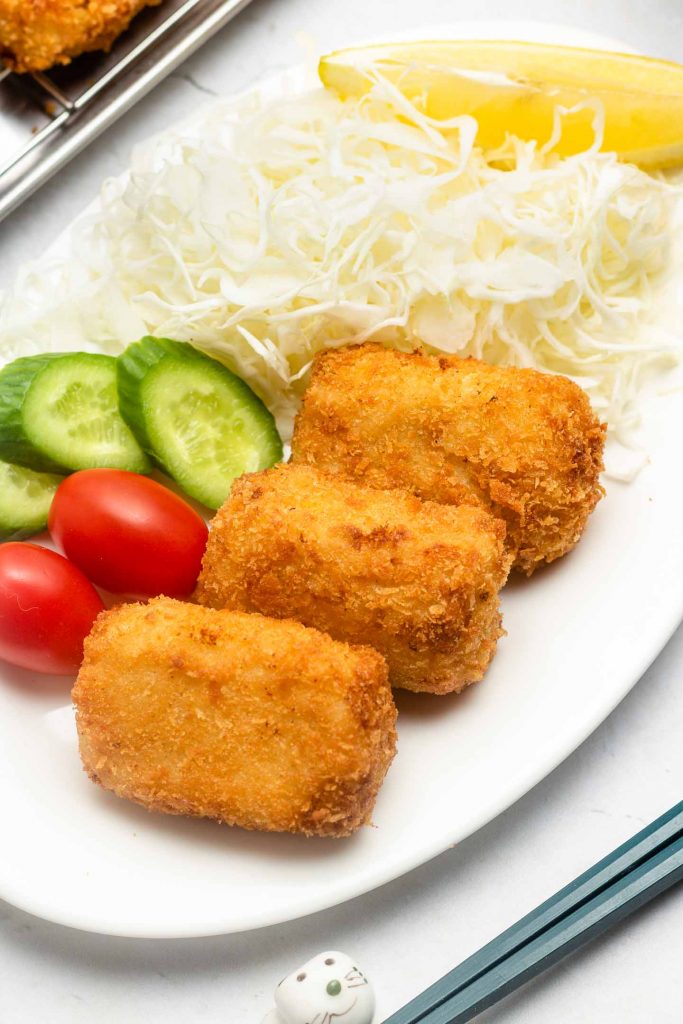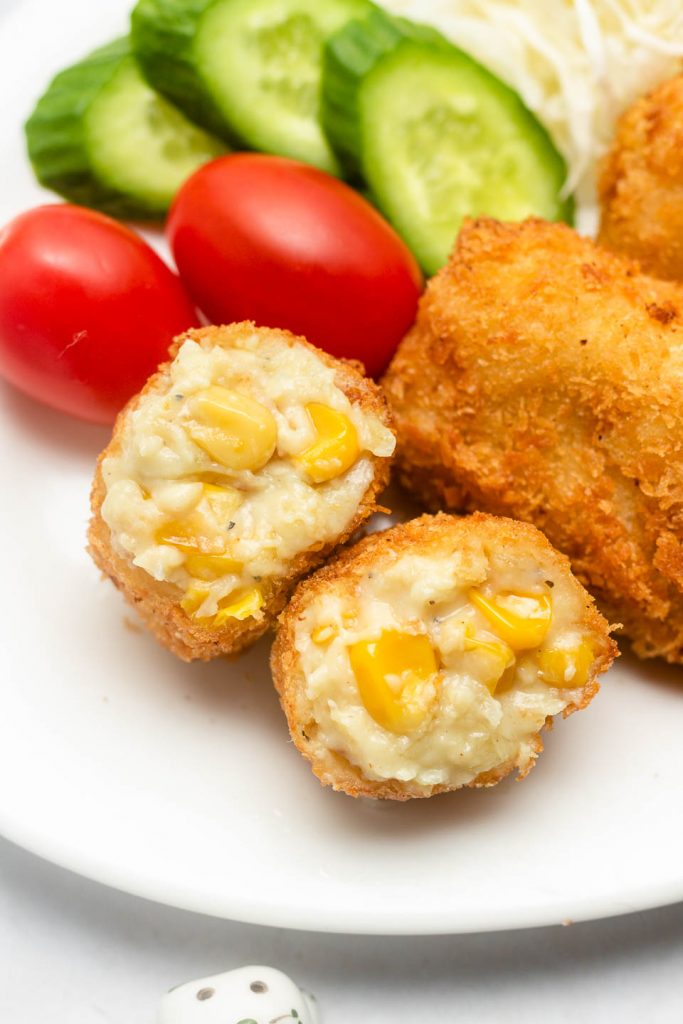
Cream Corn Korokke (クリームコーンコロッケ) — crispy deep fried deliciousness that explodes into a creamy pool of sweet melt-in-your-mouth corn filling.


If you recreate this Cream Corn Korokke recipe let me know how you liked it by leaving a comment and rating below or by tagging me on Instagram @Okonomikitchen, I love seeing all of your tasty recreations!
Hungry for more? Be sure to subscribe to my newsletter and follow along on Instagram, Youtube and Pinterest for more deliciousness!

Cream Corn Korokke (コーンコロッケ)
- Total Time: 1 hour 20 minutes
- Yield: 10 pieces 1x
Description
Cream Corn Korokke (クリームコーンコロッケ) — crispy deep fried deliciousness that explodes into a creamy pool of sweet melt-in-your-mouth corn filling.
Ingredients
- 2 tbsp (30g) vegan butter
- 1/2 (90g) small onion, finely chopped
- 5 (37g) tbsp cake flour**
- 1/2 heaping cup canned or fresh cooked corn (90g)
- 1 cup + 3 1/2 tbsp (300ml) soy milk*
- 1 tbsp nutritional yeast
- 1 tsp sugar*
- 1/2 tsp salt
- 1/4 tsp pepper
- 1/2 cup cake flour, divided**
- 4 1/2 tbsp water
- 1 cup fine panko breadcrumbs***
Instructions
- Add vegan butter to a pan over medium heat. Once melted, add in chopped onions and fry until translucent. Add the flour and cook until it comes together. Cooking the flour will remove any wanted flavour and smell. Turn off the heat
- Add 1/3 of the soy milk and stir to combine. Add in another 1/3 of the soy milk and stir. Turn heat to low and add the remaining soy milk and stir.
- Add the nutritional yeast, sugar, salt and pepper and mix together until smooth.
- Add the corn and then mix to combine. Turn off the heat and remove from stove.
- Add the mixture to a shallow dish or pan (I used a 7×5 inch metal pan). Allow it to cool at room temperature (about 10 minutes). Cover and store in the refrigerator OR freezer, about 30 minutes (or you can freeze later). Do not place hot mixture into the fridge as it will drop the temperature of the fridge.
- In the meantime, prepare three shallow dishes. Add 1/4 cup of flour to one dish and the panko to another. Add remaining 1/4 cup of flour to the third dish along with the water and whisk until smooth.
- Once the filling is cooled and has firmed up, remove it from the refrigerator/freezer and divide into 10 equal pieces (about 32-35g each). If you find the filling very soft and sticky, use cling wrap and shape them into small nugget sized pieces. Place them onto a dish with parchment paper or cling wrap underneath and freeze until firm enough to handle. If you have frozen them prior, you can skip this step, however it is important to work quickly as they do thaw quickly.
- Coat each piece in flour. Dip them into the dredge and then coat with panko.
- Add an appropriate amount of oil to a pot and heat to 180 C. Once heated, add 3 pieces and fry until golden brown (about 30-45 seconds). NOTE: Do not fry more than 3 pieces at a time as it will decrease the temperature of the cooling oil.
- Place on cooling rack and let them cool for at least 5 minutes. Touching them right out of the deep fryer may cause them to break.
- Serve immediately and enjoy!
Notes
- *I used lightly sweetened soy milk for the added sweetness. However, you can use unsweetened soy milk and add 1 tsp of sugar.
- **Cake flour gives are silky cream texture. If you prefer a thicker custard like texture you can also use all purpose or bread flour. If gluten free, use white rice flour.
- ***If you have regular panko, add the panko to a bag and lightly crush with a rolling pin.
- Helpful Equipment:
- Nutritional Information Disclaimer: Nutrition information is a rough estimate calculated on an online tool (Cronometer).
- Prep Time: 60 minutes
- Cook Time: 20 minutes
- Category: side dish
- Method: stove top
- Cuisine: vegan, japanese
Nutrition
- Serving Size: 1 korokke
Okonomi Kitchen is a participant in the Amazon Services LLC Associates Program. When you purchase something through my amazon affiliate links, I earn a small commission that helps me produce consistent content at no cost to you. Thank you for supporting my plant based kitchen!


Loved loved loved! I’m a uni student so I don’t have a lot of time to make my meals. This is always a go to when I’m in a rush for dinner as they’re so easy to prepare and freeze up to use! The combination of corn and onions works so well and the dish being vegan is only another plus! The crunch of the fried breading alongside the creaminess of the filling works so well. Thanks so much for this recipe!
There’s no vegan/vegetarian korokke in Japan.
So I’m very happy that I finally got it!
Thank you for sharing wonderful recipes all the time🌿
When you go out in Japan, having a vegan/vegetarian korokke is impossible. I’m so happy to eat my favorite food again as a vegetarian. Thank you for sharing such a wonderful recipe!